A Simple and Inexpensive Art Project for Children: Mask Making
“Your face is a book, where men may read strange matters.” – Shakespeare. I think he was on to something! Much about the artist is always revealed through the art they make. So it was with the children and the masks they made. In September of this year I taught two classes of fifth graders how to make a simple mask. In 45 minutes it was easy to see a connection between their personalities and their created mask-faces…even though they were all strangers to me.
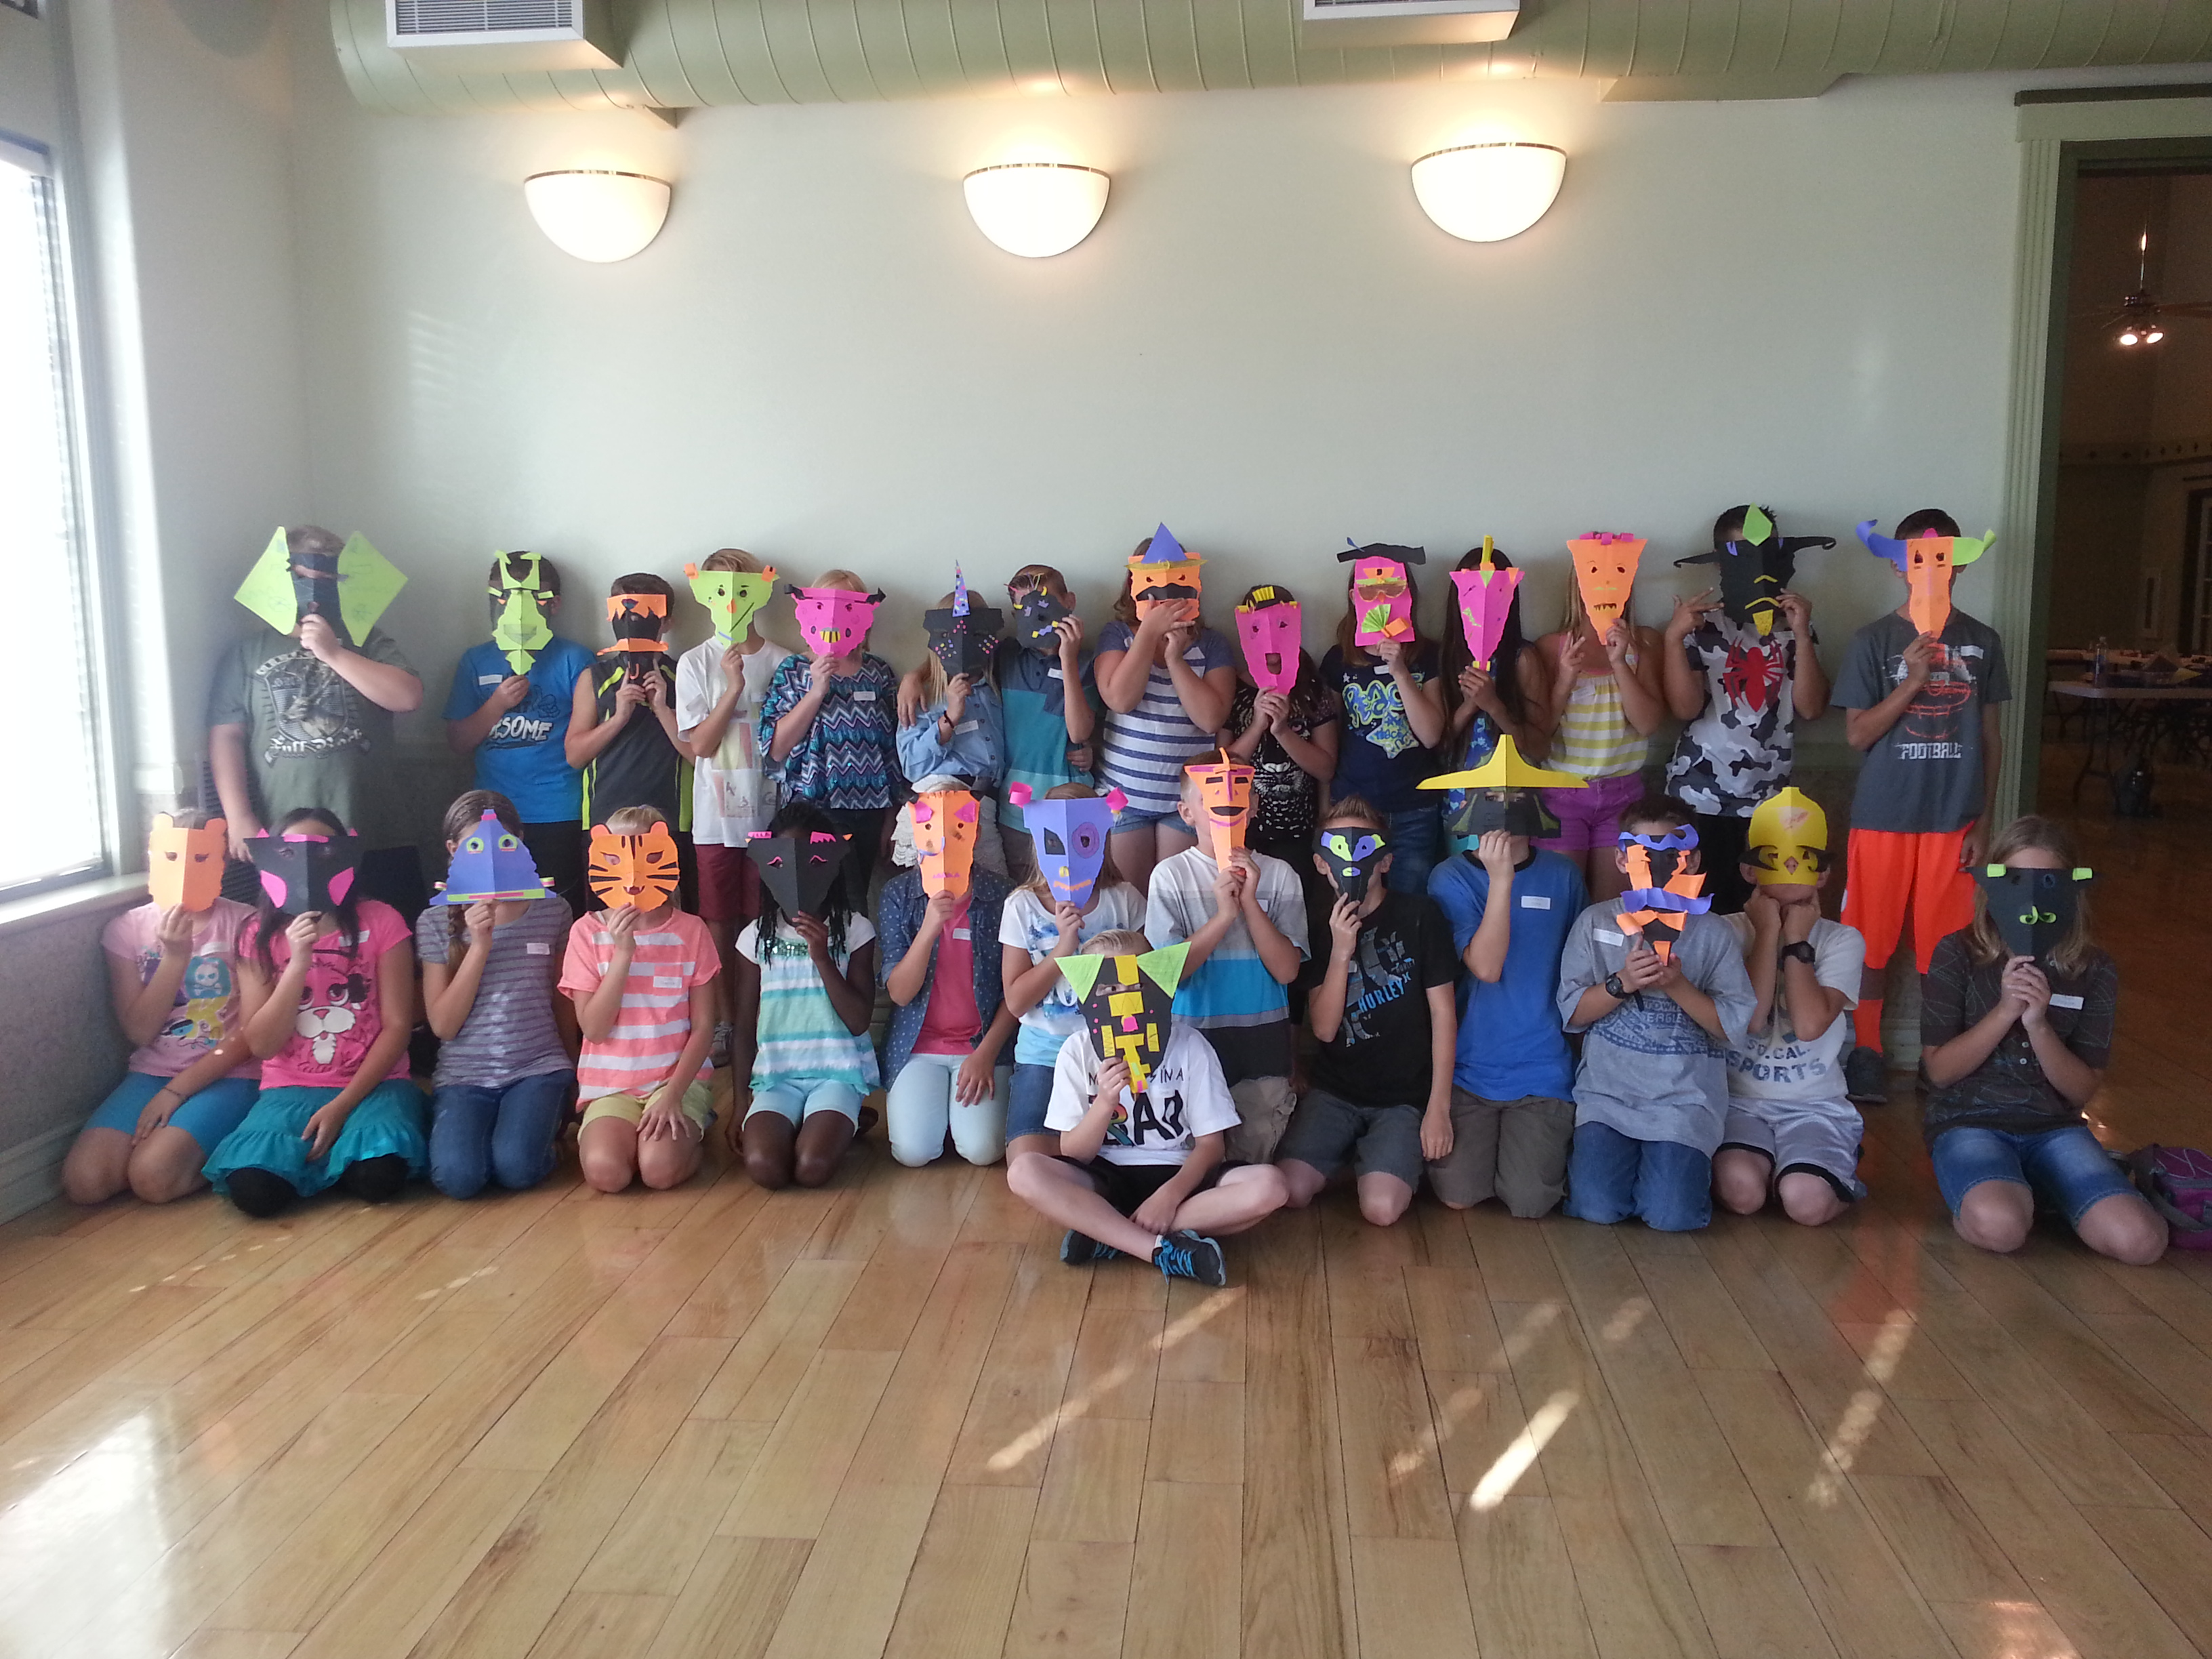
Materials used: 1. Brightly colored and black cardstock. 2. Glue sticks, scissors, staplers, and colored pencils. Instructions: 1. Choose a vertical (hot dog) or horizontal (hamburger) mask face. 2. Close your eyes. Put your hands on the sides of your face and slide forward to your nose. Notice that your face is not flat. 3. Fold your cardstock in half to begin adding a sculptural 3-D effect to your mask. 4. With your cardstock folded in half, tear or cut through the two layers from a corner near the fold, diagonally to its opposite corner. You have now created the jawline shape of your mask. 5. Where do you want your eyes? Mark with pencil. Poke a hole in the cardstock with the tip of a pair of scissors. (Beware of poking too hard and jabbing your fingers.) The hole you poked is for your scissors to have a place to start cutting from. Cut fabulous eye-shape holes!

Now the final touches! 6. Use your scraps of left over cardstock or trade with your fellow student to get a mix of colors and shapes. Bend, curl, fold, crumple, tear, or cut (paper is such marvelous stuff) these scraps and attach to your mask with the glue sticks (if the pieces are small) or stapler (if the pieces are bigger). Always try to get the paper scraps to stick out from the mask. This contributes to a 3-D, sculptural effect. Much more interesting than just flat. 7. Decorate with fancy colored pencil lines, squiggles, shading, cross-hatching, dots, and dashes.

Now go look at yourself in the mirror! When you take these home, don’t put them on the refrigerator door…push pin them on a bulletin board or wall space somewhere. The key to keeping them 3-D is to fold slightly so your mask sticks out from the wall and then push pin it in place. Do not pin it flat to the wall. When your art is 3-D it will cast interesting shadows. You can always put more decoration on your mask. Think of all the possibilities in your mom’s or grandma’s craft drawer!
“What Does A Line Inspire” Instructions
Supplies: 8 1/2 x 11 inch black cardstock, pastel, chalk, or prismacolor pencils, origami paper, tape, and glue.
1. Use the black cardstock as your base. Colors really “pop” on a black background. Cardstock is stiff enough to survive the art-making process and still be hangable on the refrigerator door.
2. Roll a piece of origami paper into a tube and tape it closed. If it is hard for some fingers to roll the paper, roll it around a pencil to help you get started. This tube of paper is the main “line” of your art.
3. Glue the tube of origami paper onto the black cardstock in the position you want it-straight, bent, or flattened. We just used simple Elmer’s glue. Glue sticks are not strong enough to hold the “line” to the cardstock.
4. Use pastel pencils, chalk, or prismacolor pencils to color in the rest of your design. (Markers will not show up on black very well.)
5. This project could be done on white paper with any art supplies you have on hand. The concept is to see how “line” is used in art and “What Does A Line Inspire?”
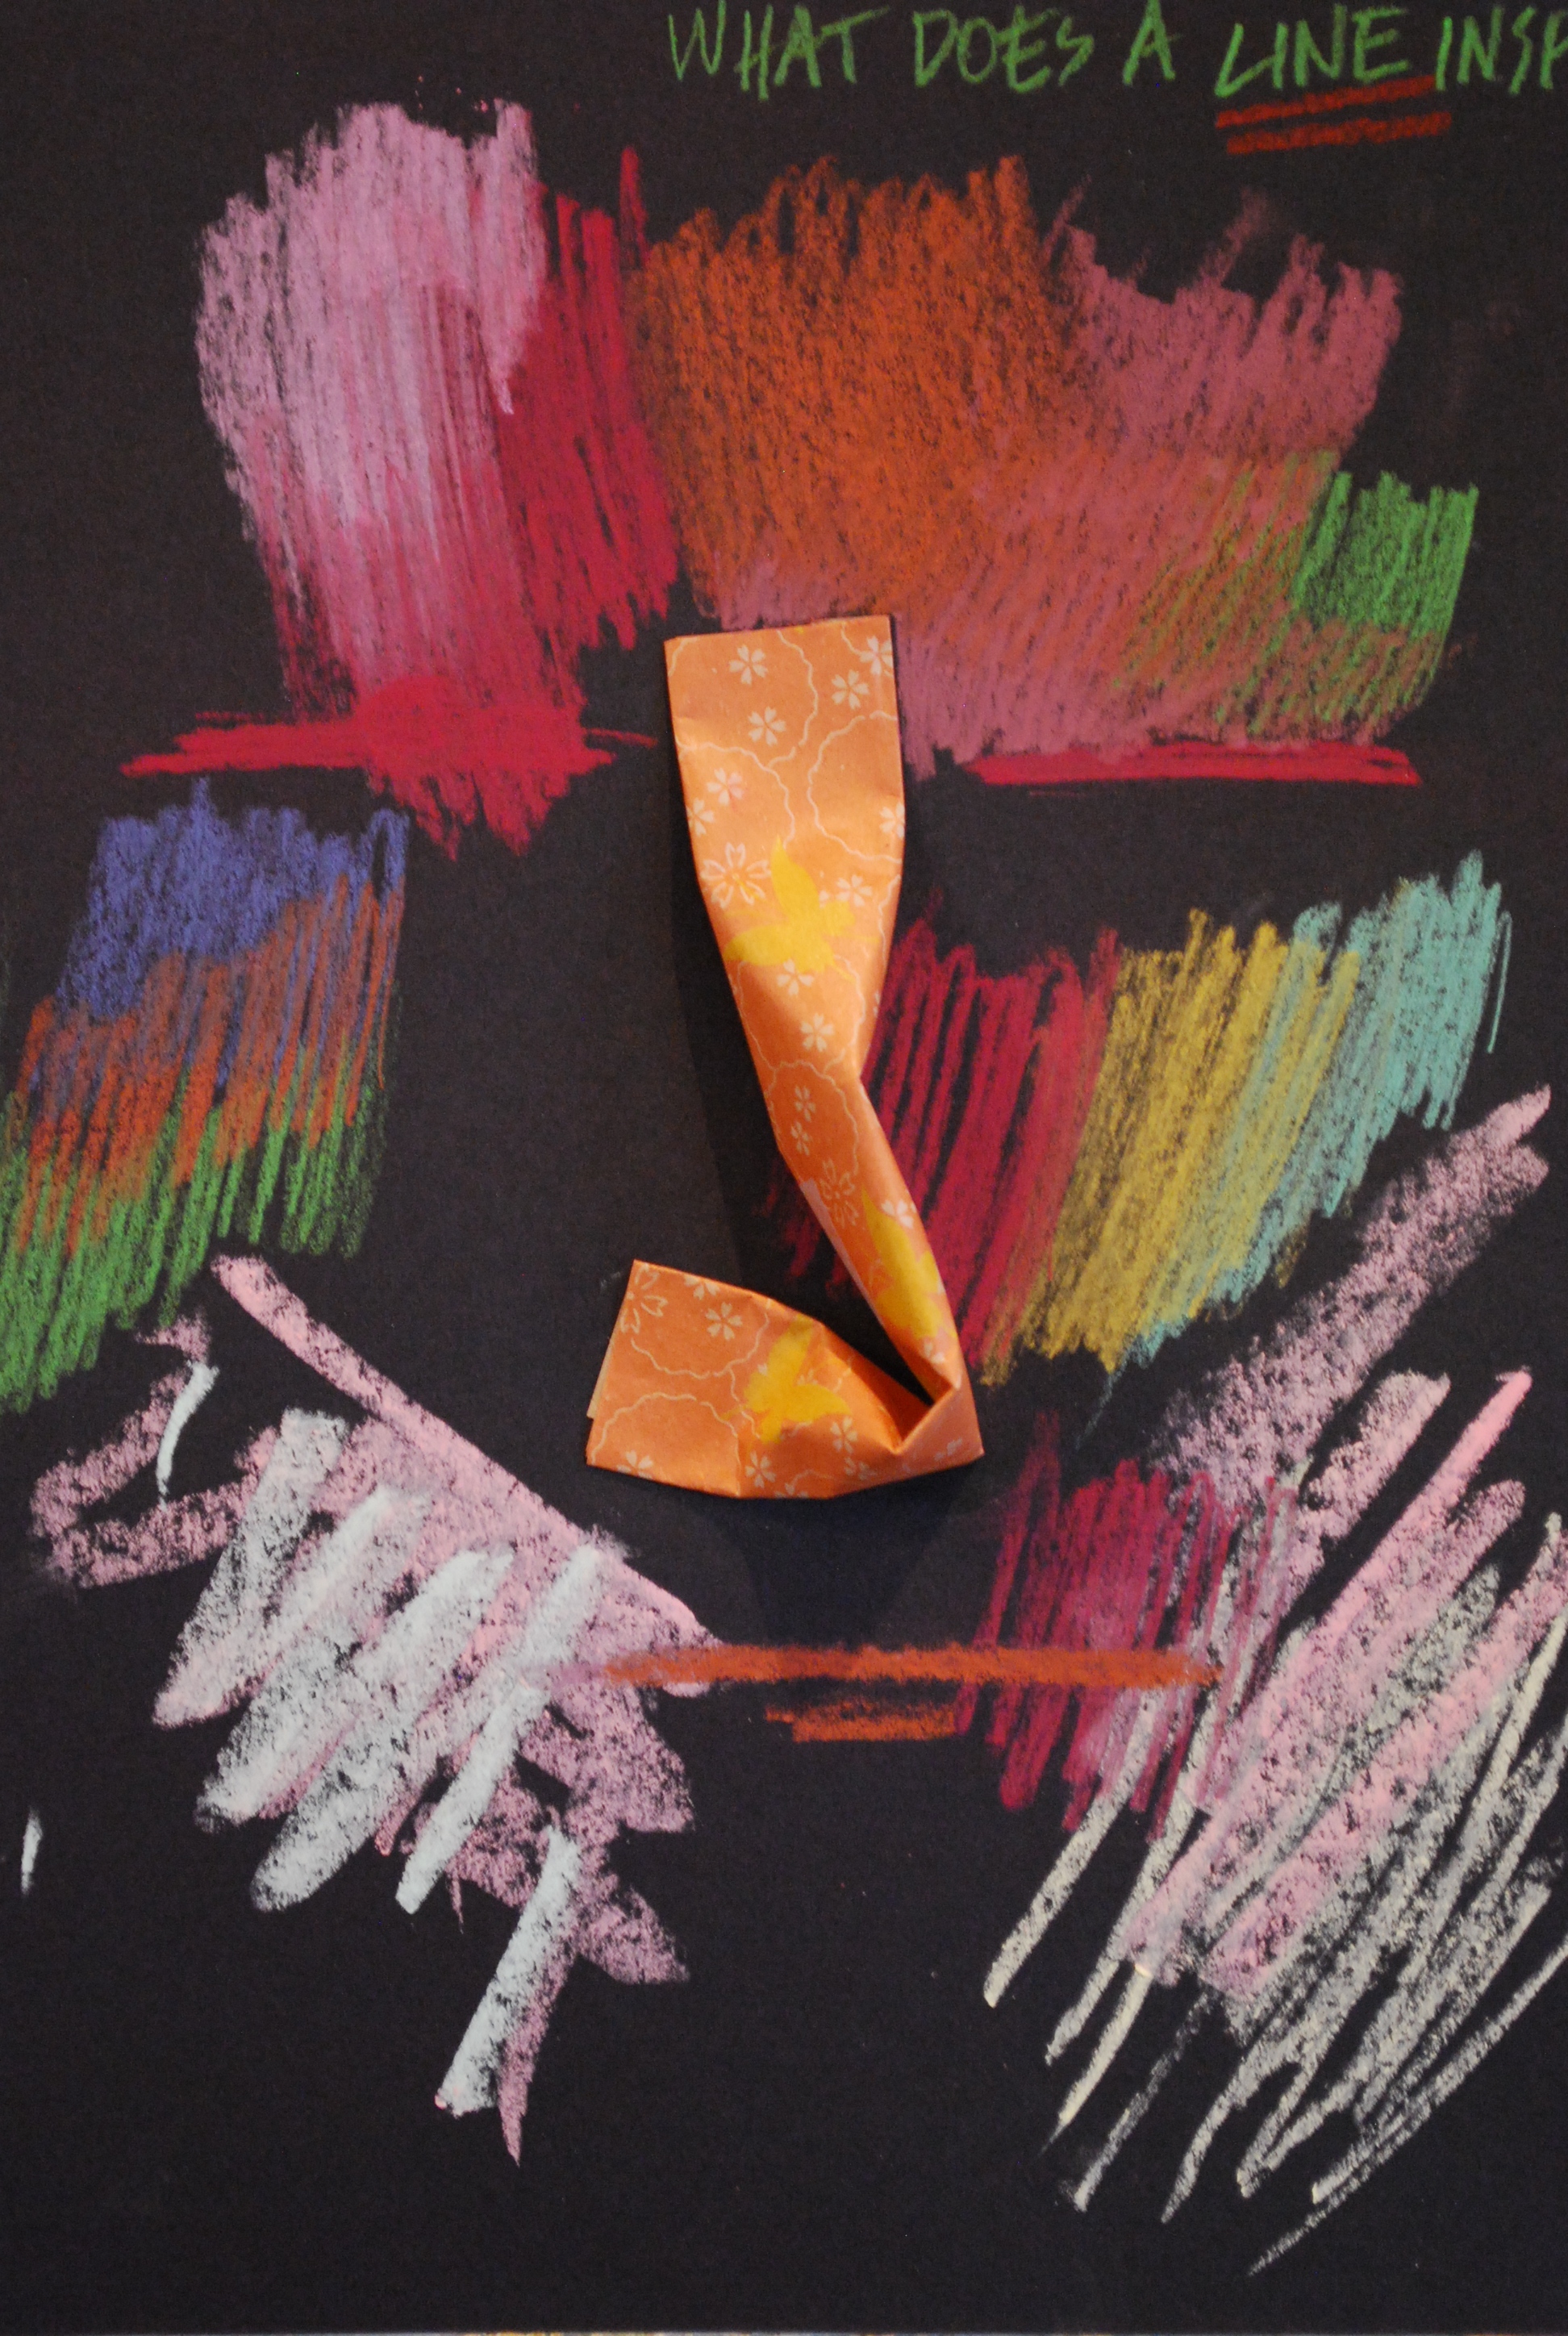
This was a demonstration I did of bending the “line”. Inspired me to use it as a nose in a face.
An inexpensive and creative children’s art project! Or for you moms and grandmas out there, an activity that is “Creative Simplicity Itself”.

On my way back from the 3 Woman Show in Logan I had the great privilege of spending a few hours with my grandson, Jayson, and his brother, William. I love these two little guys and am grateful to their mom and grandma, Melissa, for their generosity in arranging for this time. We played treasure hunt, hide and seek, Sorry (the board game), caught up on their latest karate moves and ate from a vending machine… Then William asked, “Are we going to do an art project?” I was in the middle of explaining that I hadn’t brought my “craft/art box” with me when this idea popped into my head (I am sure I got this from some other creative person somewhere). Following are the instructions for “Creative Simplicity Itself”.
1. A piece of 8 1/2 x 11 inch white printer paper for each person participating.
2. A color for each person. We chose a crayon each because they had crayons handy. Markers, pencils, paints or any other way to use color would also work.
3. Each person starts a drawing of anything with their color. We set a time limit of a few minutes to work on it and then said “Stop!”
4. Before passing your paper-with-started-drawing onto the person sitting next to you, you write a word (any word) at the top of the page.
5. The next person uses their color to add to the drawing you started. With a time limit. Also adding a word (any word) to the top of the page.
6. Keep rotating papers around the table until all have added to the drawings with their colors and words.
7. Then it is story time! Each person tells a story about the art work on the paper in front of them using all the words written at the top of the page.
I was really impressed by the creative stories that William, the 8 year old came up with. Even Jayson, 5, got into the swing of it, if mostly to use the drawing as a mask, lol.

William, Jayson, and Grandma Melissa at the Sorry board. How does that game live on and on?! I remember playing Sorry with my dad and sisters at Christmas. Lots of fun.
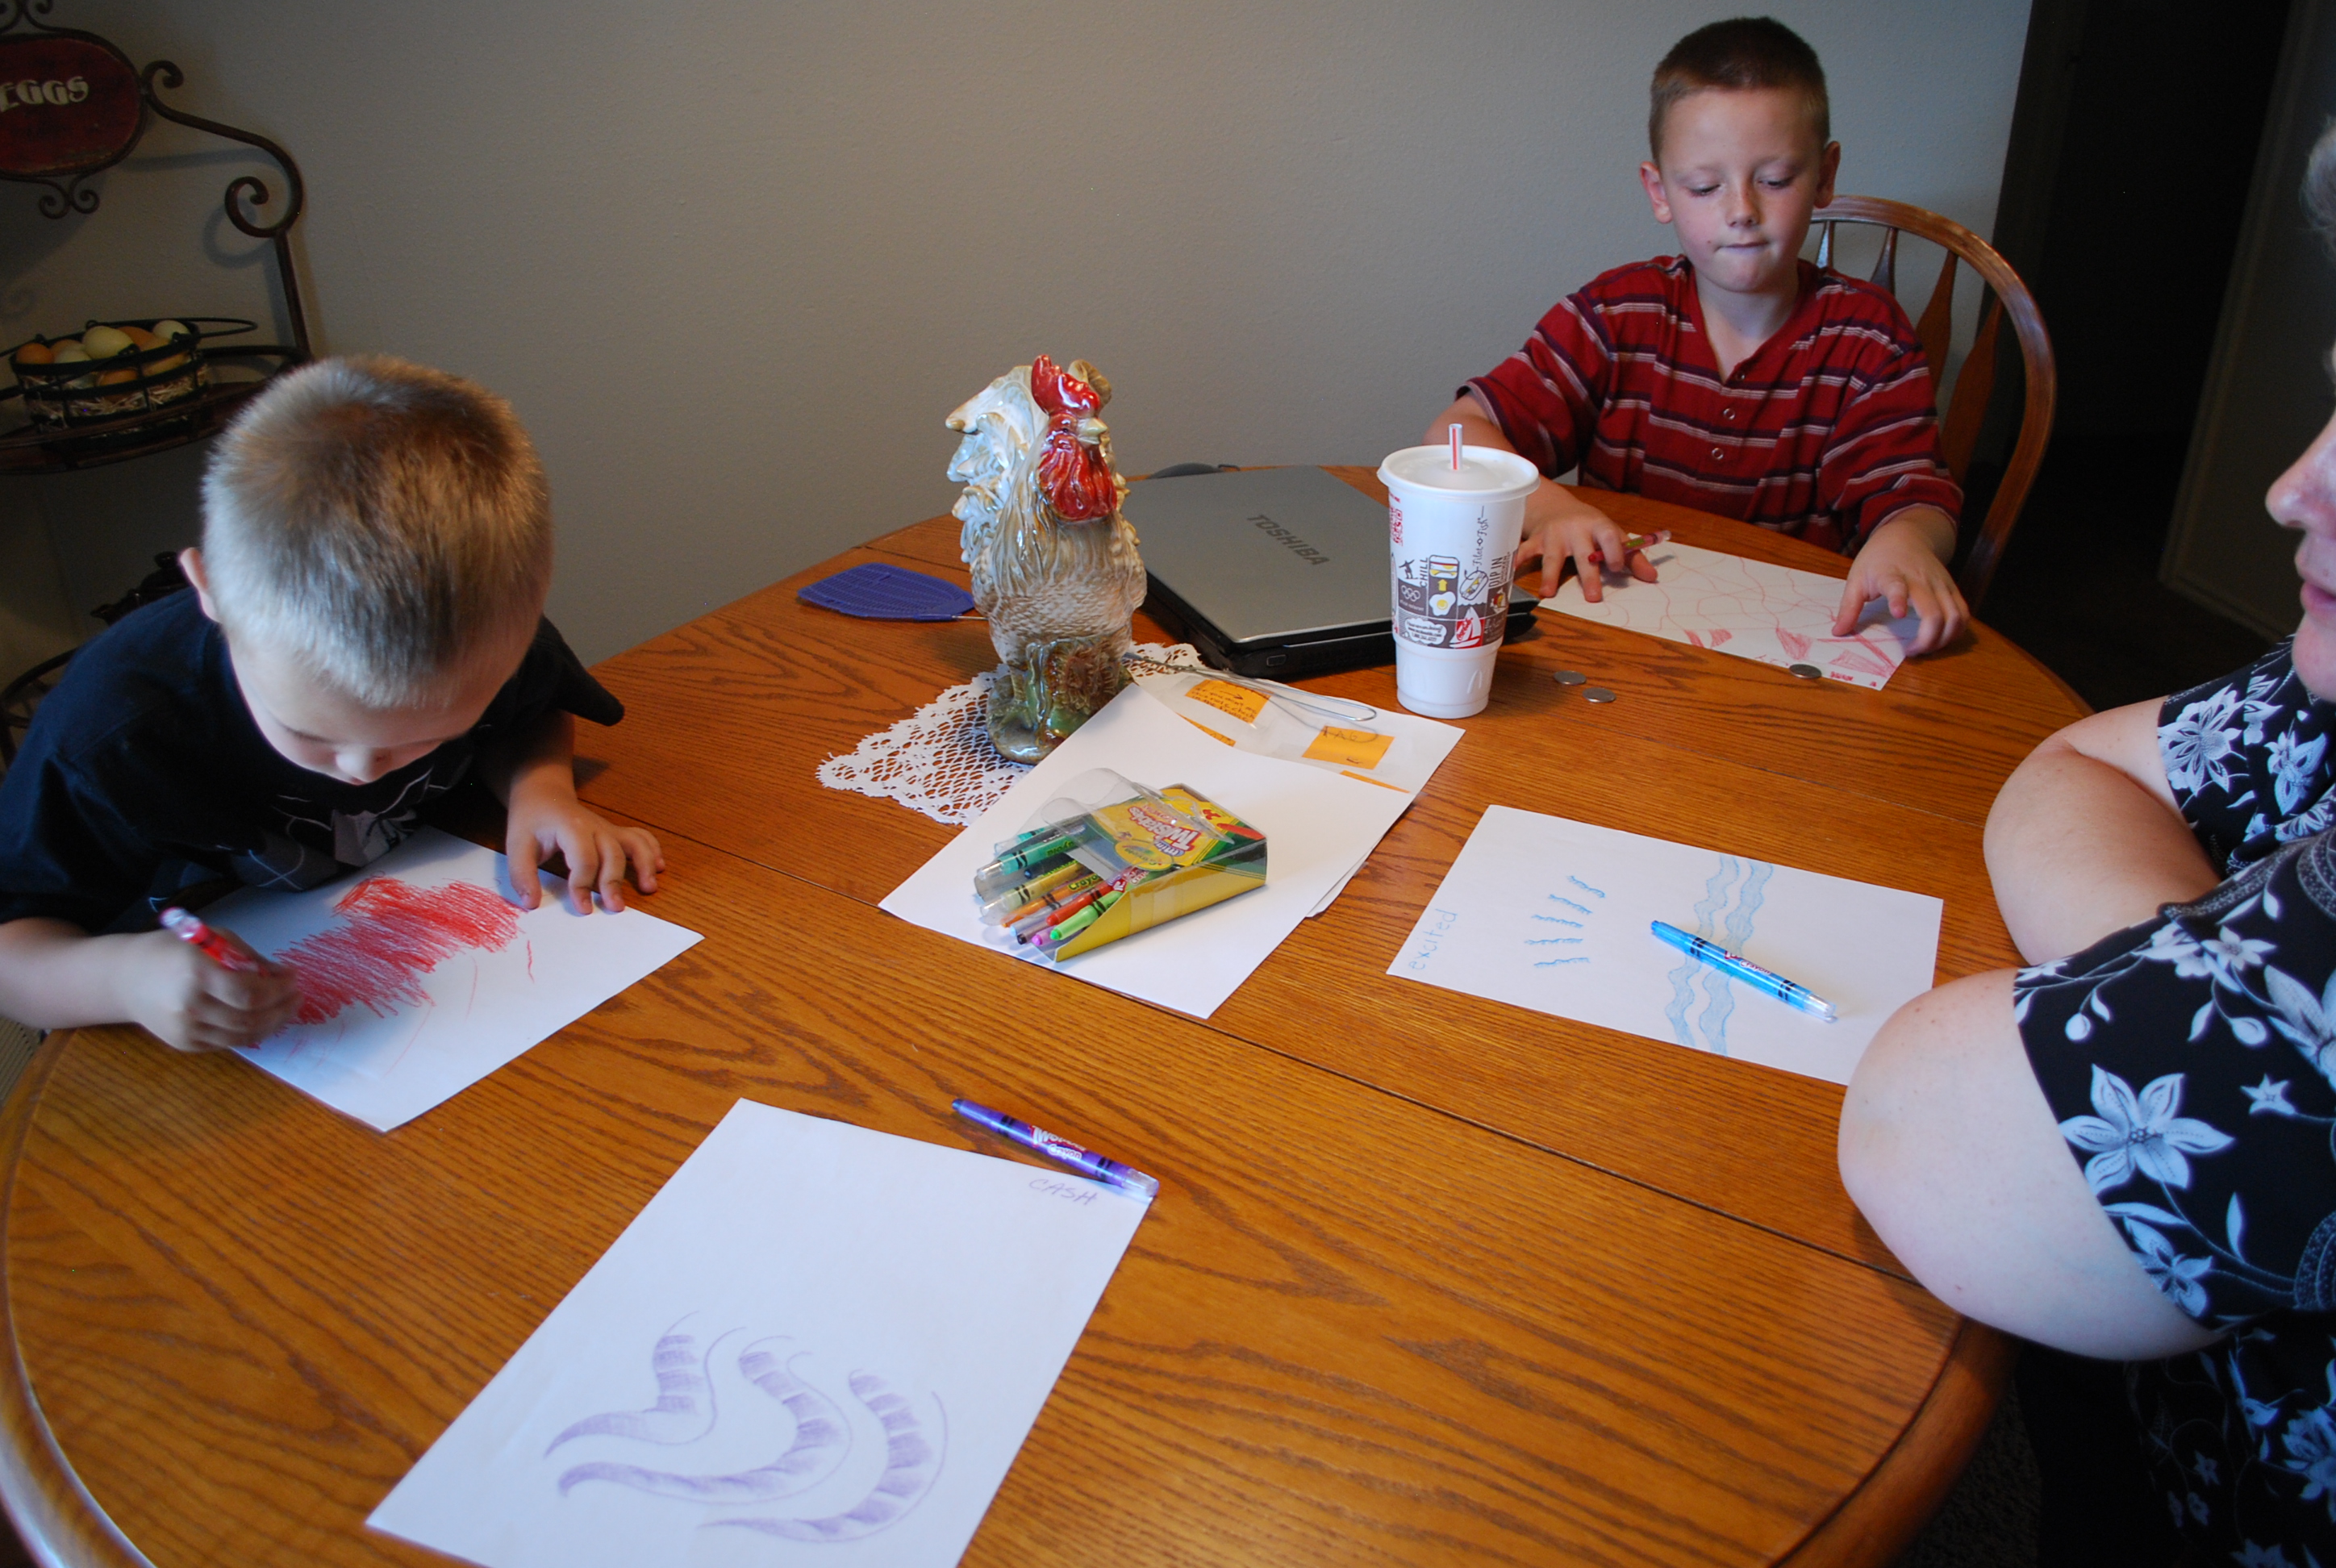
The work of “Creative Simplicity Itself” begins. Each has a piece of paper and a crayon color. The timer is set and off we go!

Yes, the final art could be used as a mask. Jayson is modelling the possibilities!

Jayson, 5, and William, 8. Adorable, precious, creative, genius, sweet, fun . . . do I sound like a grandma?!

