An Art Project for Kids that starts with a black line. Go to ARCHIVES March 2012 and scroll through the paintings to get to the directions for this project.


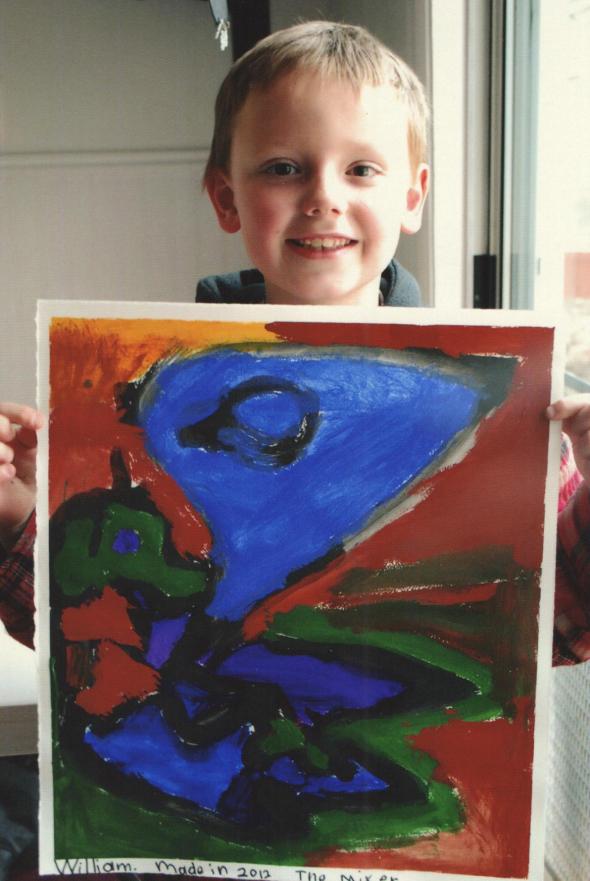

Adding additional colors from the six Primary and Secondary Colors.
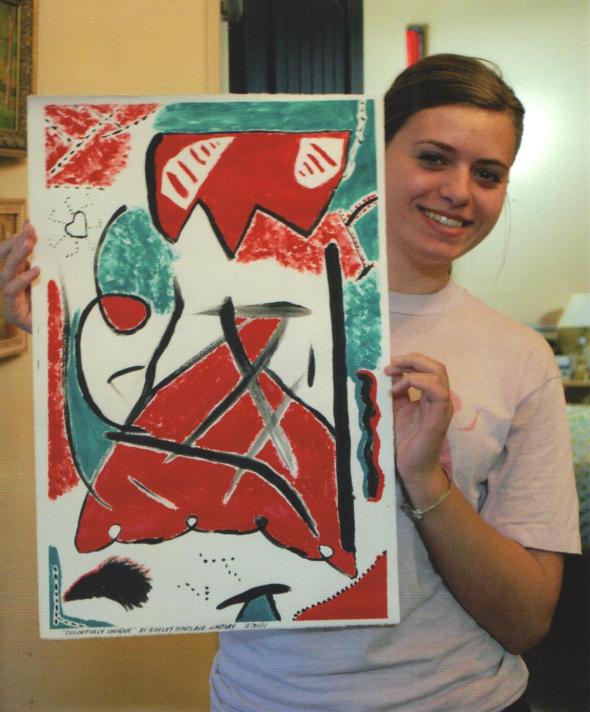
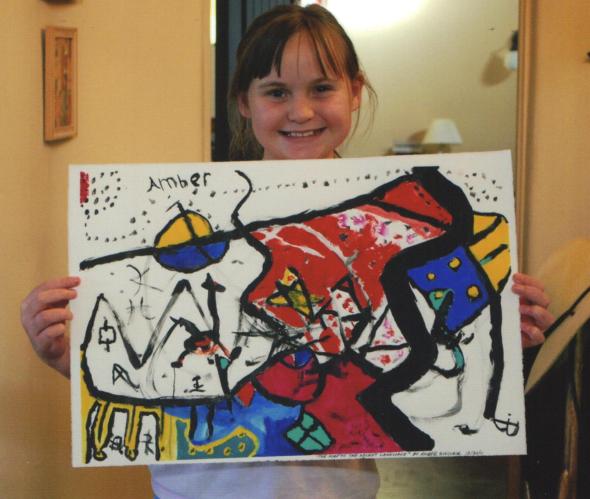
Sometimes after the entire painting has been filled in with color, the artists like to go back in and paint over their black lines to make sure they show up. This removes some of the stress of having to be overly careful about getting paint on their black lines.
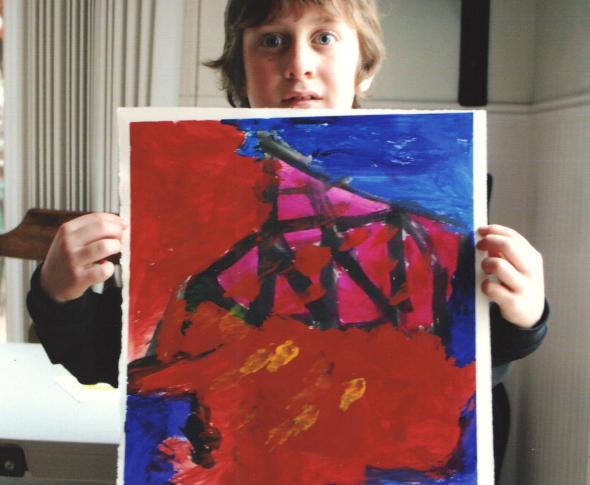
Beginning to add DOMINANT COLOR.
After the black lines dried, the artists filled in some of their bigger shapes with a variety of one of the three primary colors.
An Art Project for Kids: Exploring line, shape, and color in a painting
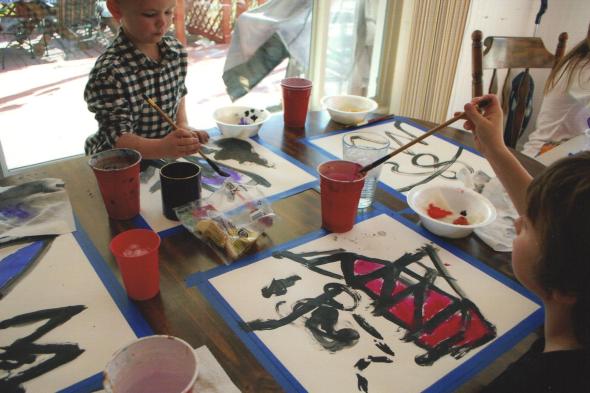
Over the last couple of months I have worked with children from the ages of 4 to 21 (yes, they can still be considered children) in a painting project that explores line, shape, color, and final presentation. The results were fabulous. These are the steps taken:
1. Use quality materials. Tape 90 lb. watercolor paper down to a solid washable surface. Overlapping the tape onto the watercolor paper about a half inch and firmly pressing it down will give the painting a built in white frame when you carefully peel the tape off. Use acrylic paint. Not poster paint. Acrylic paint is water soluble for easy clean up and has brilliant and intense color.
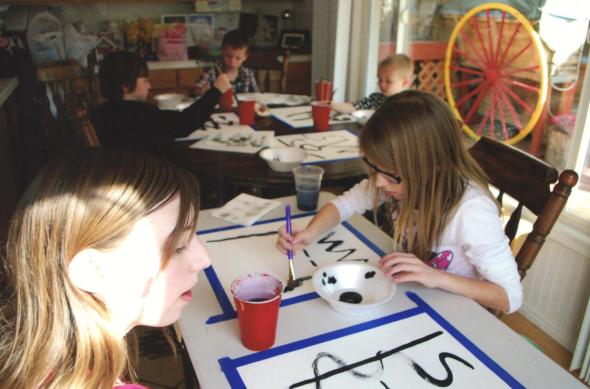
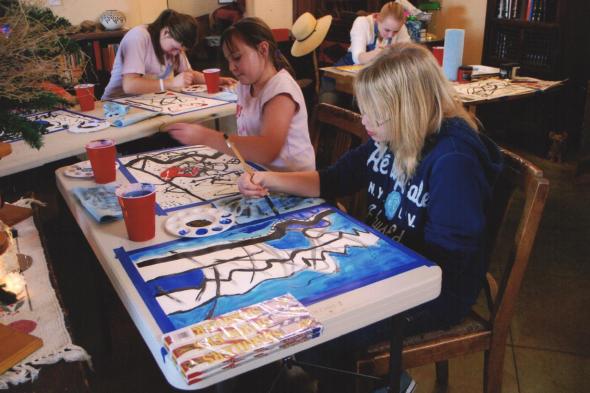
2. Explore the art element of LINE by asking the artists to paint a straight line, then a squiggly line, then a fat line, a zigzag line, a thin line, a diagonal line, a broken line. You get the idea. Use only black paint. Have them connect some of the lines to make SHAPES, another art element. While the black lines are drying go play a game or go on a treasure hunt.
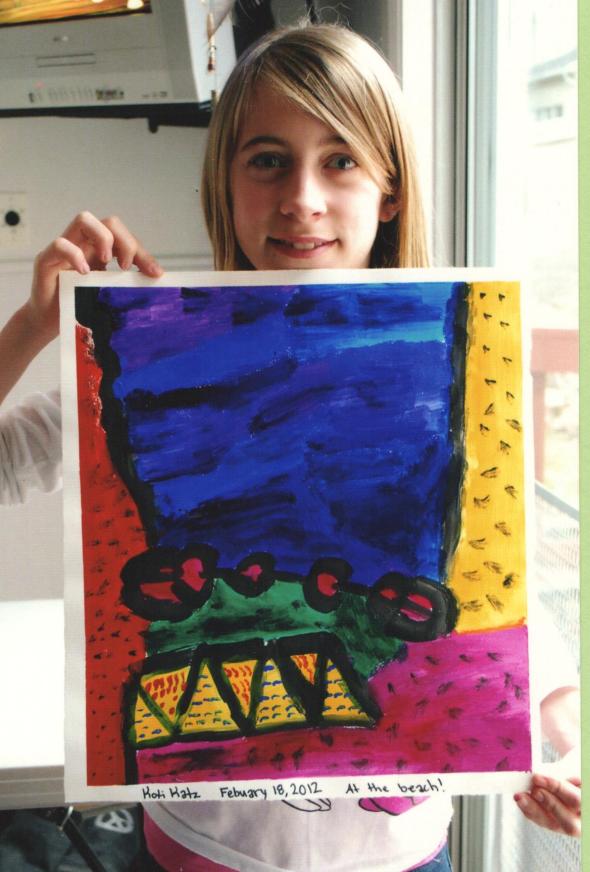
3. When the black lines are dry introduce the PRIMARY COLORS of red, blue, and yellow. Have each artist pick one of those three colors to be the DOMINANT COLOR of their piece. Have at least three versions of each of the primary colors. For example, if a child picks RED to be their dominant color give them three different reds (like a dark red, magenta, or orange red) and some white so they can have VARIETY in their dominant color. Have them fill in some of their large black line shapes with their DOMINANT COLOR so that it is . . . DOMINANT in their painting.
4. While their DOMINANT COLOR is drying introduce the SECONDARY COLORS of green, purple, and orange. Talk about how you get and alter colors by mixing them with other colors. Have the artists fill in the rest of their painting with any of these other colors, filling in all the white spaces and painting right over the edge of the tape. Now, go play another game until the paintings dry. Or, if you are in a hurry you can pull out your hair blow dryer and speed the drying time along.
5. The final part of this Art Project for Kids is part poetry because they need to come up with a name for their painting. Have them rotate and look at their wonderful piece from all four angles and consider what they see or what emotion the piece conveys. It is exciting to carefully peel up the tape to reveal a clean white frame around all sides and then to sign and title . . . just like a professional artist.
Starting with black lines.

The first step in this painting project was to experiment with LINE. We used black paint to make straight, squiggly, zigzag, diagonal, thick and thin lines.
