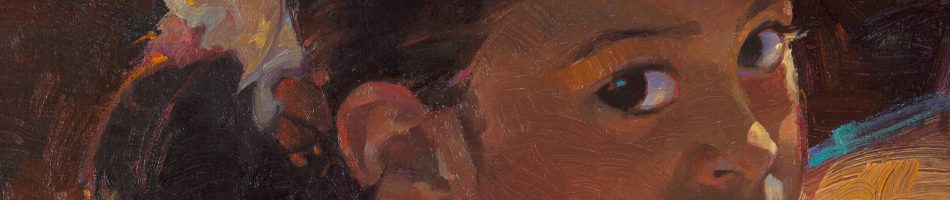
The Inner Workings of My Soul
” A writer is dear and necessary for us only in the measure in which he reveals to us the inner working of his soul.” –Leo Tolstoi, Russian author, 1800s. When young, while eating breakfast each morning before getting on the school bus, I always had a couple of favorite books handy for entertainment. Cereal boxes only had so much content and this was in the days before digital stimulus. I actually LIKED studying for spelling tests. Something about words: their meanings, sounds, and placement engaged me. Was I a budding writer? The day an English teacher in high school read my fiction story to the class as a quality example sent a flush of excitement through me and planted itself in my memory. But, I didn’t choose writing, I chose art. The writing, however, tagged along. I have a trunk full of journals, several story starts, and then… I started writing captions to go along with the sketches I post each day. This book, “The New Dictionary of Thoughts” has been a faithful companion in that process. It was published in 1936 and contains quotes from “thinkers” prior to that date, of course. I find the language usage elegant. It also helps that the topics of quotes are arranged in alphabetical order. Autumn and Avarice are right next to each other, lol. How cool is that! And one can not simply walk into the Mordor of writing without the research assistance of the Internet. What an astonishing age to live in! Posting on Instagram has helped me keep my musings condensed, valuable to whittling the words down to their essence and essential in a world of short attention spans–myself included. The writing has become as important as the sketch. That was unexpected. When I look for a subject to sketch now, there must be a concept to go with it. Keeps me on the edge of my intellectual seat. When the visual and the writing come together there is that same “flush of excitement” I felt in my English high school class so many years ago. A few more recent and favorite postings follow:
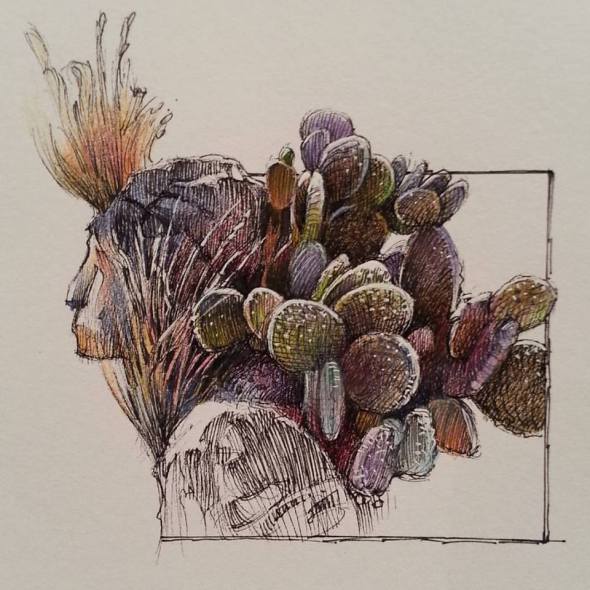 Day 506: BEAUTY or BURDEN? No kidding, standing on a low wall I looked down on some rocks and a desert plant in our yard and from that slightly different perspective I saw this head and shoulder adorned. BEAUTY: Move over Marie Antoinette updo, Marilyn Monroe’s glamour waves, and Princess Leia’s side buns! BURDEN: Or perhaps this is a cactus to bear, an opuntia around the neck, stickers on your back, a prickly conscience. Just a little artistic fantasy to badger the point: BEAUTY (or BURDEN) is in the eye (or heart) of the beholder?
 Day 520: Traveling the earth tiny Earthlings? I see your excited faces inside that little blimp. Taking a risk to see what’s around the corner? Got toothbrushes and quarters to call home? No, wait! Quarters don’t work anymore. Got your phone chargers? Take lots of pictures! Don’t forget clean underwear and an extra pair of socks! “Rather see the wonders of the world abroad than, living dully sluggardized at home, wear out thy youth with shapeless idleness.”–Shakespeare.
 Day 523: Simple food and drink, simply put, is not simple…now. These essentials of life have brewed and bred a world of complexity and memorable quotes: A Dish Fit For The Gods; All You Can Eat; Chow Down; It Is Meate And Drink To Me (Shakespeare again); Let Them Eat Cake (Marie did NOT say this); and the growing harvest of study indicating that YOU ARE WHAT YOU EAT. (Unless, of course, something is EATING YOU. Think GRABOIDS, “This valley is just one long smorgasbord!” And DINOSAURS, “Let’s get this moveable feast under way!” I digress.) Eat, drink, and be merry, for tomorrow you may have to count your calories, measure cups of vegetables, ounces of water, and be sugar free.
 Day 593: Oh, the CRAZY things you could find on the Internet today!!! The U.S. Army has NOT discovered how to teleport people. The National Air and Space Museum has NOT begun breeding tribbles. Archaeologists at Vanderbilt University have NOT discovered the skeleton of a 39 foot tall squirrel. The British Milk Council is NOT selling unicorn milk. Sony has NOT developed a slime resistant proton pack. Verizon is NOT connecting your eyeballs directly into your social media accounts. There are NO pizza scented candles, No T-rex line of T-shirts, and No 3D-printed clam chowder. Dang! Happy April Fool’s Day anyway, lol.
Painting with children?! Are you kidding?!!!
Yes!!! And it is reinvigorating to the creative process. I noticed my neighborhood filling up with children as new families moved in. Conveniently, a yellow bus stops at the corner of our property each morning of the school week. After my initial excitement that there would be more trick or treaters for Halloween (one of my favorite creative holidays), I contemplated inviting the children on our block over to paint. Could be daunting…but these three possibilities came to mind: 1. Spreading goodwill in the neighborhood. (Well, that certainly could make a difference in the world.) 2. Paying it forward. (Sharing what I know about art. I have spent a few years learning about it, lol.) 3. Assisting a budding artist to find their way. (So many teachers, mentors, associates, artists, friends…have contributed to my art journey.) Let the fun begin:

I invited 16 children over to paint two days before Halloween. 12 came. The youngest was four. The oldest was 11. Set up three tables with a painting spot for each child: masking taped down 8 x 9 inch pieces of nice watercolor paper, cup of water, brush, paper towel, and a small paper plate with a wet paper towel folded on it for the palette. Put a small dollop of primary, secondary, and white color acrylic paints on each palette. Black is very popular. No brown. They have to mix that one…
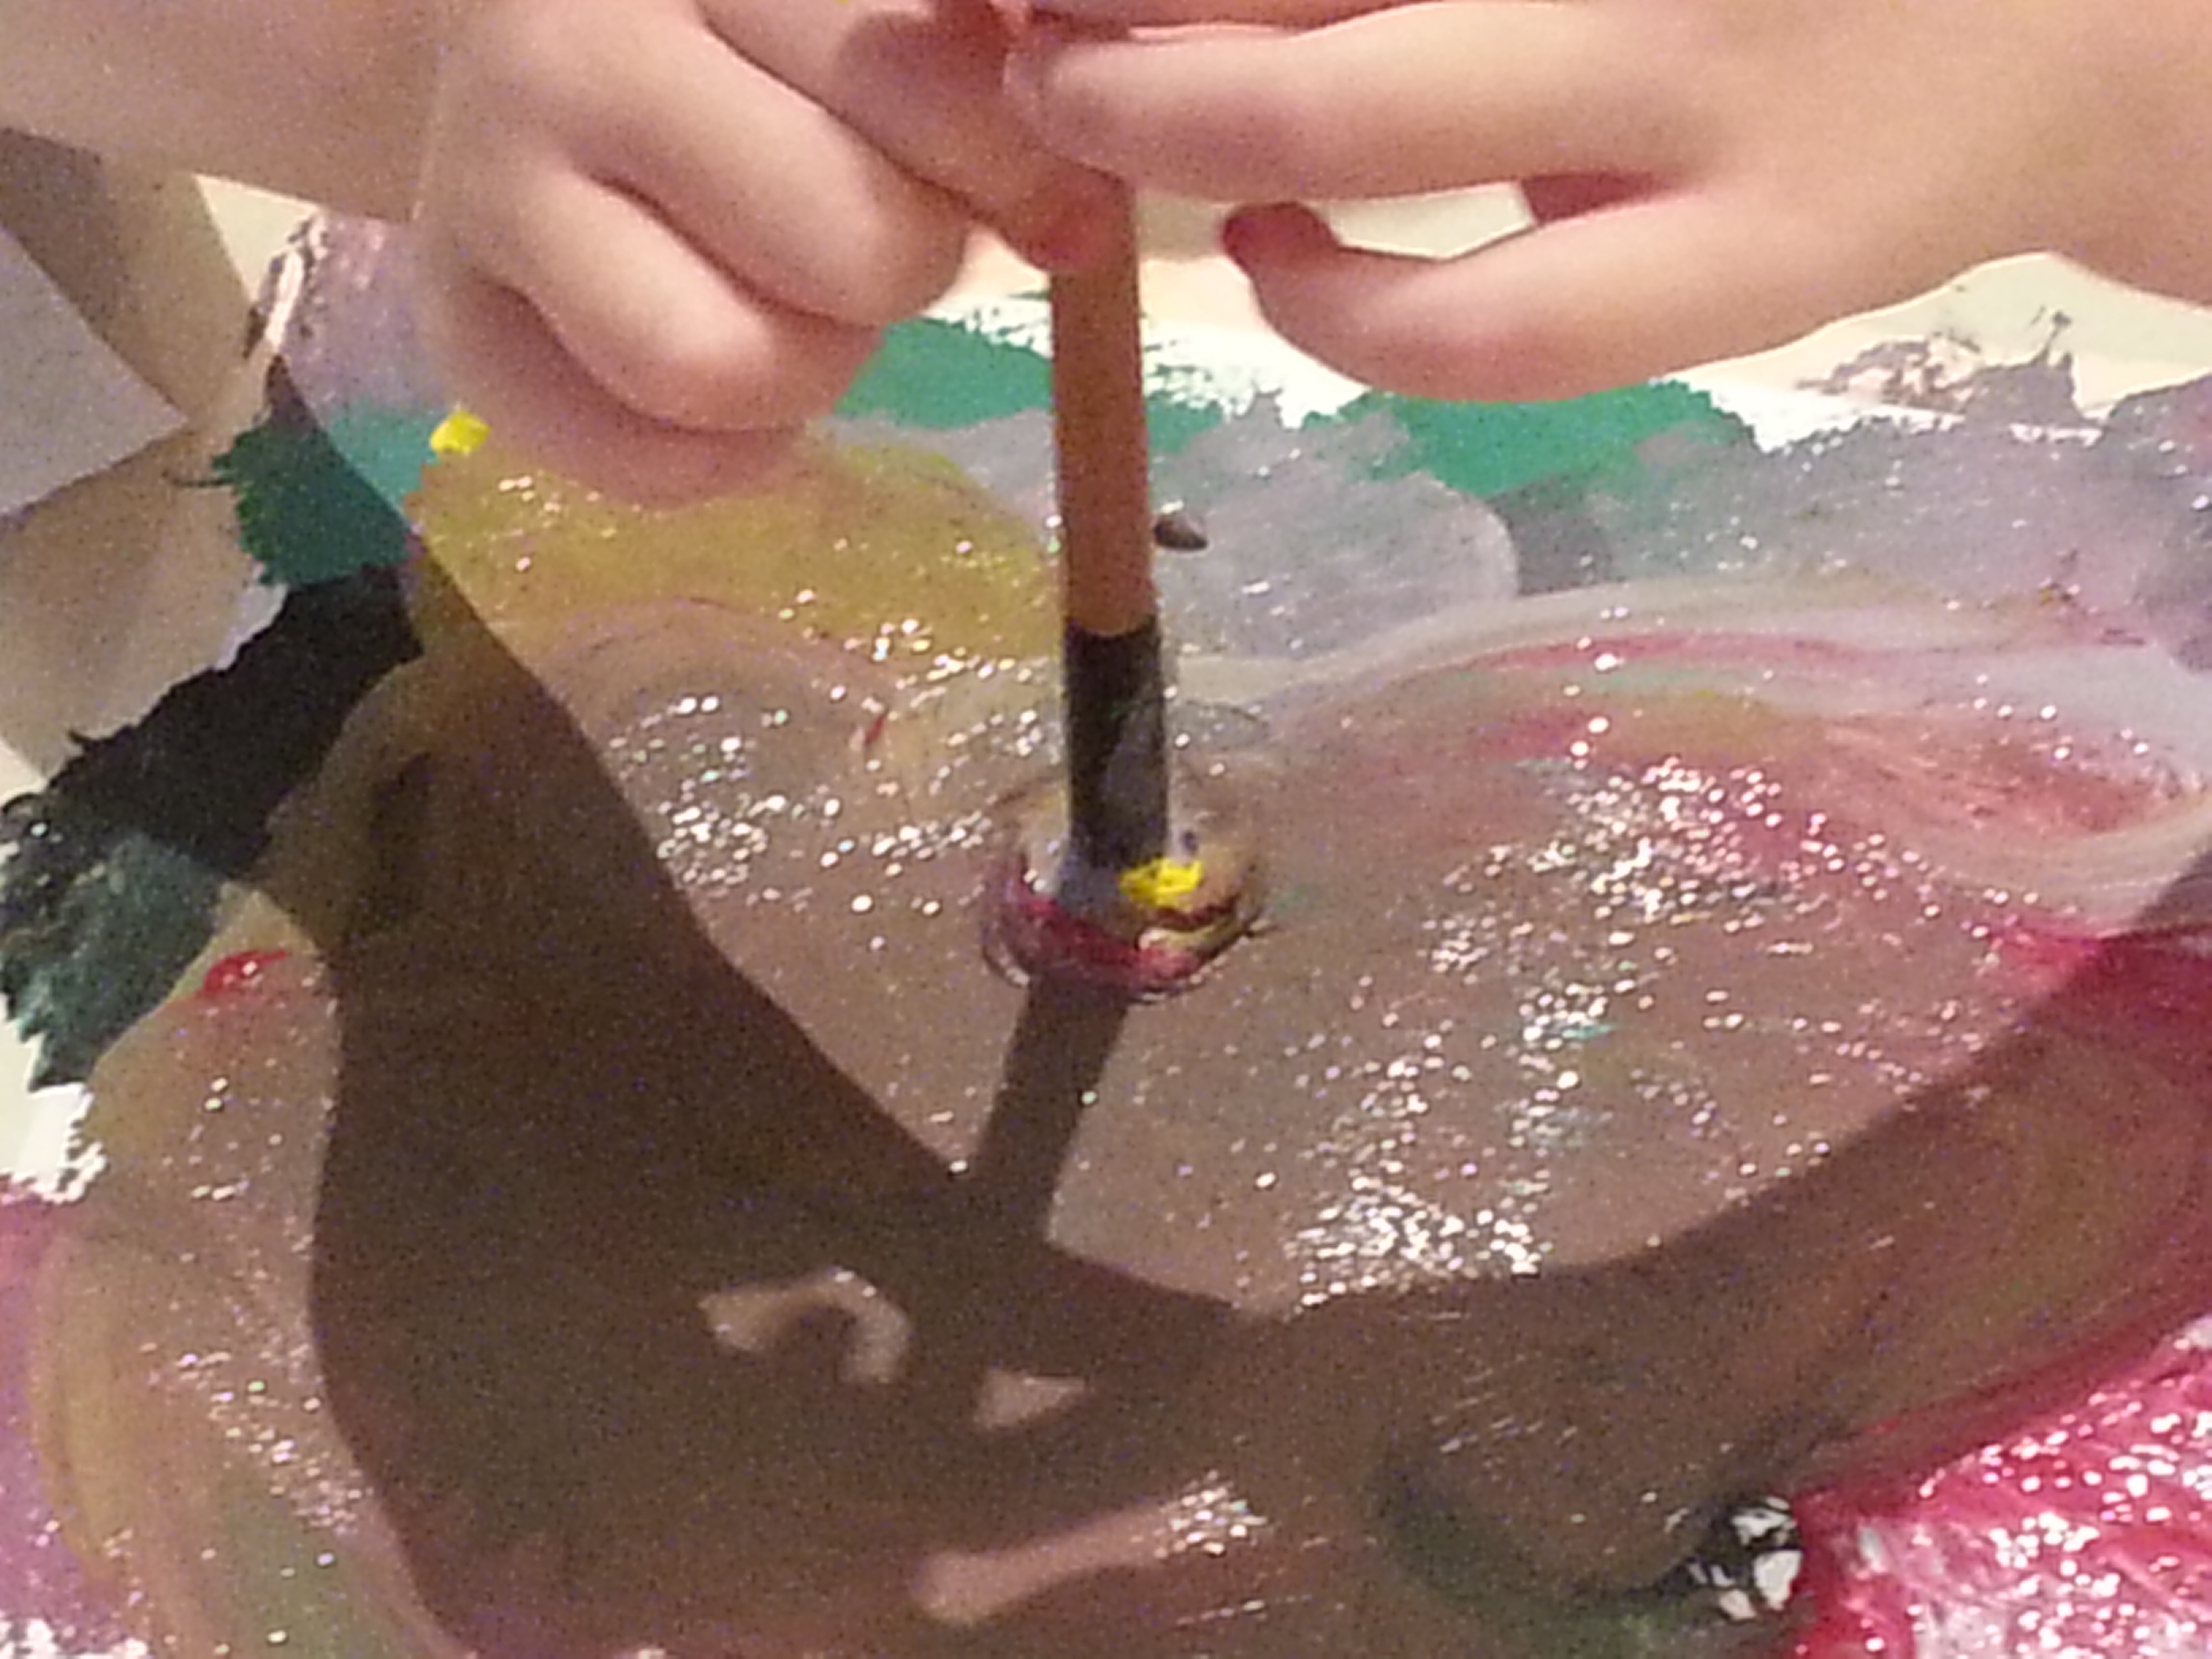
Yes, exploring the medium and tools of the trade. The brush survived…barely. Amazingly felt peaceful when one of the water cups hit the floor. Cement floors, yay!

Painting a monster face was a suggestion. The children could paint whatever they wanted to. Requested that they fill in color all the way to the edges of the tape…getting rid of all white paper. Hayley’s (age 11) monster face.

What is it about a frame that puts the finishing touches on a piece of art?! The children left their paintings with me overnight for a good thorough drying. The watercolor paper smoothed back to flat. Slowly and carefully removing the tape leaves a white border.

Ian is also 11. I don’t know what he was thinking, but I could see huddled figures and a wild sky. Some of the pieces look better with ragged edges, of course. But the next day when I met the children at the bus stop with their nicely bordered art pieces their expressions of oohs and aahs washed over me with such a feeling of well-being that I will probably keep inviting them over, lol.

Ian’s piece with a white border. The next step in this creative process will be playing with words and giving their pieces a title.

Kyle is 6. He spent more time and focus on his piece than any of the other children. I was intrigued when he made statements like, “I wanna see what mixing these two colors together makes.” Again and again he painted and repainted his piece until he got just what he wanted. Mmmm…I thought, is he a “budding artist” I can mentor?

Gotta take better photos! Kyle’s piece was terrific with a clean border. The colors were intense. There is a purposeful mind at work here.
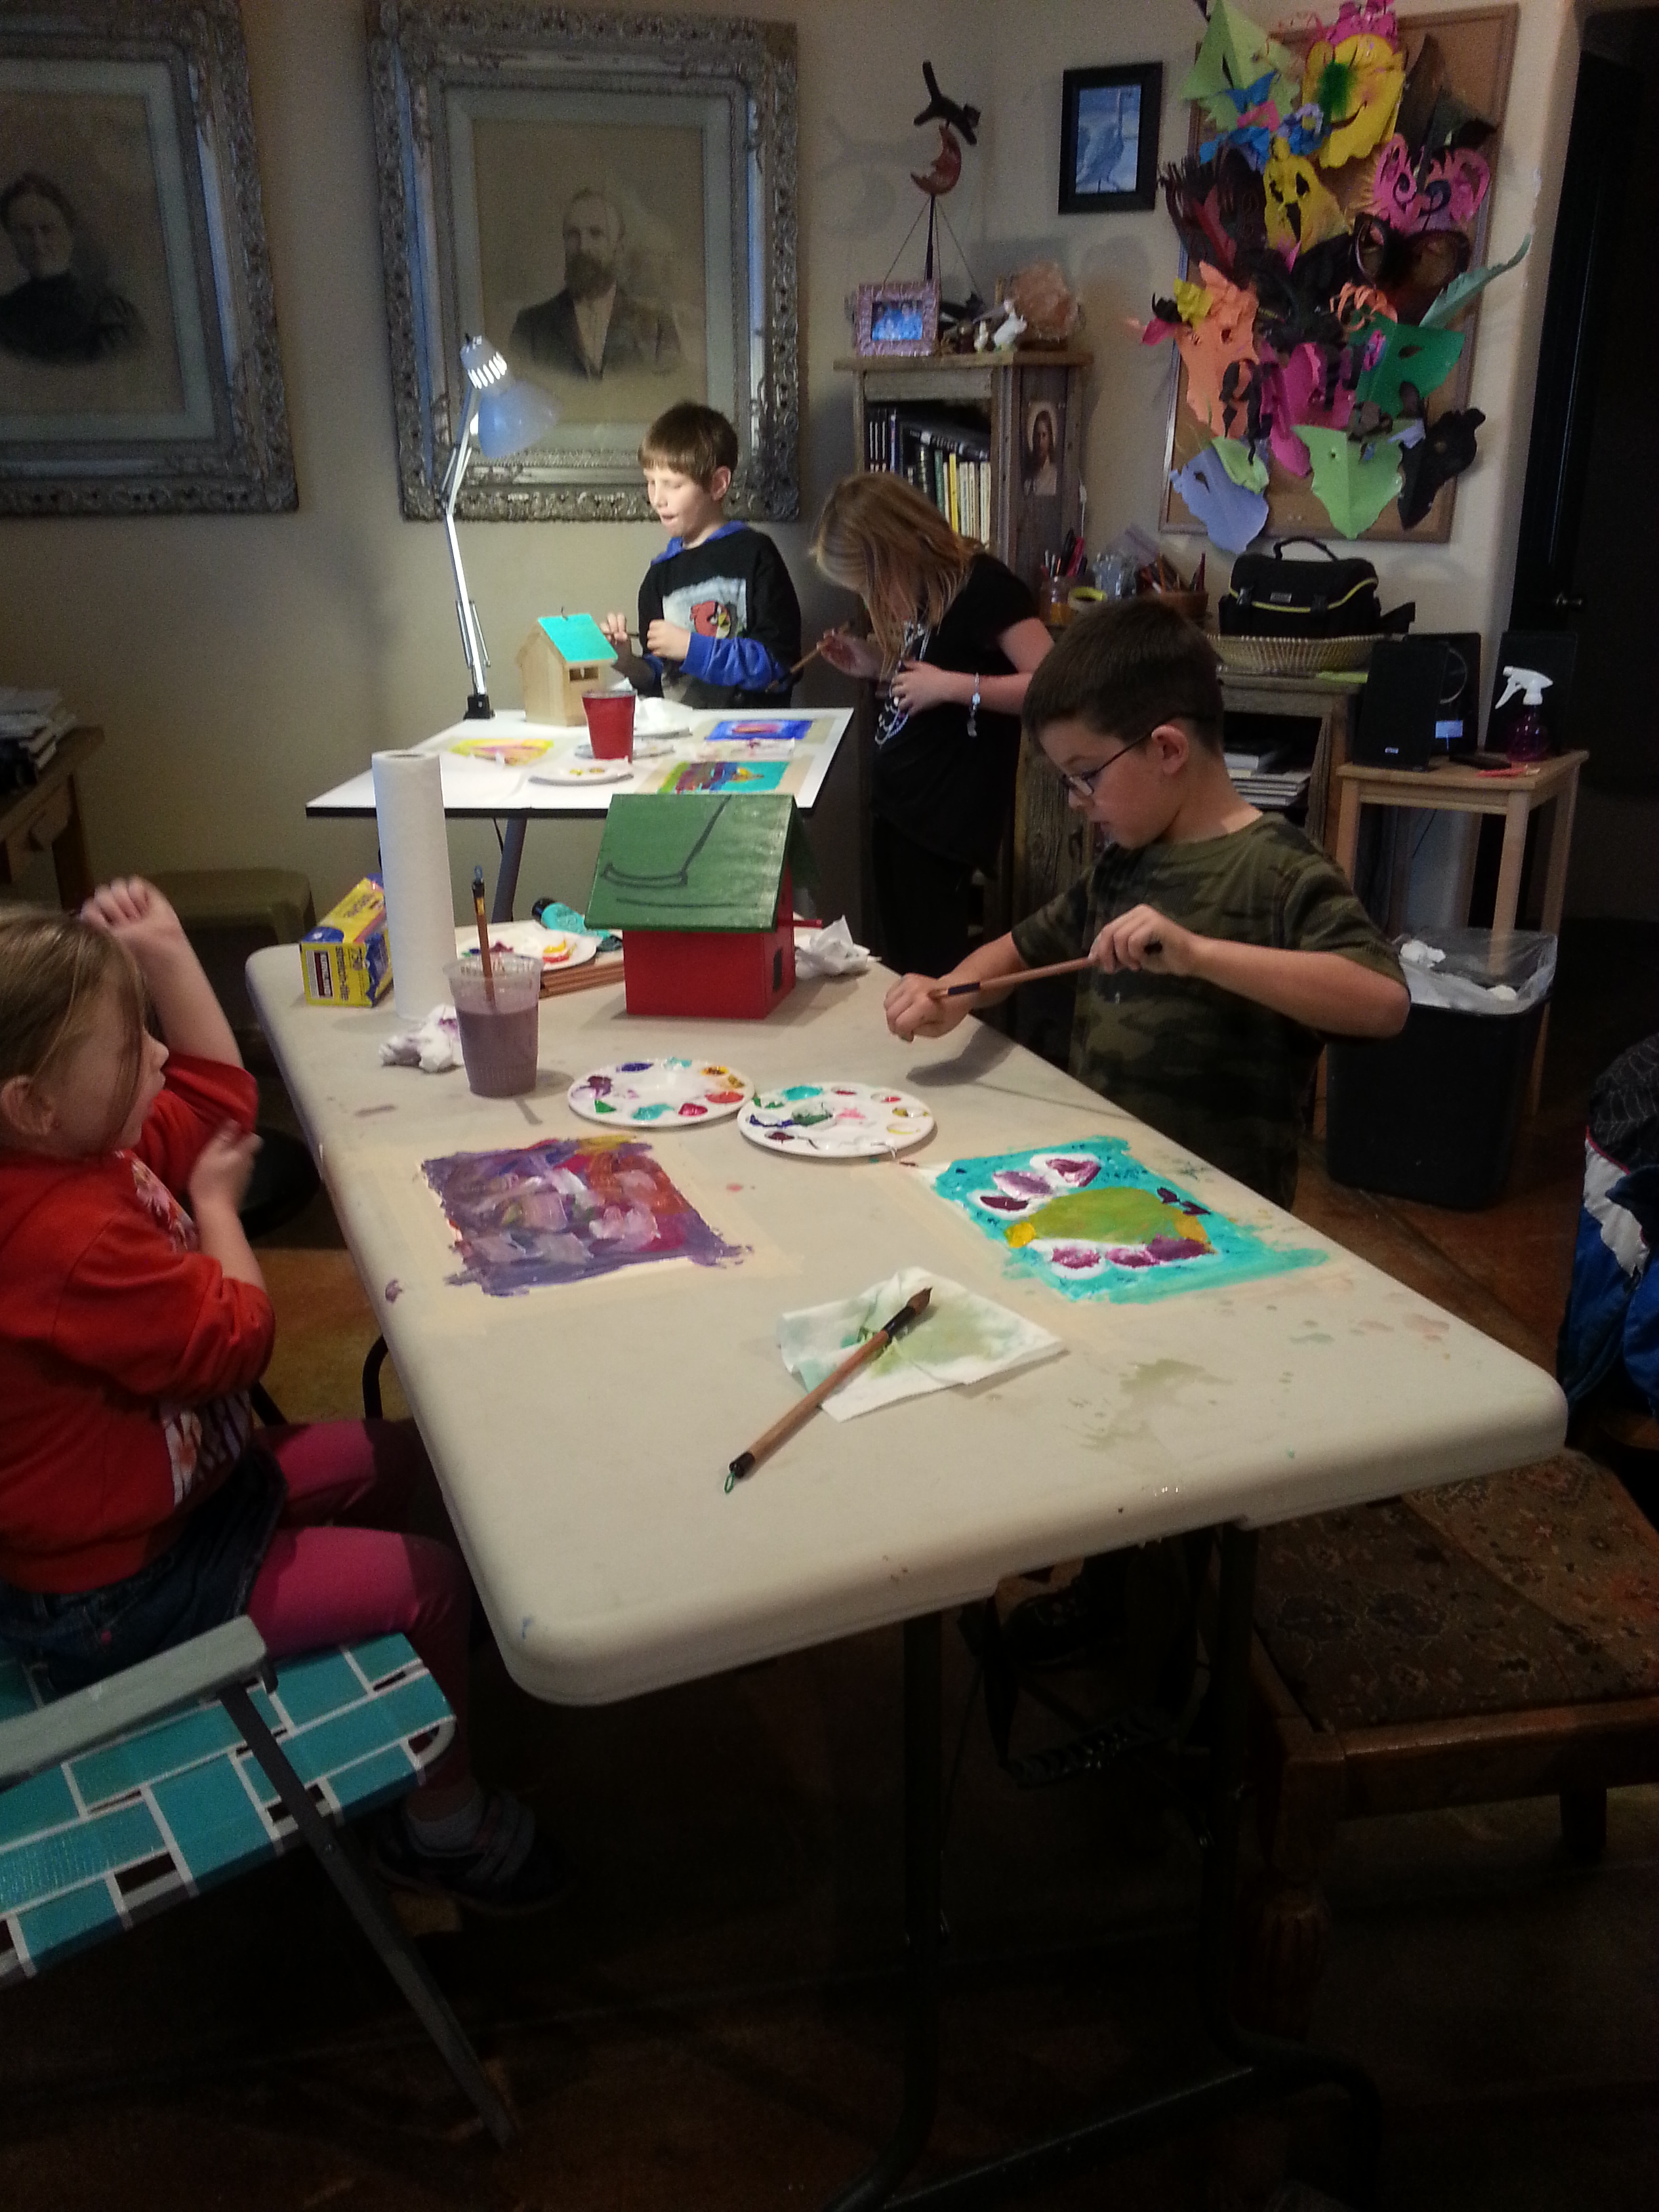
Invited the children back during the week of Thanksgiving. They now have the drill down. I spent an hour setting up. They painted for about 15 minutes. Clean up took about an hour. Reminded me of Thanksgiving Dinner: you spend hours cooking a meal that is consumed, on average, in about 15 minutes.

Jonathan is 6. He also has an energetic and colorful approach to painting. Good thing he gets it down quick because he can’t sit still for very long, lol. His rendition of a turkey. I like the blue texture strokes in the background.

All cleaned up and ready for display on his mom’s refrigerator door!!!
A Simple and Inexpensive Art Project for Children: Mask Making
“Your face is a book, where men may read strange matters.” – Shakespeare. I think he was on to something! Much about the artist is always revealed through the art they make. So it was with the children and the masks they made. In September of this year I taught two classes of fifth graders how to make a simple mask. In 45 minutes it was easy to see a connection between their personalities and their created mask-faces…even though they were all strangers to me.
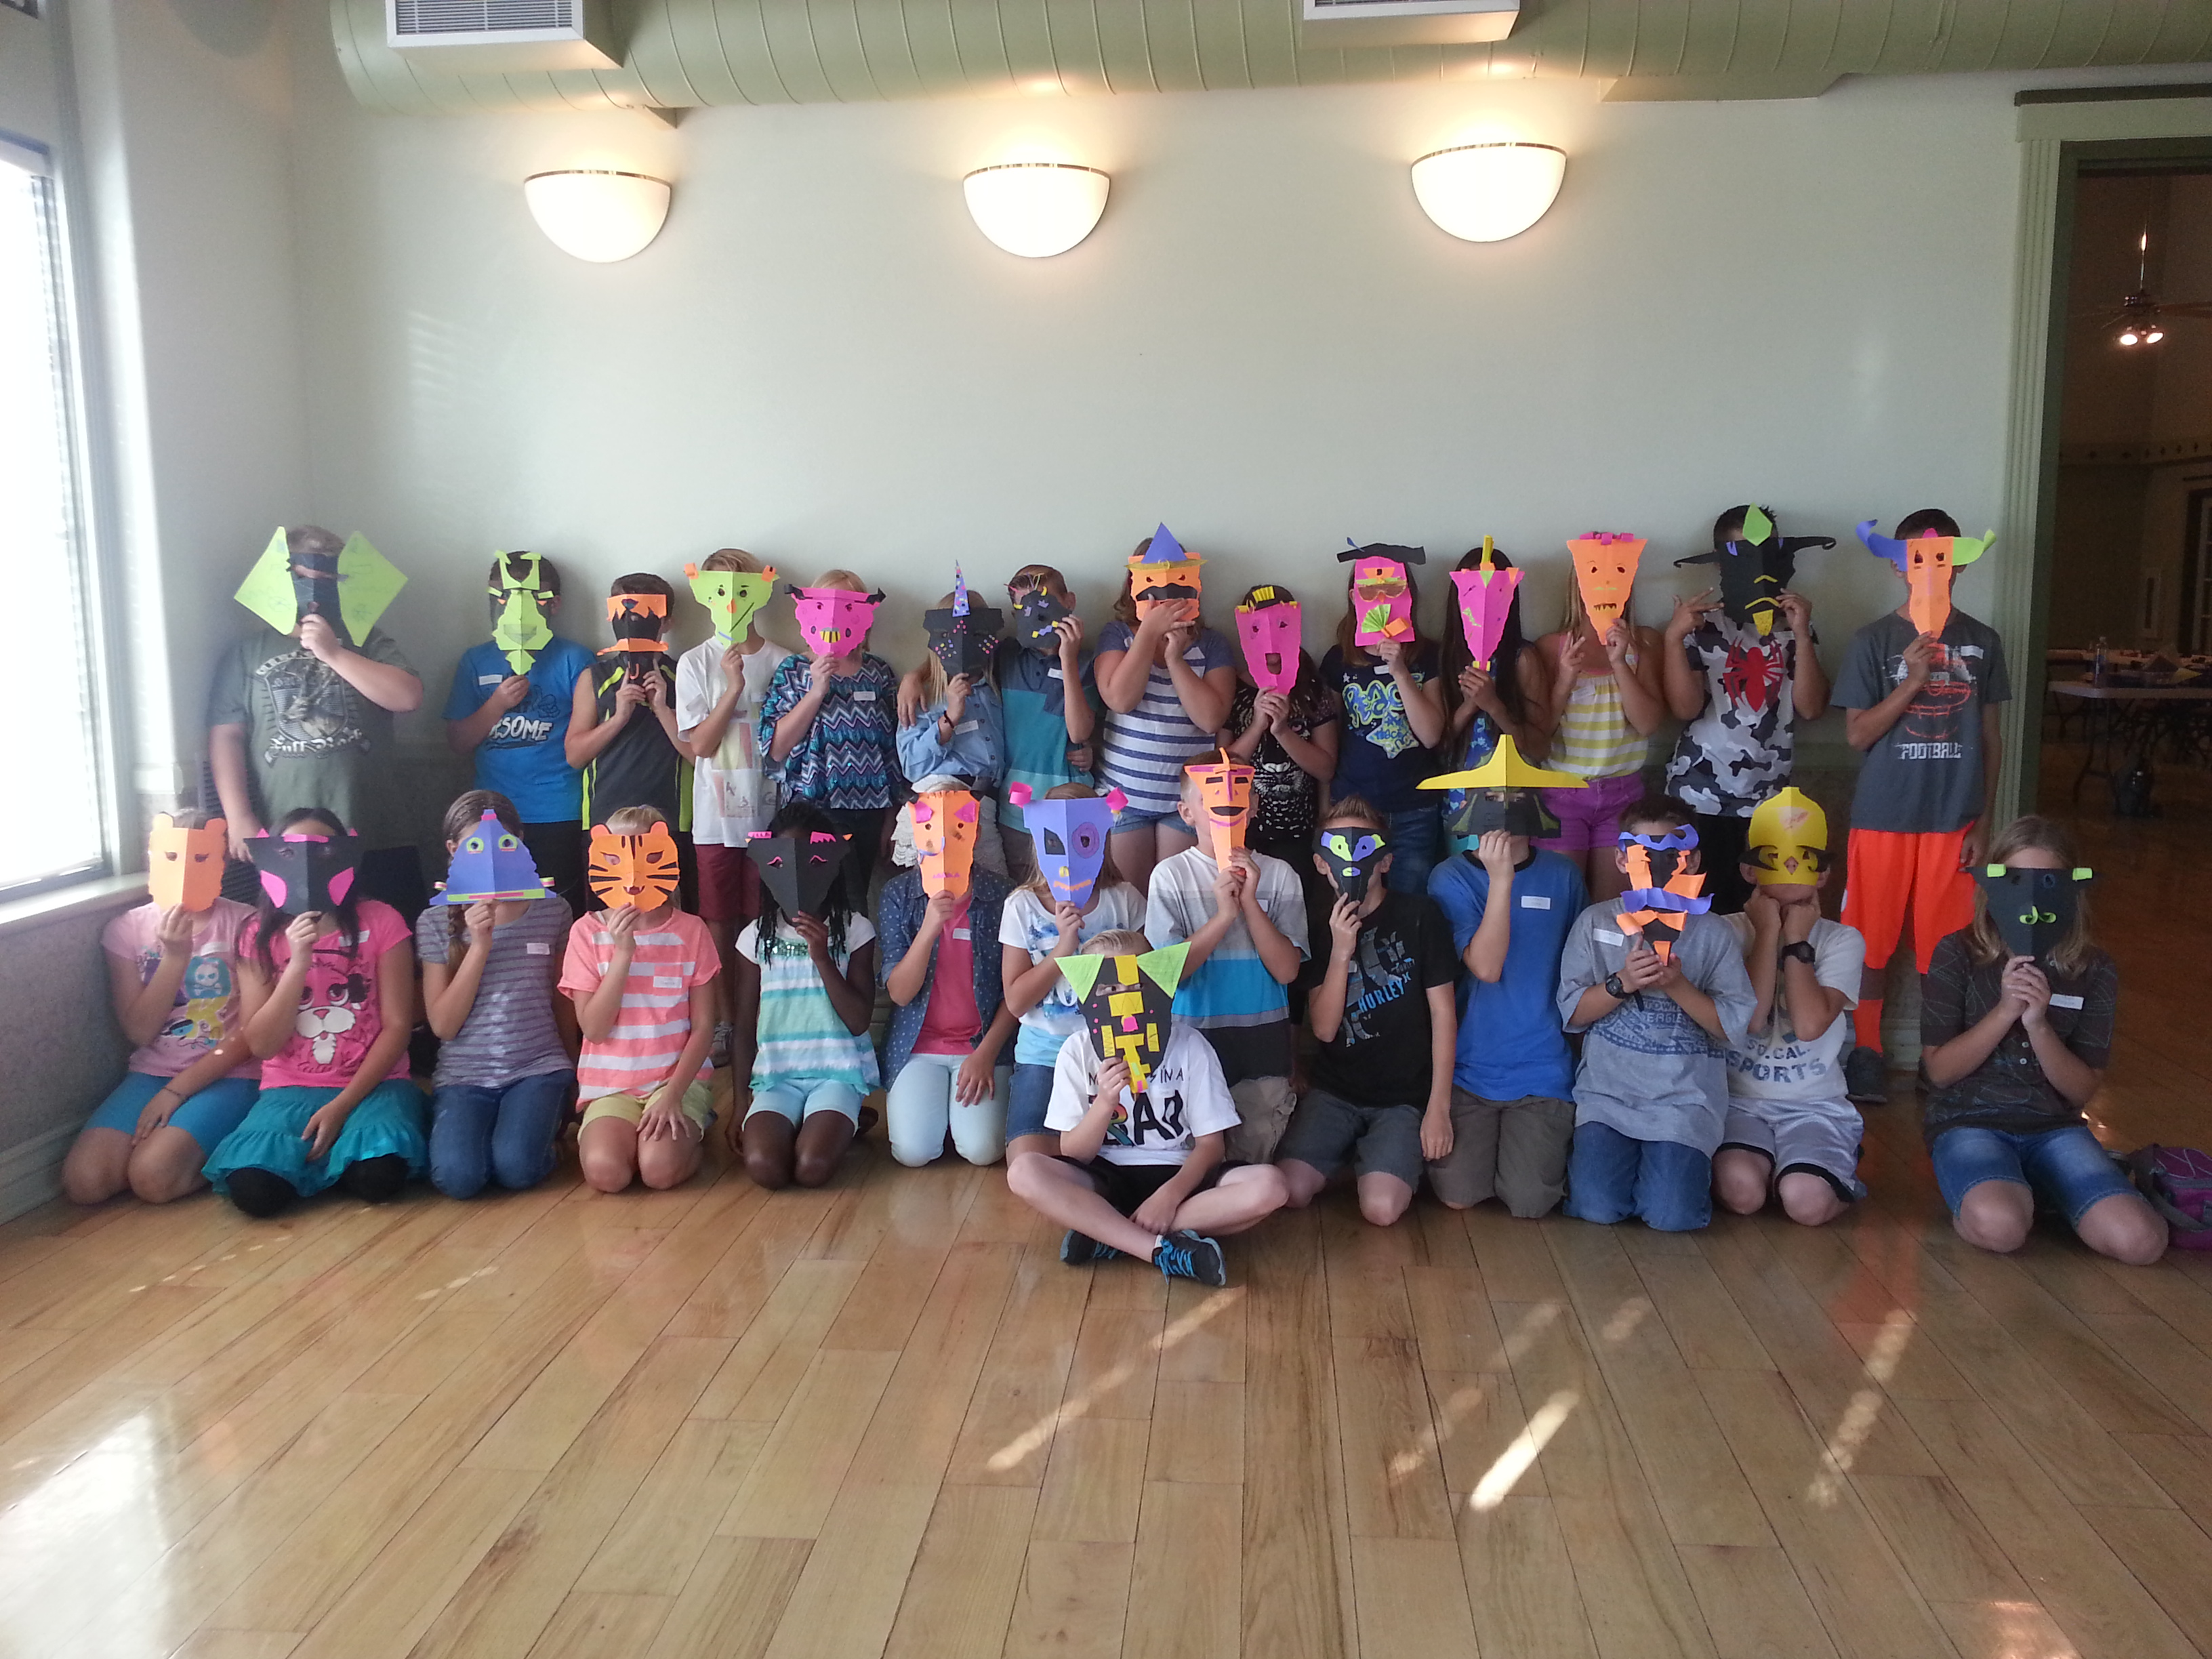
Materials used: 1. Brightly colored and black cardstock. 2. Glue sticks, scissors, staplers, and colored pencils. Instructions: 1. Choose a vertical (hot dog) or horizontal (hamburger) mask face. 2. Close your eyes. Put your hands on the sides of your face and slide forward to your nose. Notice that your face is not flat. 3. Fold your cardstock in half to begin adding a sculptural 3-D effect to your mask. 4. With your cardstock folded in half, tear or cut through the two layers from a corner near the fold, diagonally to its opposite corner. You have now created the jawline shape of your mask. 5. Where do you want your eyes? Mark with pencil. Poke a hole in the cardstock with the tip of a pair of scissors. (Beware of poking too hard and jabbing your fingers.) The hole you poked is for your scissors to have a place to start cutting from. Cut fabulous eye-shape holes!

Now the final touches! 6. Use your scraps of left over cardstock or trade with your fellow student to get a mix of colors and shapes. Bend, curl, fold, crumple, tear, or cut (paper is such marvelous stuff) these scraps and attach to your mask with the glue sticks (if the pieces are small) or stapler (if the pieces are bigger). Always try to get the paper scraps to stick out from the mask. This contributes to a 3-D, sculptural effect. Much more interesting than just flat. 7. Decorate with fancy colored pencil lines, squiggles, shading, cross-hatching, dots, and dashes.

Now go look at yourself in the mirror! When you take these home, don’t put them on the refrigerator door…push pin them on a bulletin board or wall space somewhere. The key to keeping them 3-D is to fold slightly so your mask sticks out from the wall and then push pin it in place. Do not pin it flat to the wall. When your art is 3-D it will cast interesting shadows. You can always put more decoration on your mask. Think of all the possibilities in your mom’s or grandma’s craft drawer!
Eat a live frog first thing in the morning…


1. Impressionist/Realistic Painting: Started this portrait with free-hand drawing with a brush from a photo. Two days in I used a method I had seen a great portrait painter use: traced the photo onto tracing paper, enlarged to the same size as my painting, transferred enlarged tracing onto a clear plastic overlay, gently laid it over the painting to check major inaccuracies. I was thrilled to discover that aside from raising the shoulder and sliding the top of the ear to the right a bit…I had been amazingly accurate with my eye/hand co-ordination. The face’s profile was an exact match! It’s got to be the practice of drawing every day from life!!! Yay!

2. Social Media: Today I will be drawing-from-life my 70th sketch in a row. I am amazed that I have been that consistent. Sometimes the drawing gets done by the stroke of midnight, but it gets done. I have posted each day’s drawing on Instagram and also shared it with my Facebook timeline. Was told about a #inktober project artists were posting to and joined in. Since I was already doing my sketches in ink I fit right in and have met some new artist friends. Finding thematic and interesting things to draw every day has become a game that requires some thinking. My dear husband has gotten into the swing of things…doesn’t object to my disappearing into the studio or out into the wilderness for a while to draw and even will remind me on occasion: “Have you done your sketch for the day?”

3. Concept Painting: Have decided to begin painting characters in the stories I am writing. These paintings fit in the concept/stylized compartment of my art life. I am looking at self-publishing some of my stories. Therefore, art needs to be produced! I love these little characters and it is delightful to explore what they will look like and how they will act in visualization as well as in words. This is a fairy-princess named Siz.
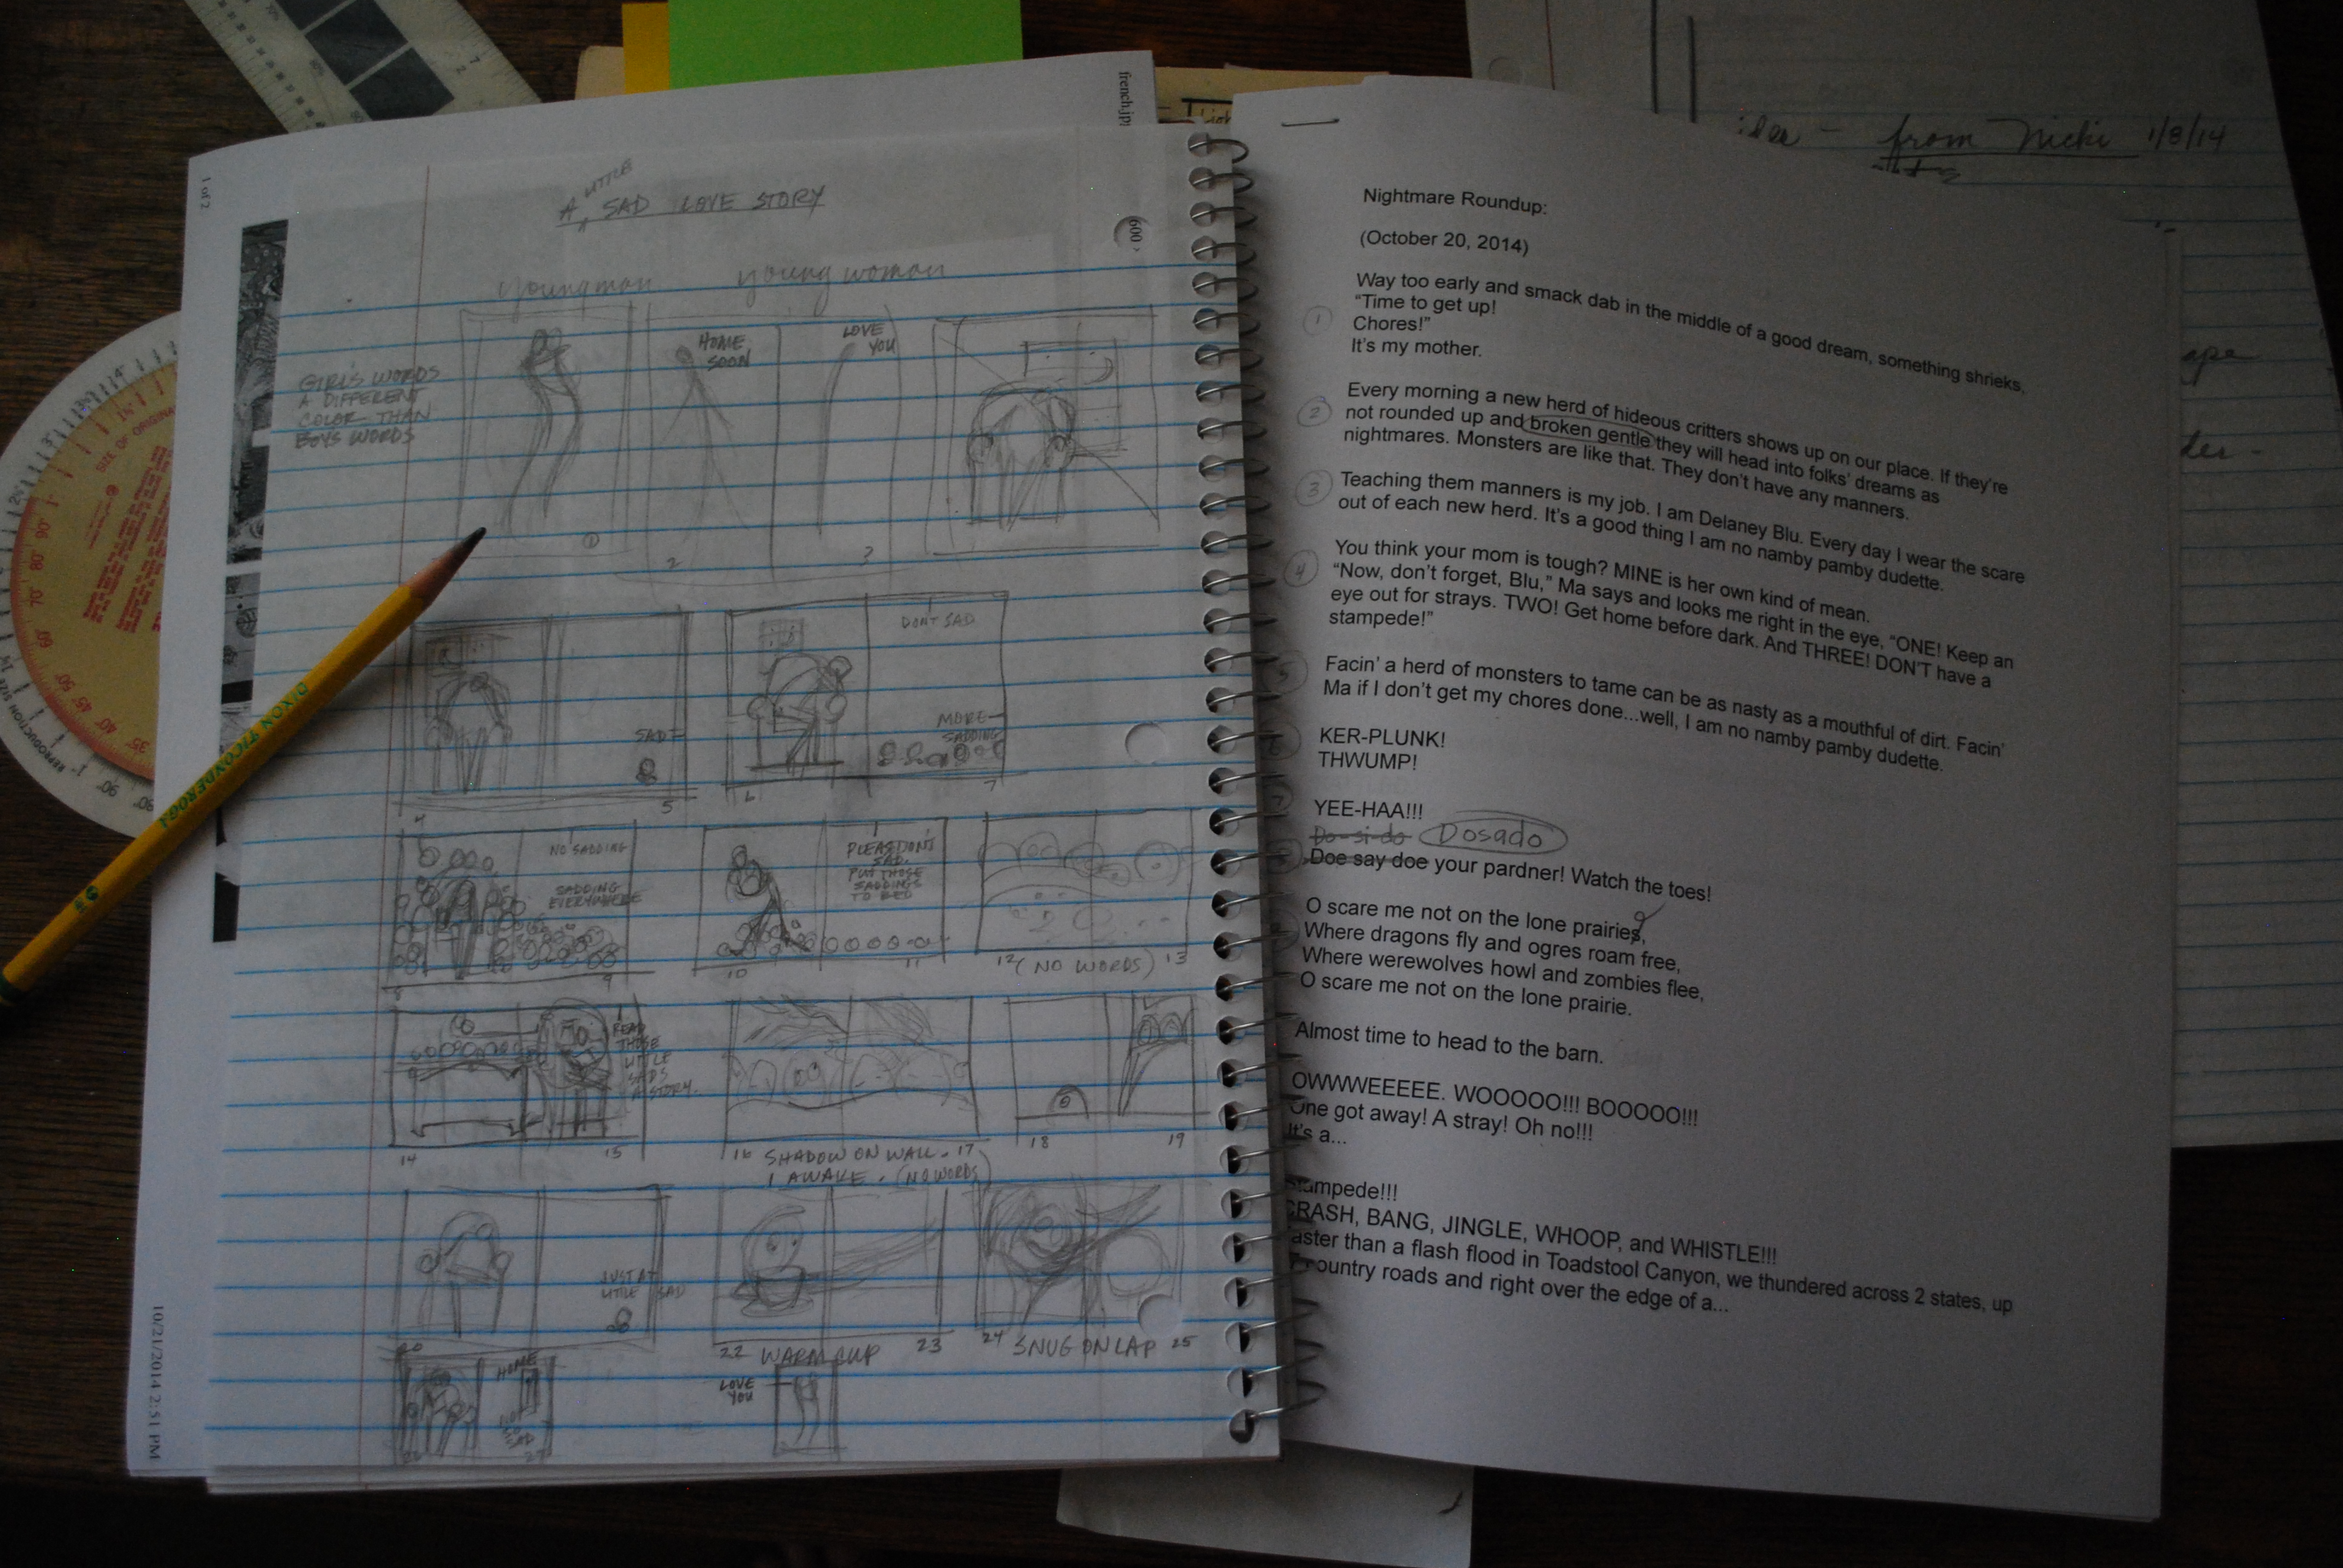
4. Story: It is amazing what you can accomplish, a little bit at a time. This past week, because I am eating that “live frog” first thing, I have made some real progress on two stories: “A Little Sad Love Story” and “Nightmare Roundup”. At this rate I may actually join the ranks of writers, storytellers, and children’s books aficionados within my lifetime!
What!!? “Eat a live frog first thing in the morning and nothing worse will happen to you the rest of the day.” My favorite “bard”, Mark Twain said those words. Why would doing art that I choose to do be like eating a live frog (YEEESH!)? It’s the: getting into the studio, focusing, figuring out the next move, avoiding distractions by starting earlier, etc. that falls into the category of eating a live frog. (Again, YEEESH!) On a Sunday night I declared that I would get up at 7am the next morning, do morning rituals, and be at the work of art by 8am. Sabotaged myself by staying up really late and fell asleep without setting an alarm. At 6:59am Monday morning I spontaneously woke up. Had one minute to decide whether or not to eat that frog. Ate it! Was at work by 8:07am. The preceeding or following is what happened this last week.
Directions for Creating a Possibility Poster

Choosing a colorful background.

Doing the poster work.


Katie’s eyes and gold pencil charts.
Katie and I invited our next door neighbor, AJ Hurst, to join us in creating these posters for the new year. Therefore, these 2013 posters were produced by a 15, 22, and 60 year old. These can be an art project with any age. I think even younger children would enjoy creating a visual of their hopes, dreams, and possibilities for the new year.
1. Take some time to write down your 2013 possibilities. What projects, intentions, goals, etc. do you have for the new year? Really throw your hat over the wall and write down those things that are always nagging the back of your mind but never get handled. This could be the year!
2. Pick a poster size and color. Our posters were 13 1/2 x 21 inches on colorful art paper. You could use white poster board, but, a bright color background seems to get the art juices rolling.
3. We took a photo of each other with a digital camera. Could have been with our phones. Transferred the photos to the computer and printed out a black and white copy to paste onto our posters. Last year my poster had a color photo of me. This year a black and white allowed me to do some creative coloring. Putting your face into your 2013 possibilities is a great place to start the planning from. After all, this is a visual of your intentions. I put my face upside down, Katie used just her eyes, and AJ not only used her head but several little full figures in various poses of herself.
4. Materials: photo copies, magazines, color cardstock, markers, color pencils, scissors, glue. I’m sure that 3-D items would work too. Whatever you wanted to put into your collage. The collage items will represent your goals, thoughts, themes for the year. I picked an overriding thought from the musical, “Les Miserables”, to headline my year: To love another person is to see the face of God. There are also “charts” on my poster that I can mark off as I accomplish them. My column of “the unexpected” is my longest column. The poster will also become a history of 2013.
5. Hang the completed poster in a place that will keep it ever present!
Possibilities for 2013! Some call these “dream boards”. I call mine a “possibility poster”. Fun art.

2013 possibility poster
