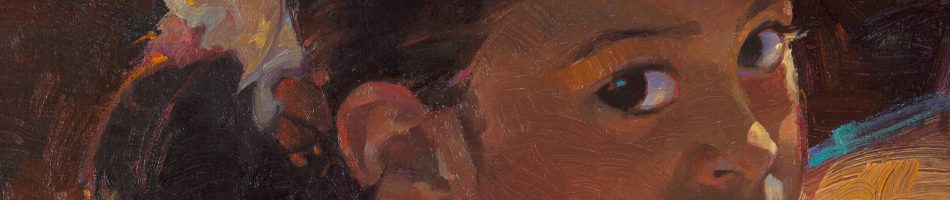
Painting with children?! Are you kidding?!!!
Yes!!! And it is reinvigorating to the creative process. I noticed my neighborhood filling up with children as new families moved in. Conveniently, a yellow bus stops at the corner of our property each morning of the school week. After my initial excitement that there would be more trick or treaters for Halloween (one of my favorite creative holidays), I contemplated inviting the children on our block over to paint. Could be daunting…but these three possibilities came to mind: 1. Spreading goodwill in the neighborhood. (Well, that certainly could make a difference in the world.) 2. Paying it forward. (Sharing what I know about art. I have spent a few years learning about it, lol.) 3. Assisting a budding artist to find their way. (So many teachers, mentors, associates, artists, friends…have contributed to my art journey.) Let the fun begin:

I invited 16 children over to paint two days before Halloween. 12 came. The youngest was four. The oldest was 11. Set up three tables with a painting spot for each child: masking taped down 8 x 9 inch pieces of nice watercolor paper, cup of water, brush, paper towel, and a small paper plate with a wet paper towel folded on it for the palette. Put a small dollop of primary, secondary, and white color acrylic paints on each palette. Black is very popular. No brown. They have to mix that one…
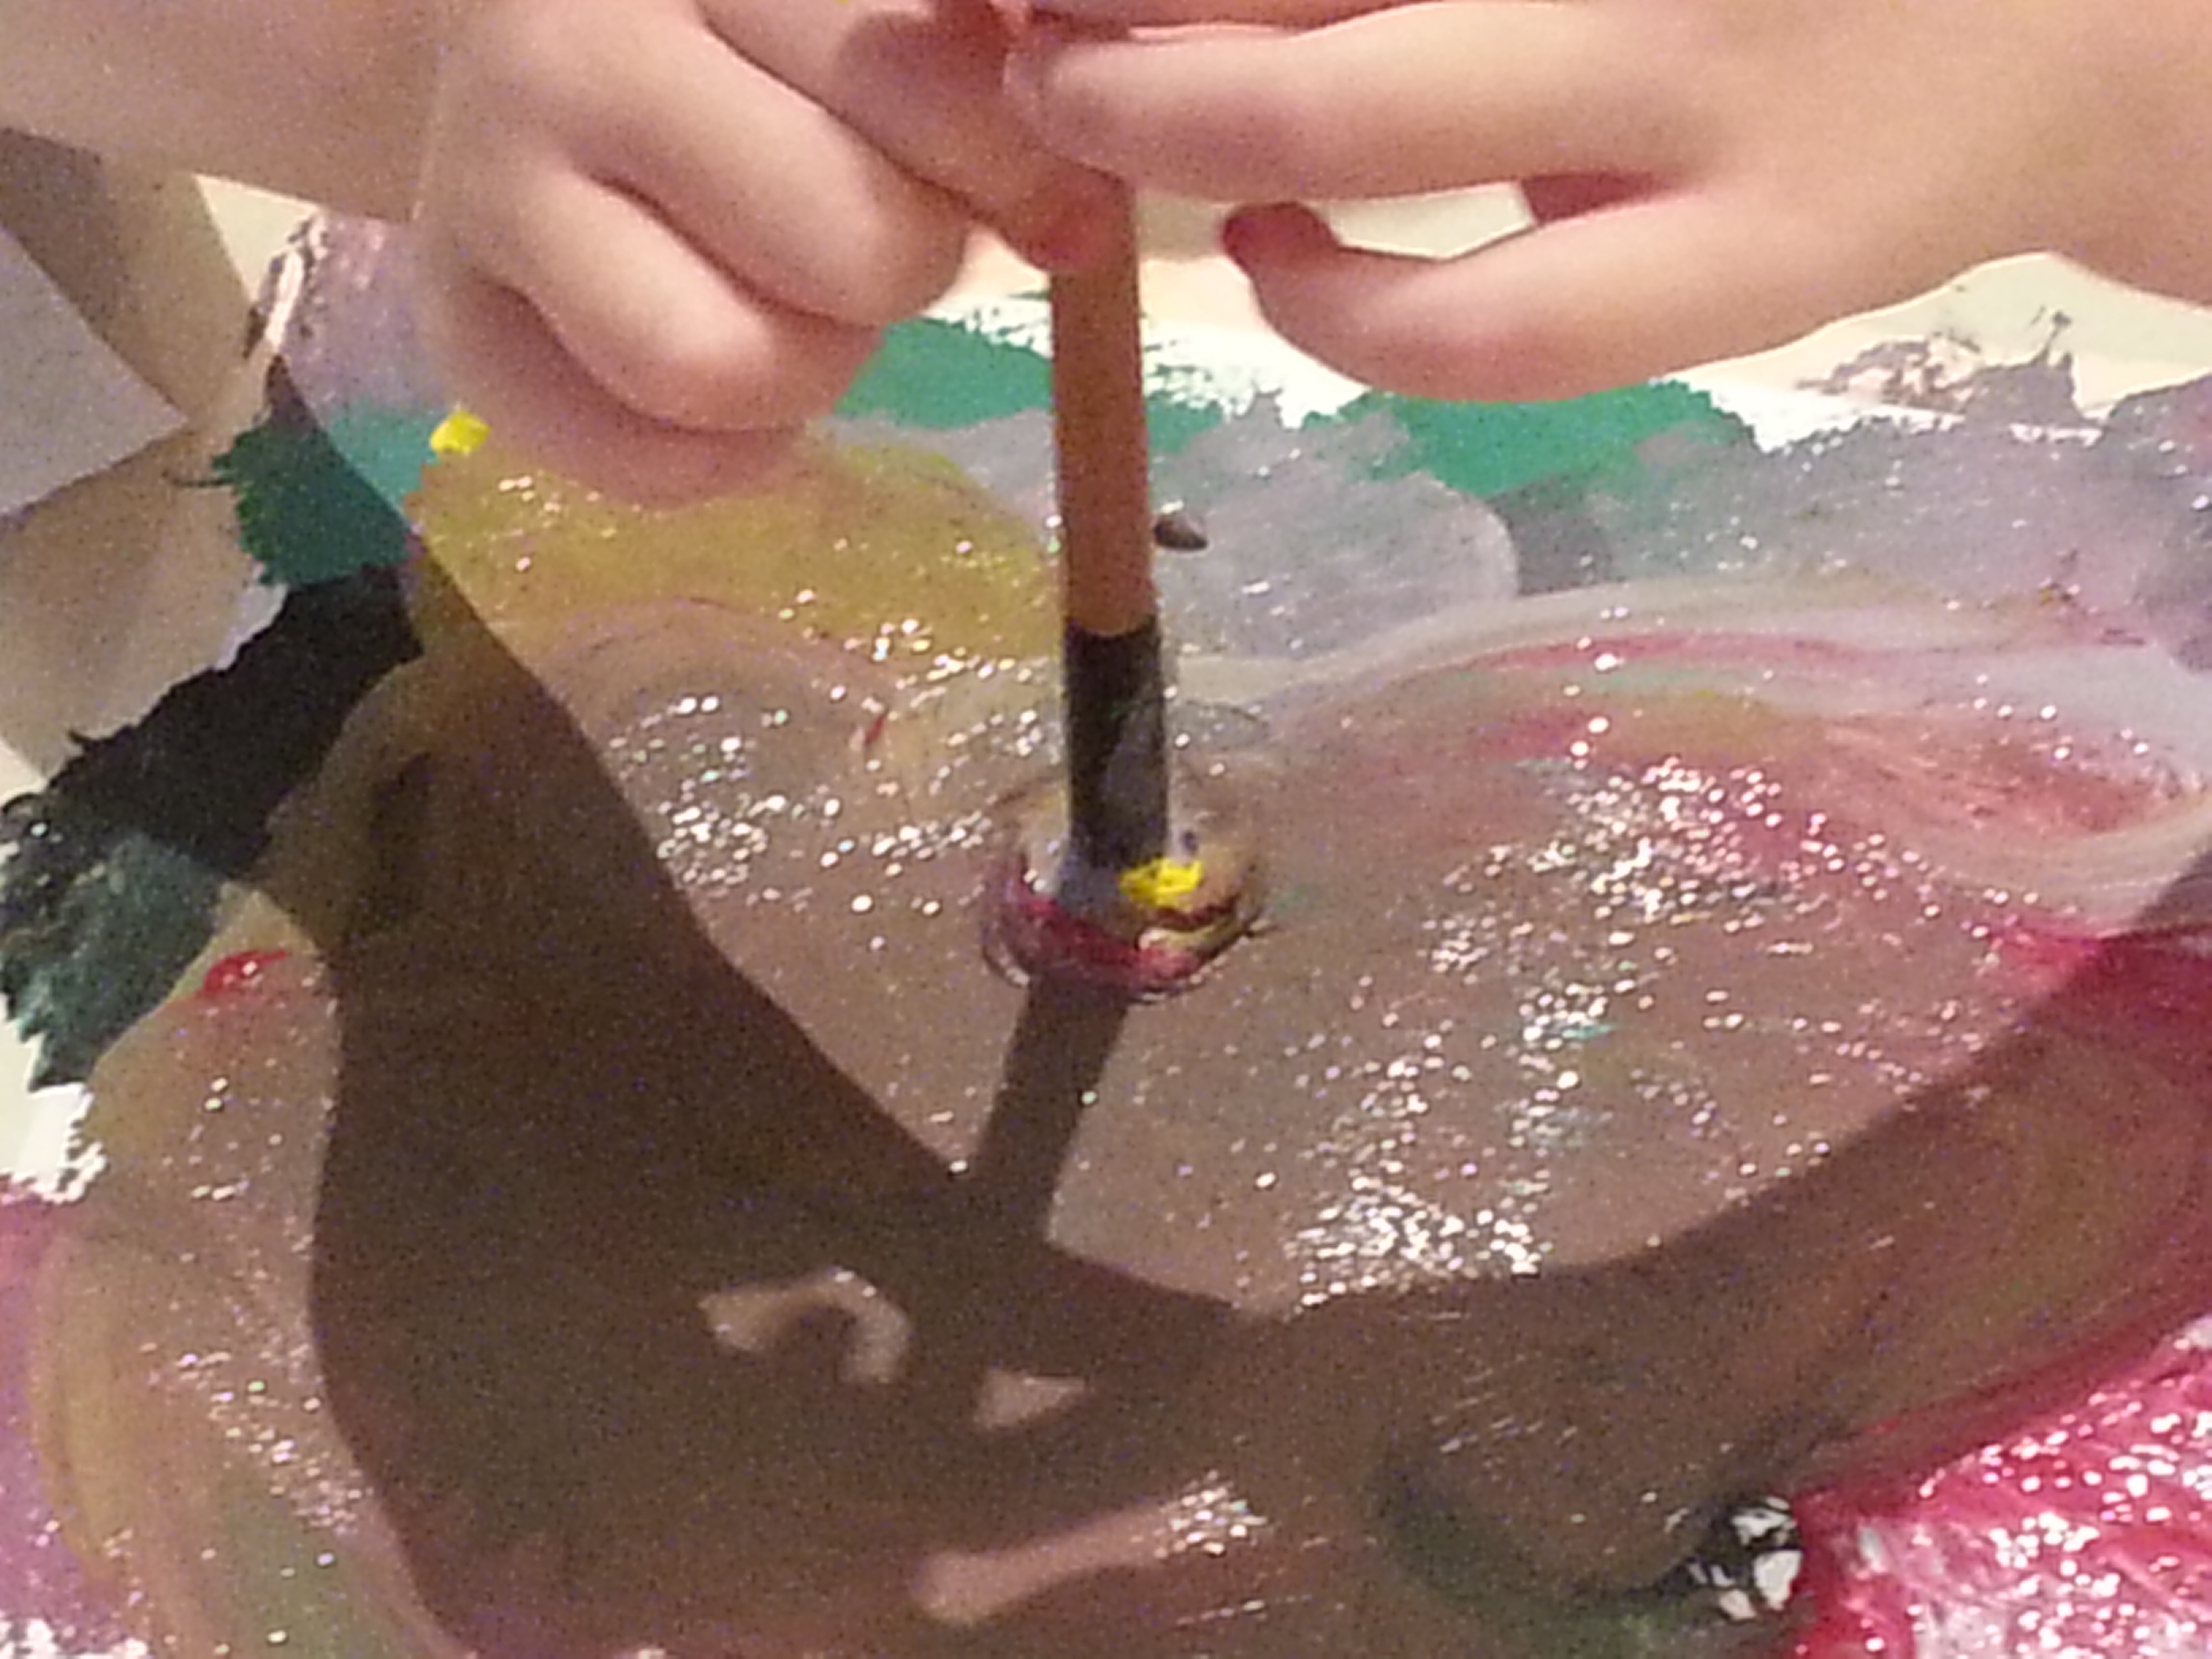
Yes, exploring the medium and tools of the trade. The brush survived…barely. Amazingly felt peaceful when one of the water cups hit the floor. Cement floors, yay!

Painting a monster face was a suggestion. The children could paint whatever they wanted to. Requested that they fill in color all the way to the edges of the tape…getting rid of all white paper. Hayley’s (age 11) monster face.

What is it about a frame that puts the finishing touches on a piece of art?! The children left their paintings with me overnight for a good thorough drying. The watercolor paper smoothed back to flat. Slowly and carefully removing the tape leaves a white border.

Ian is also 11. I don’t know what he was thinking, but I could see huddled figures and a wild sky. Some of the pieces look better with ragged edges, of course. But the next day when I met the children at the bus stop with their nicely bordered art pieces their expressions of oohs and aahs washed over me with such a feeling of well-being that I will probably keep inviting them over, lol.

Ian’s piece with a white border. The next step in this creative process will be playing with words and giving their pieces a title.

Kyle is 6. He spent more time and focus on his piece than any of the other children. I was intrigued when he made statements like, “I wanna see what mixing these two colors together makes.” Again and again he painted and repainted his piece until he got just what he wanted. Mmmm…I thought, is he a “budding artist” I can mentor?

Gotta take better photos! Kyle’s piece was terrific with a clean border. The colors were intense. There is a purposeful mind at work here.
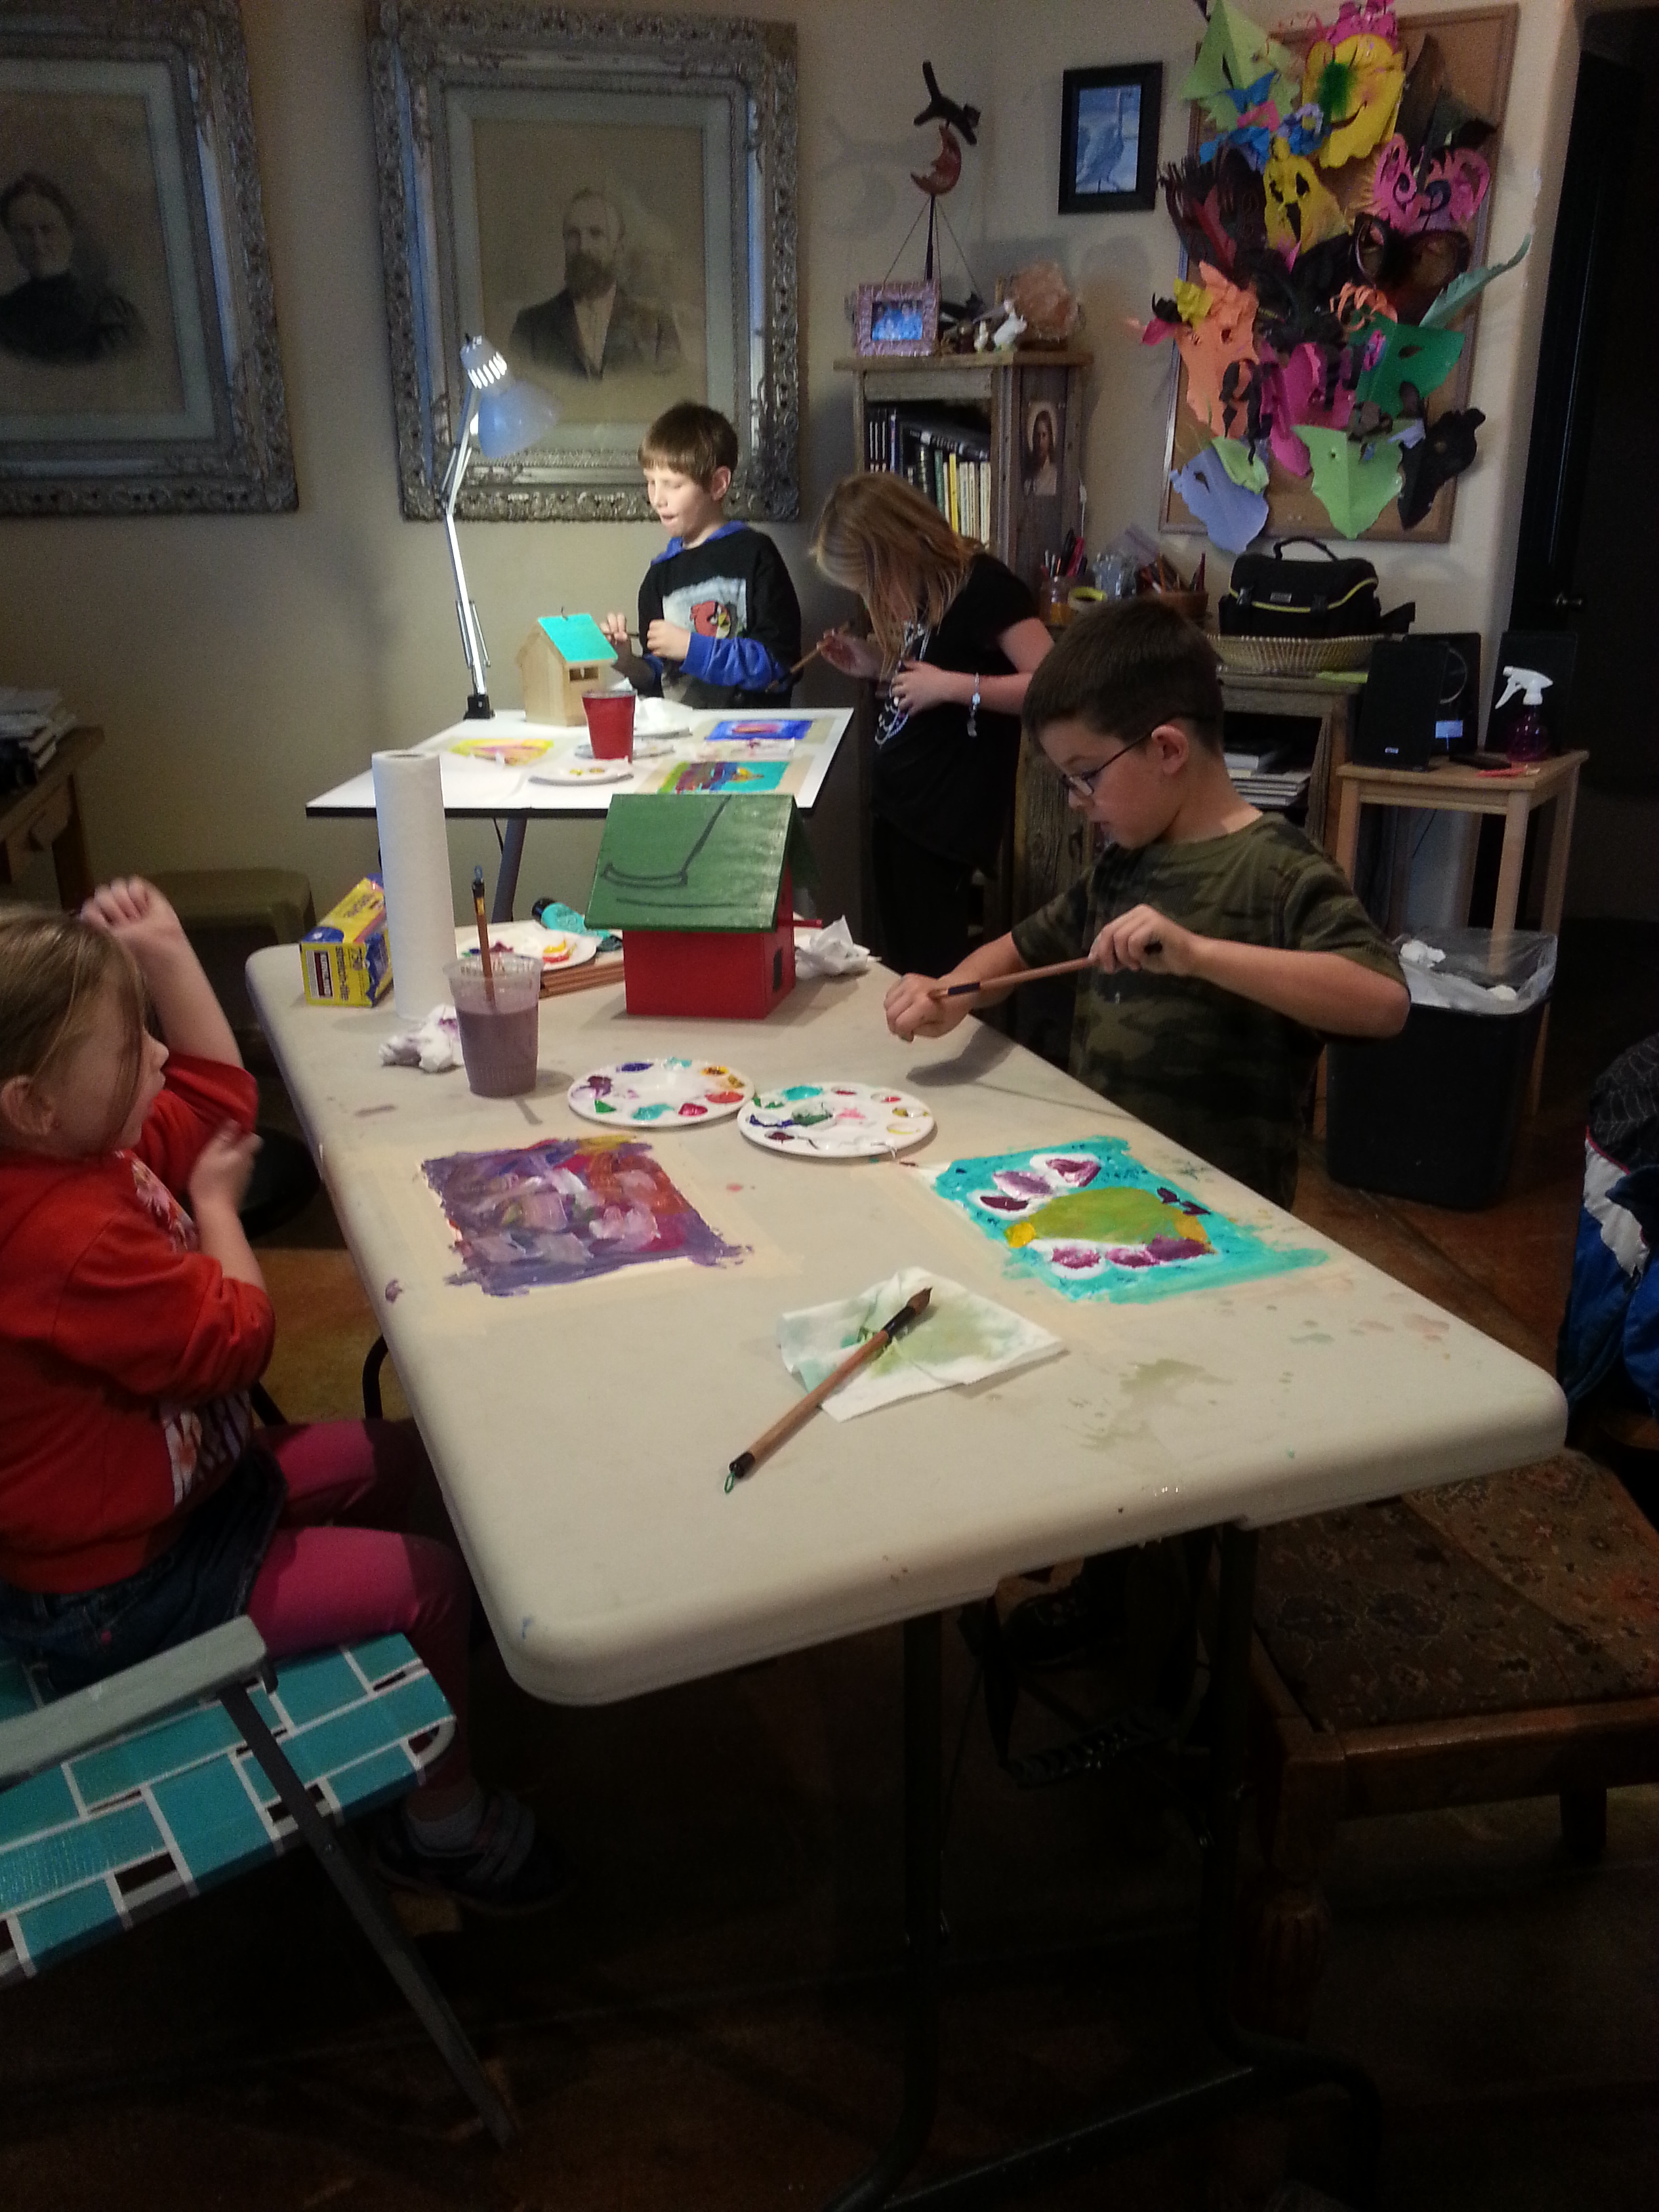
Invited the children back during the week of Thanksgiving. They now have the drill down. I spent an hour setting up. They painted for about 15 minutes. Clean up took about an hour. Reminded me of Thanksgiving Dinner: you spend hours cooking a meal that is consumed, on average, in about 15 minutes.

Jonathan is 6. He also has an energetic and colorful approach to painting. Good thing he gets it down quick because he can’t sit still for very long, lol. His rendition of a turkey. I like the blue texture strokes in the background.

All cleaned up and ready for display on his mom’s refrigerator door!!!
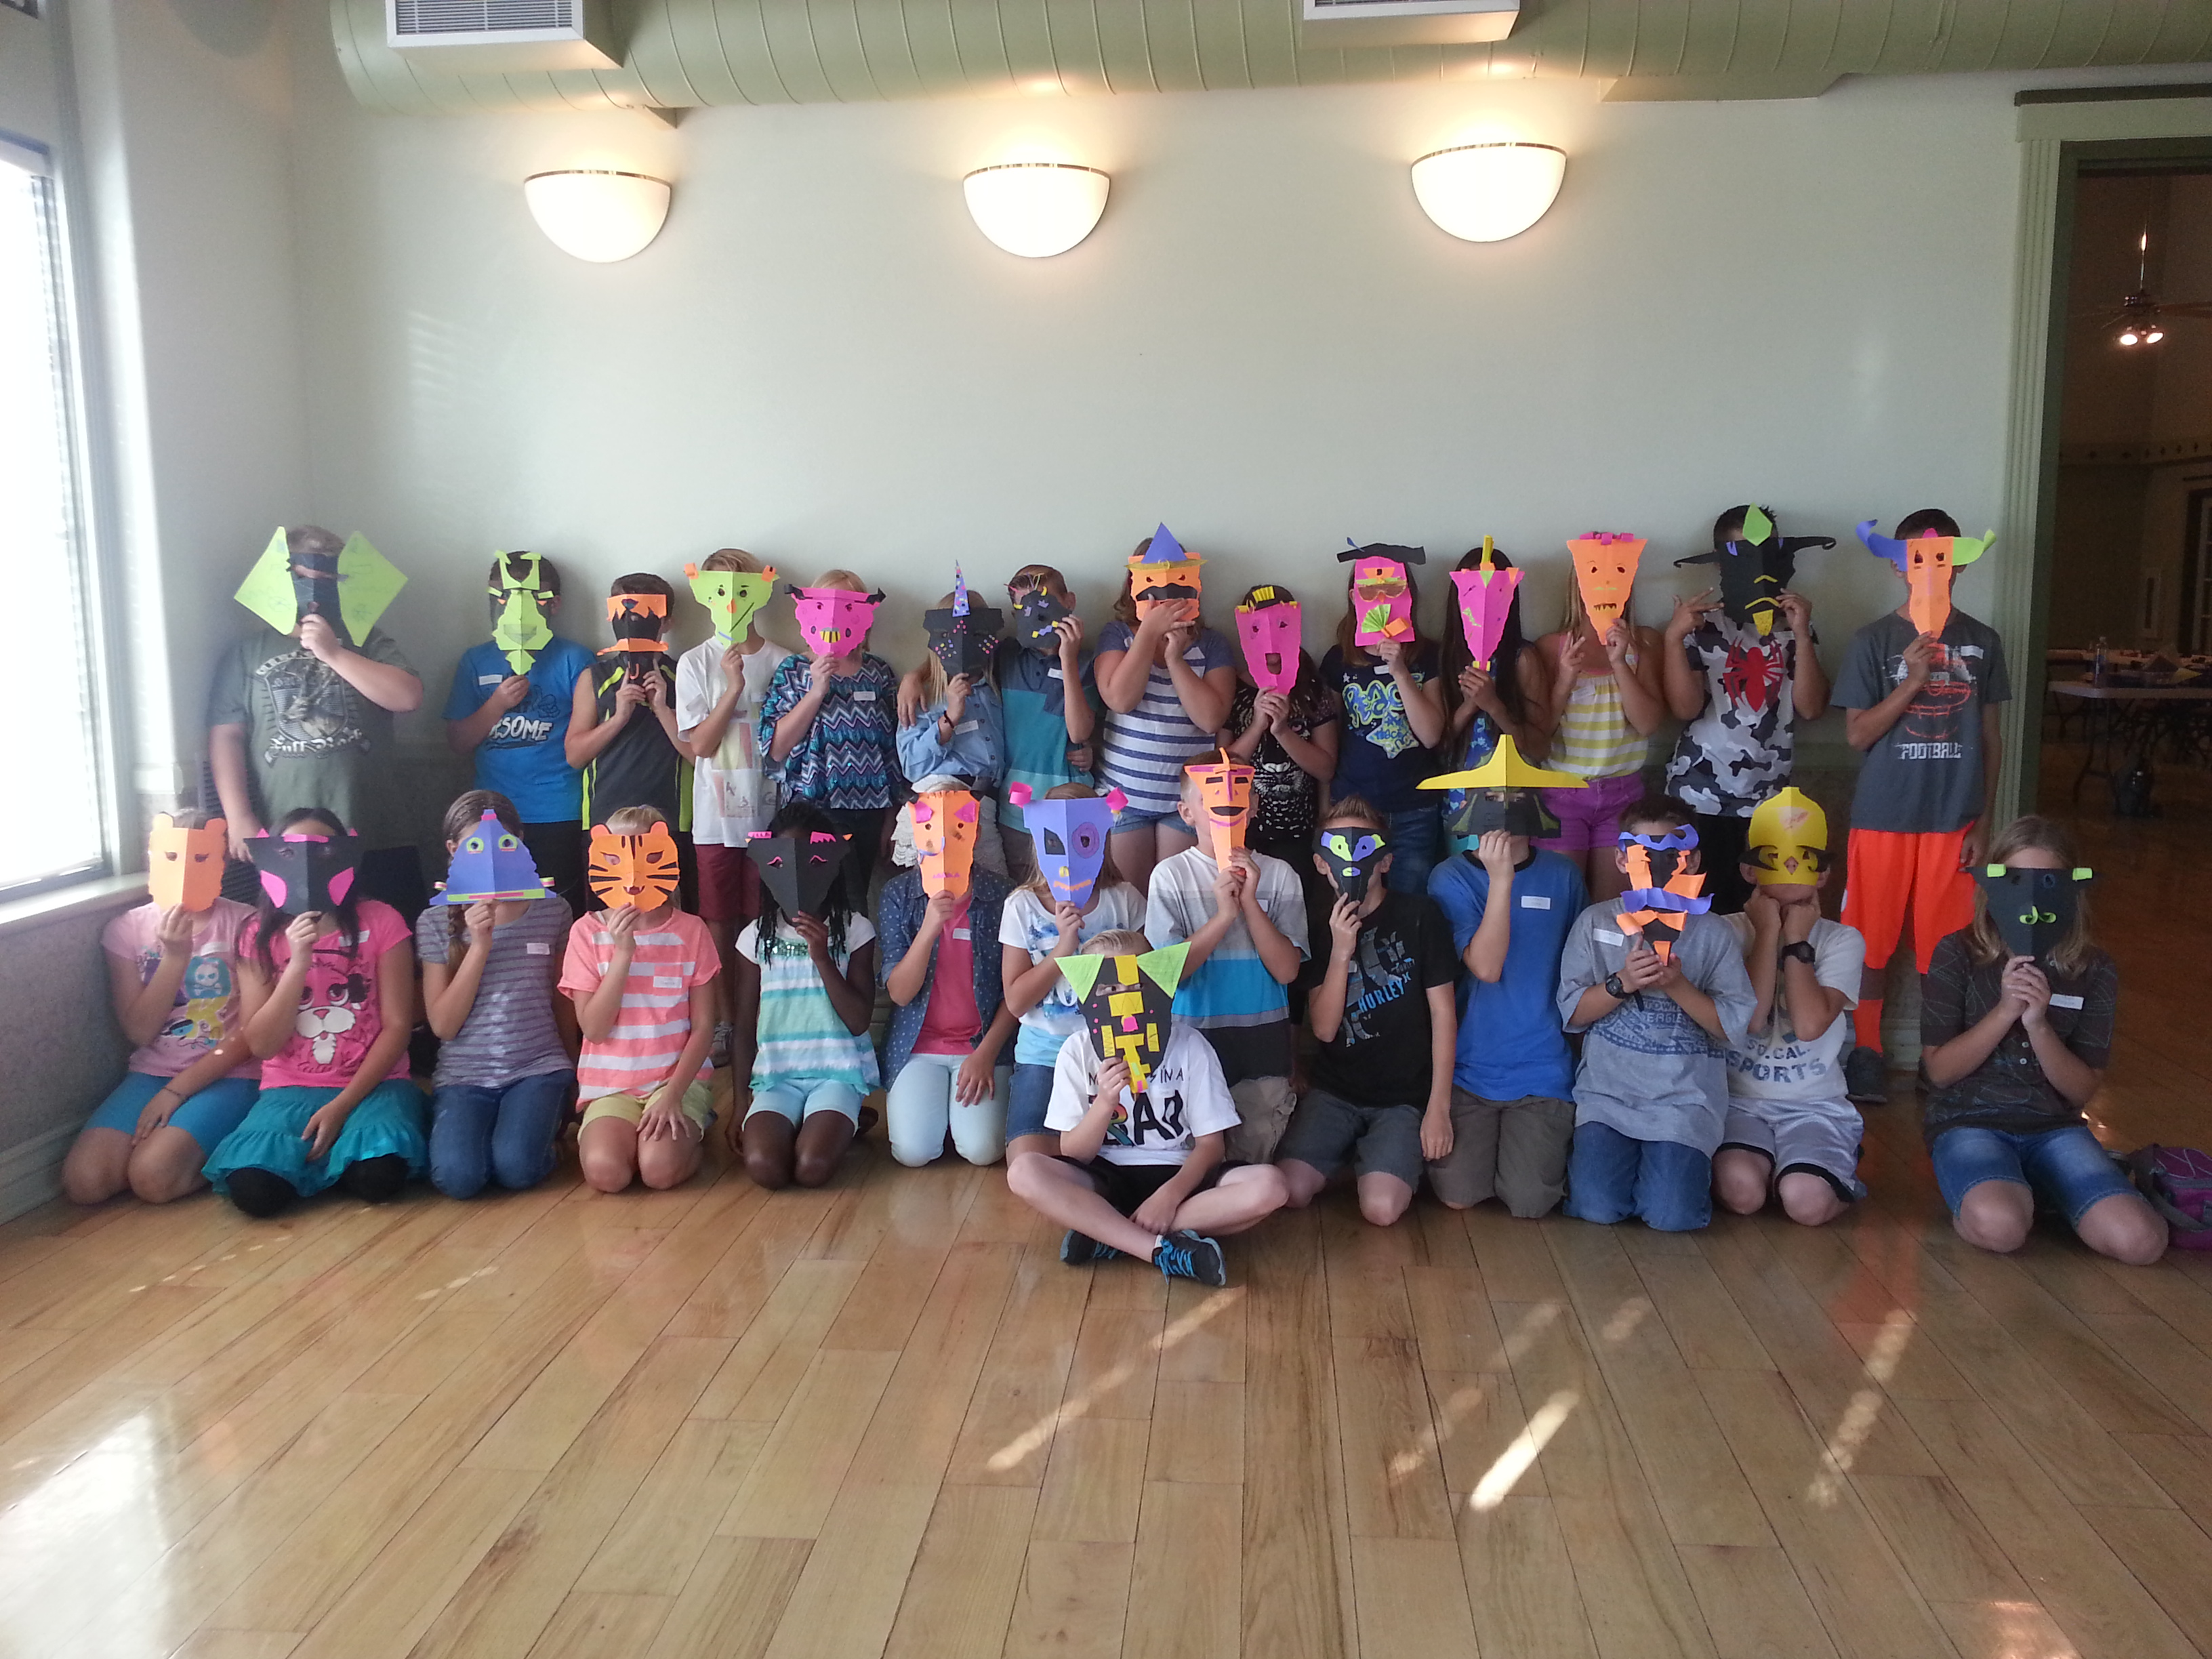
A Simple and Inexpensive Art Project for Children: Mask Making
“Your face is a book, where men may read strange matters.” – Shakespeare. I think he was on to something! Much about the artist is always revealed through the art they make. So it was with the children and the masks they made. In September of this year I taught two classes of fifth graders how to make a simple mask. In 45 minutes it was easy to see a connection between their personalities and their created mask-faces…even though they were all strangers to me.
Materials used: 1. Brightly colored and black cardstock. 2. Glue sticks, scissors, staplers, and colored pencils. Instructions: 1. Choose a vertical (hot dog) or horizontal (hamburger) mask face. 2. Close your eyes. Put your hands on the sides of your face and slide forward to your nose. Notice that your face is not flat. 3. Fold your cardstock in half to begin adding a sculptural 3-D effect to your mask. 4. With your cardstock folded in half, tear or cut through the two layers from a corner near the fold, diagonally to its opposite corner. You have now created the jawline shape of your mask. 5. Where do you want your eyes? Mark with pencil. Poke a hole in the cardstock with the tip of a pair of scissors. (Beware of poking too hard and jabbing your fingers.) The hole you poked is for your scissors to have a place to start cutting from. Cut fabulous eye-shape holes!

Now the final touches! 6. Use your scraps of left over cardstock or trade with your fellow student to get a mix of colors and shapes. Bend, curl, fold, crumple, tear, or cut (paper is such marvelous stuff) these scraps and attach to your mask with the glue sticks (if the pieces are small) or stapler (if the pieces are bigger). Always try to get the paper scraps to stick out from the mask. This contributes to a 3-D, sculptural effect. Much more interesting than just flat. 7. Decorate with fancy colored pencil lines, squiggles, shading, cross-hatching, dots, and dashes.

Now go look at yourself in the mirror! When you take these home, don’t put them on the refrigerator door…push pin them on a bulletin board or wall space somewhere. The key to keeping them 3-D is to fold slightly so your mask sticks out from the wall and then push pin it in place. Do not pin it flat to the wall. When your art is 3-D it will cast interesting shadows. You can always put more decoration on your mask. Think of all the possibilities in your mom’s or grandma’s craft drawer!
