Painting with children?! Are you kidding?!!!
Yes!!! And it is reinvigorating to the creative process. I noticed my neighborhood filling up with children as new families moved in. Conveniently, a yellow bus stops at the corner of our property each morning of the school week. After my initial excitement that there would be more trick or treaters for Halloween (one of my favorite creative holidays), I contemplated inviting the children on our block over to paint. Could be daunting…but these three possibilities came to mind: 1. Spreading goodwill in the neighborhood. (Well, that certainly could make a difference in the world.) 2. Paying it forward. (Sharing what I know about art. I have spent a few years learning about it, lol.) 3. Assisting a budding artist to find their way. (So many teachers, mentors, associates, artists, friends…have contributed to my art journey.) Let the fun begin:

I invited 16 children over to paint two days before Halloween. 12 came. The youngest was four. The oldest was 11. Set up three tables with a painting spot for each child: masking taped down 8 x 9 inch pieces of nice watercolor paper, cup of water, brush, paper towel, and a small paper plate with a wet paper towel folded on it for the palette. Put a small dollop of primary, secondary, and white color acrylic paints on each palette. Black is very popular. No brown. They have to mix that one…
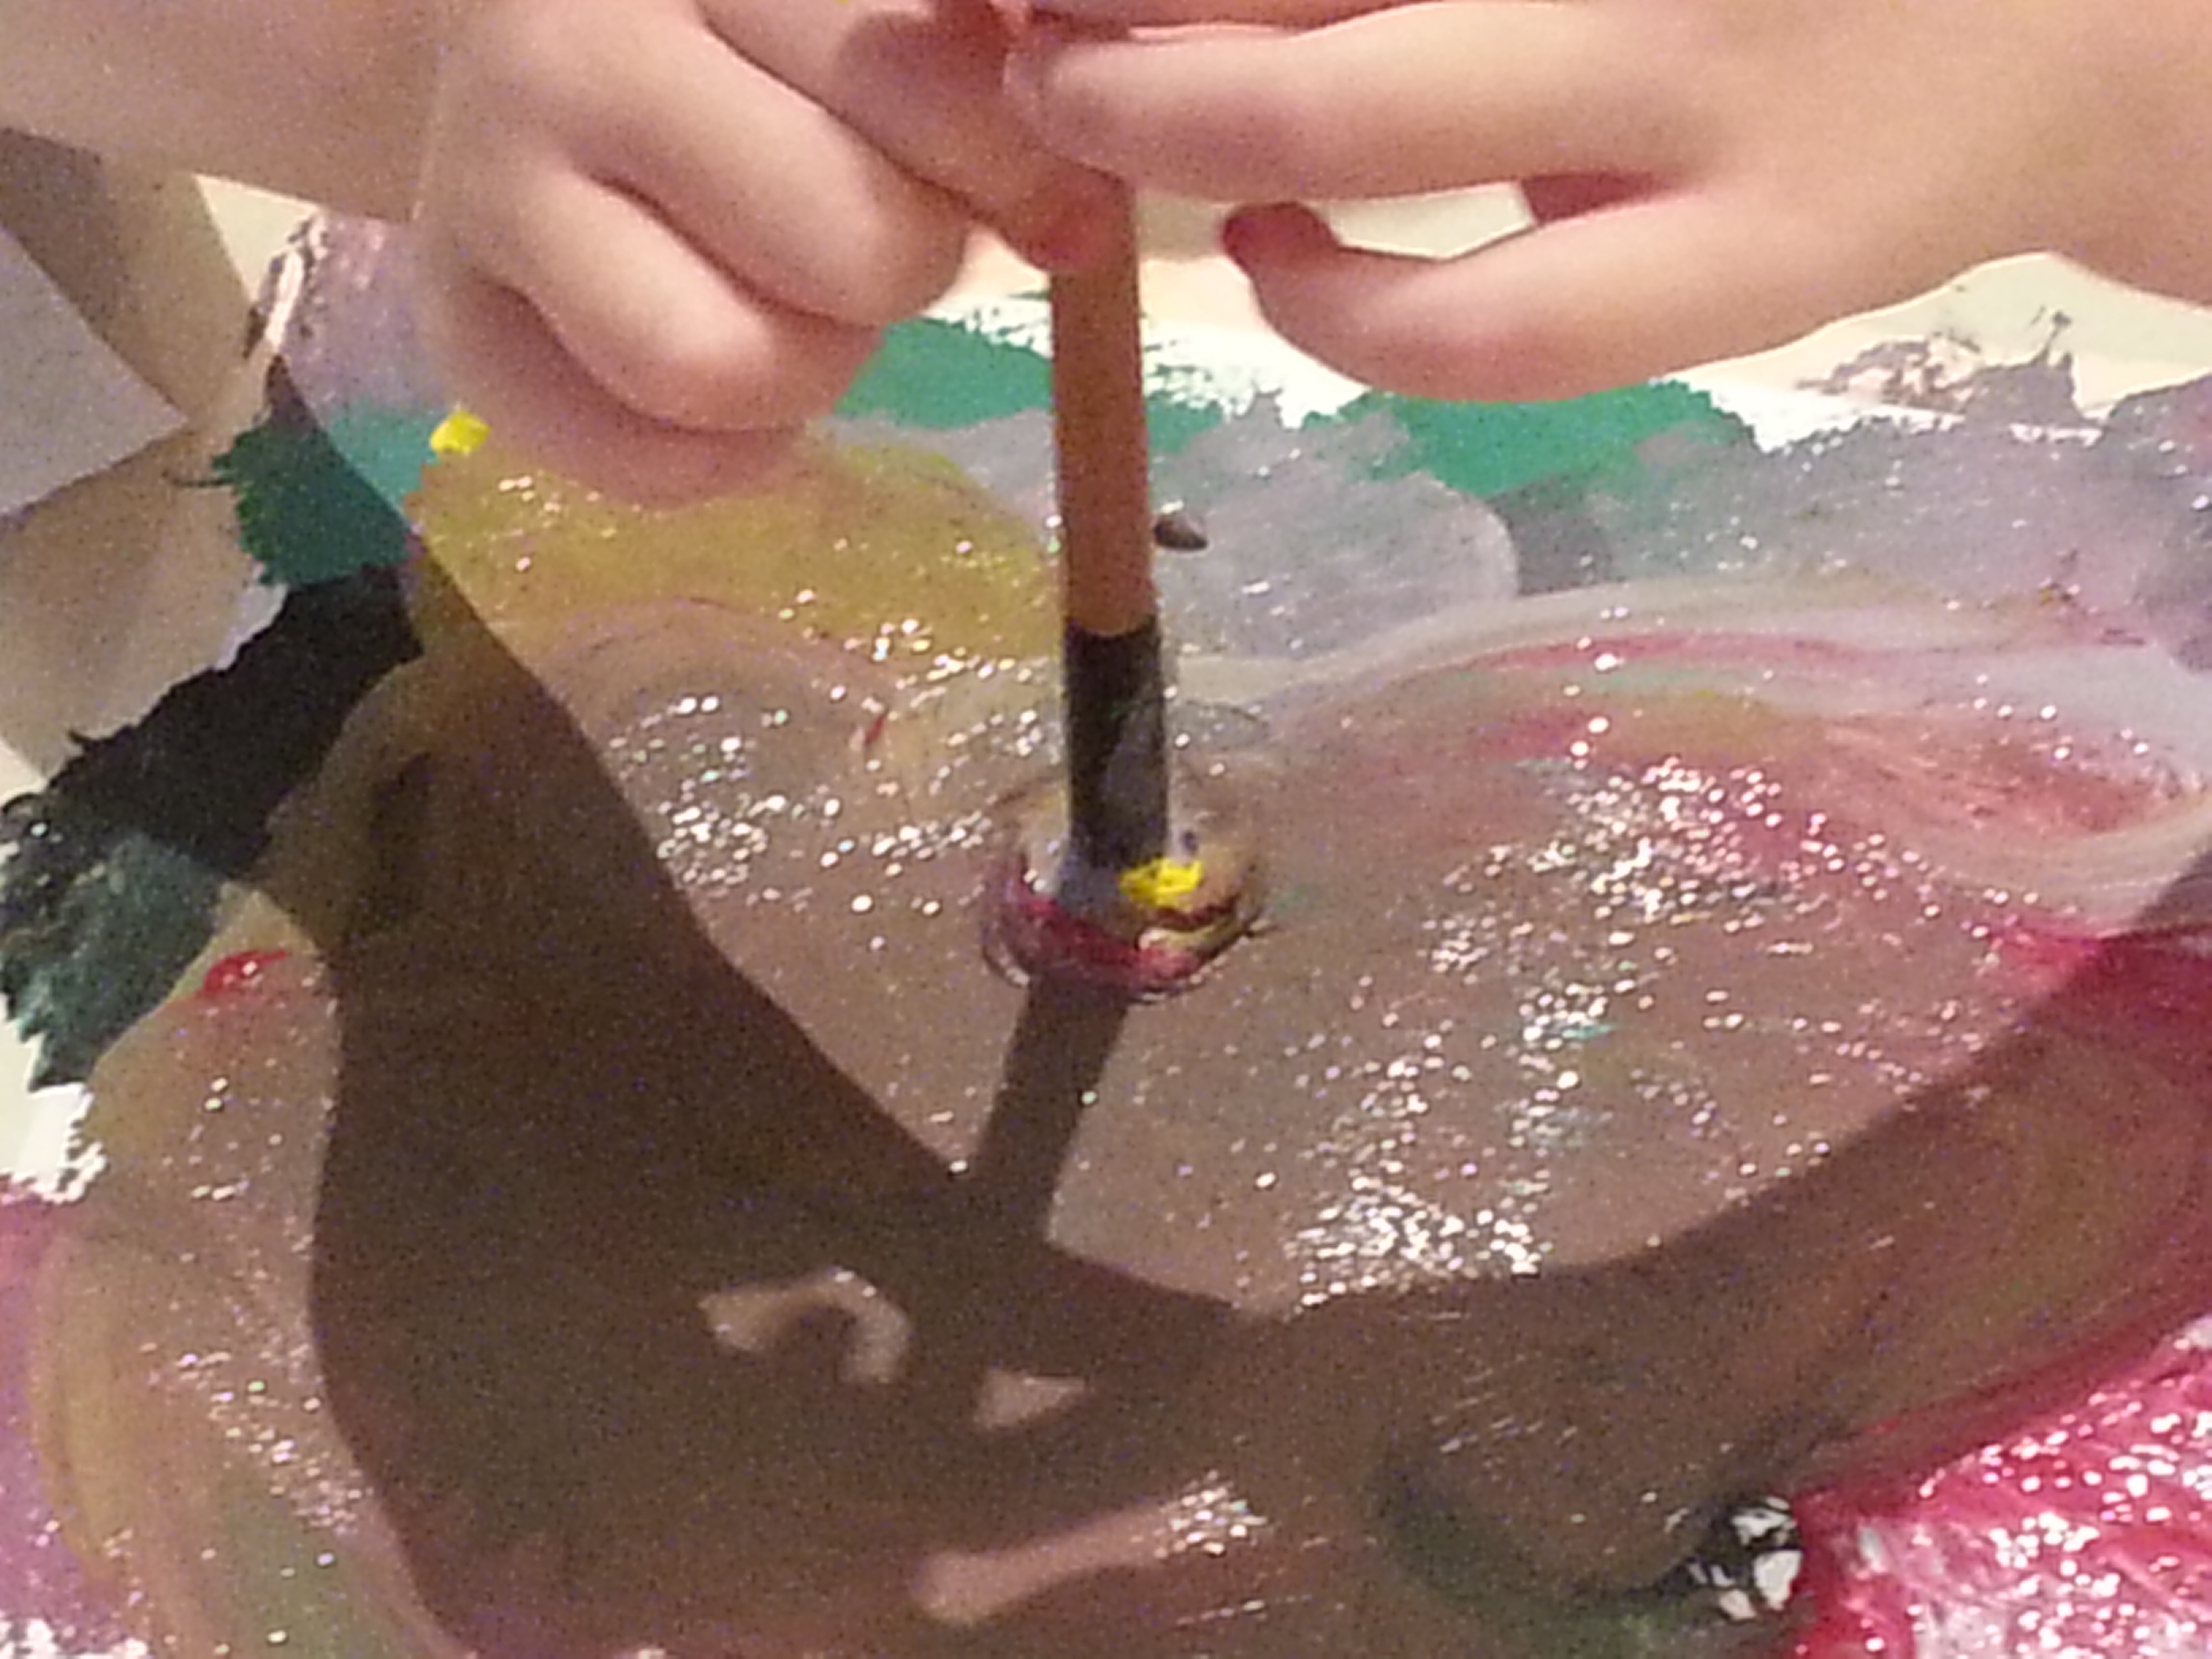
Yes, exploring the medium and tools of the trade. The brush survived…barely. Amazingly felt peaceful when one of the water cups hit the floor. Cement floors, yay!

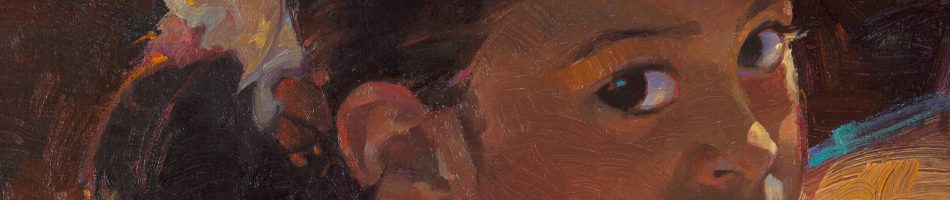
Painting a monster face was a suggestion. The children could paint whatever they wanted to. Requested that they fill in color all the way to the edges of the tape…getting rid of all white paper. Hayley’s (age 11) monster face.

What is it about a frame that puts the finishing touches on a piece of art?! The children left their paintings with me overnight for a good thorough drying. The watercolor paper smoothed back to flat. Slowly and carefully removing the tape leaves a white border.

Ian is also 11. I don’t know what he was thinking, but I could see huddled figures and a wild sky. Some of the pieces look better with ragged edges, of course. But the next day when I met the children at the bus stop with their nicely bordered art pieces their expressions of oohs and aahs washed over me with such a feeling of well-being that I will probably keep inviting them over, lol.

Ian’s piece with a white border. The next step in this creative process will be playing with words and giving their pieces a title.

Kyle is 6. He spent more time and focus on his piece than any of the other children. I was intrigued when he made statements like, “I wanna see what mixing these two colors together makes.” Again and again he painted and repainted his piece until he got just what he wanted. Mmmm…I thought, is he a “budding artist” I can mentor?

Gotta take better photos! Kyle’s piece was terrific with a clean border. The colors were intense. There is a purposeful mind at work here.
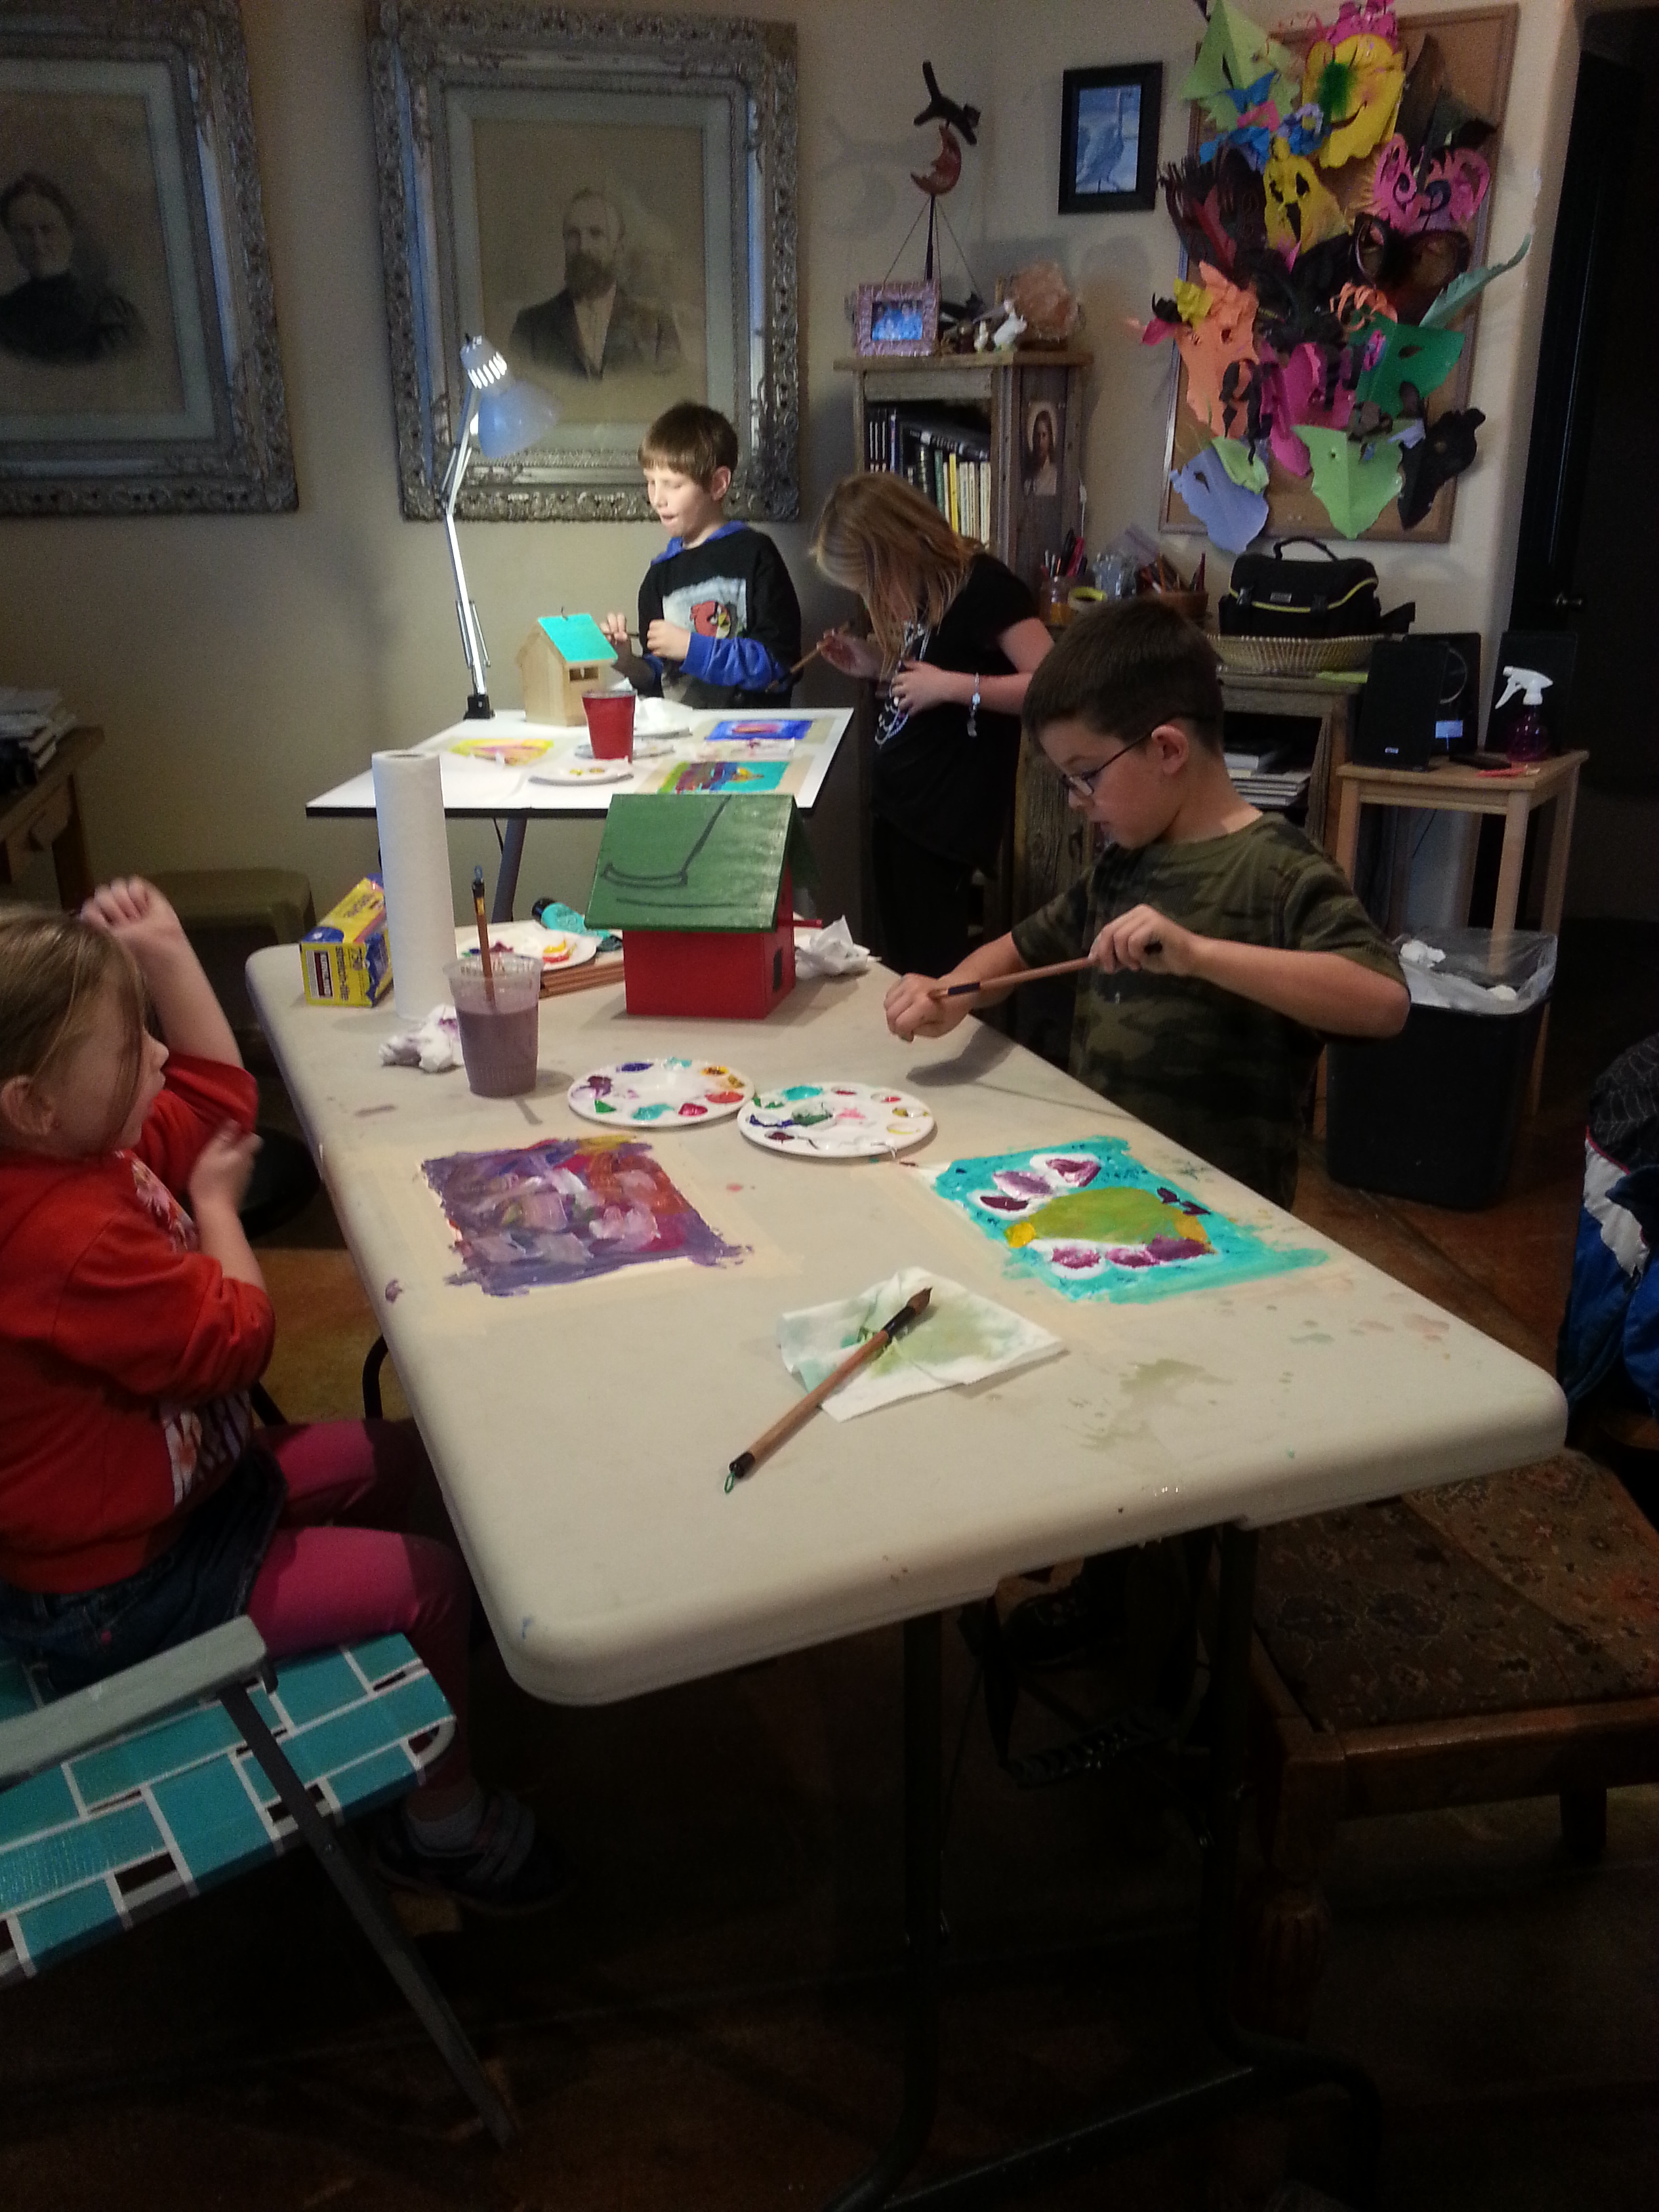
Invited the children back during the week of Thanksgiving. They now have the drill down. I spent an hour setting up. They painted for about 15 minutes. Clean up took about an hour. Reminded me of Thanksgiving Dinner: you spend hours cooking a meal that is consumed, on average, in about 15 minutes.

Jonathan is 6. He also has an energetic and colorful approach to painting. Good thing he gets it down quick because he can’t sit still for very long, lol. His rendition of a turkey. I like the blue texture strokes in the background.

All cleaned up and ready for display on his mom’s refrigerator door!!!
A Simple and Inexpensive Art Project for Children: Mask Making
“Your face is a book, where men may read strange matters.” – Shakespeare. I think he was on to something! Much about the artist is always revealed through the art they make. So it was with the children and the masks they made. In September of this year I taught two classes of fifth graders how to make a simple mask. In 45 minutes it was easy to see a connection between their personalities and their created mask-faces…even though they were all strangers to me.
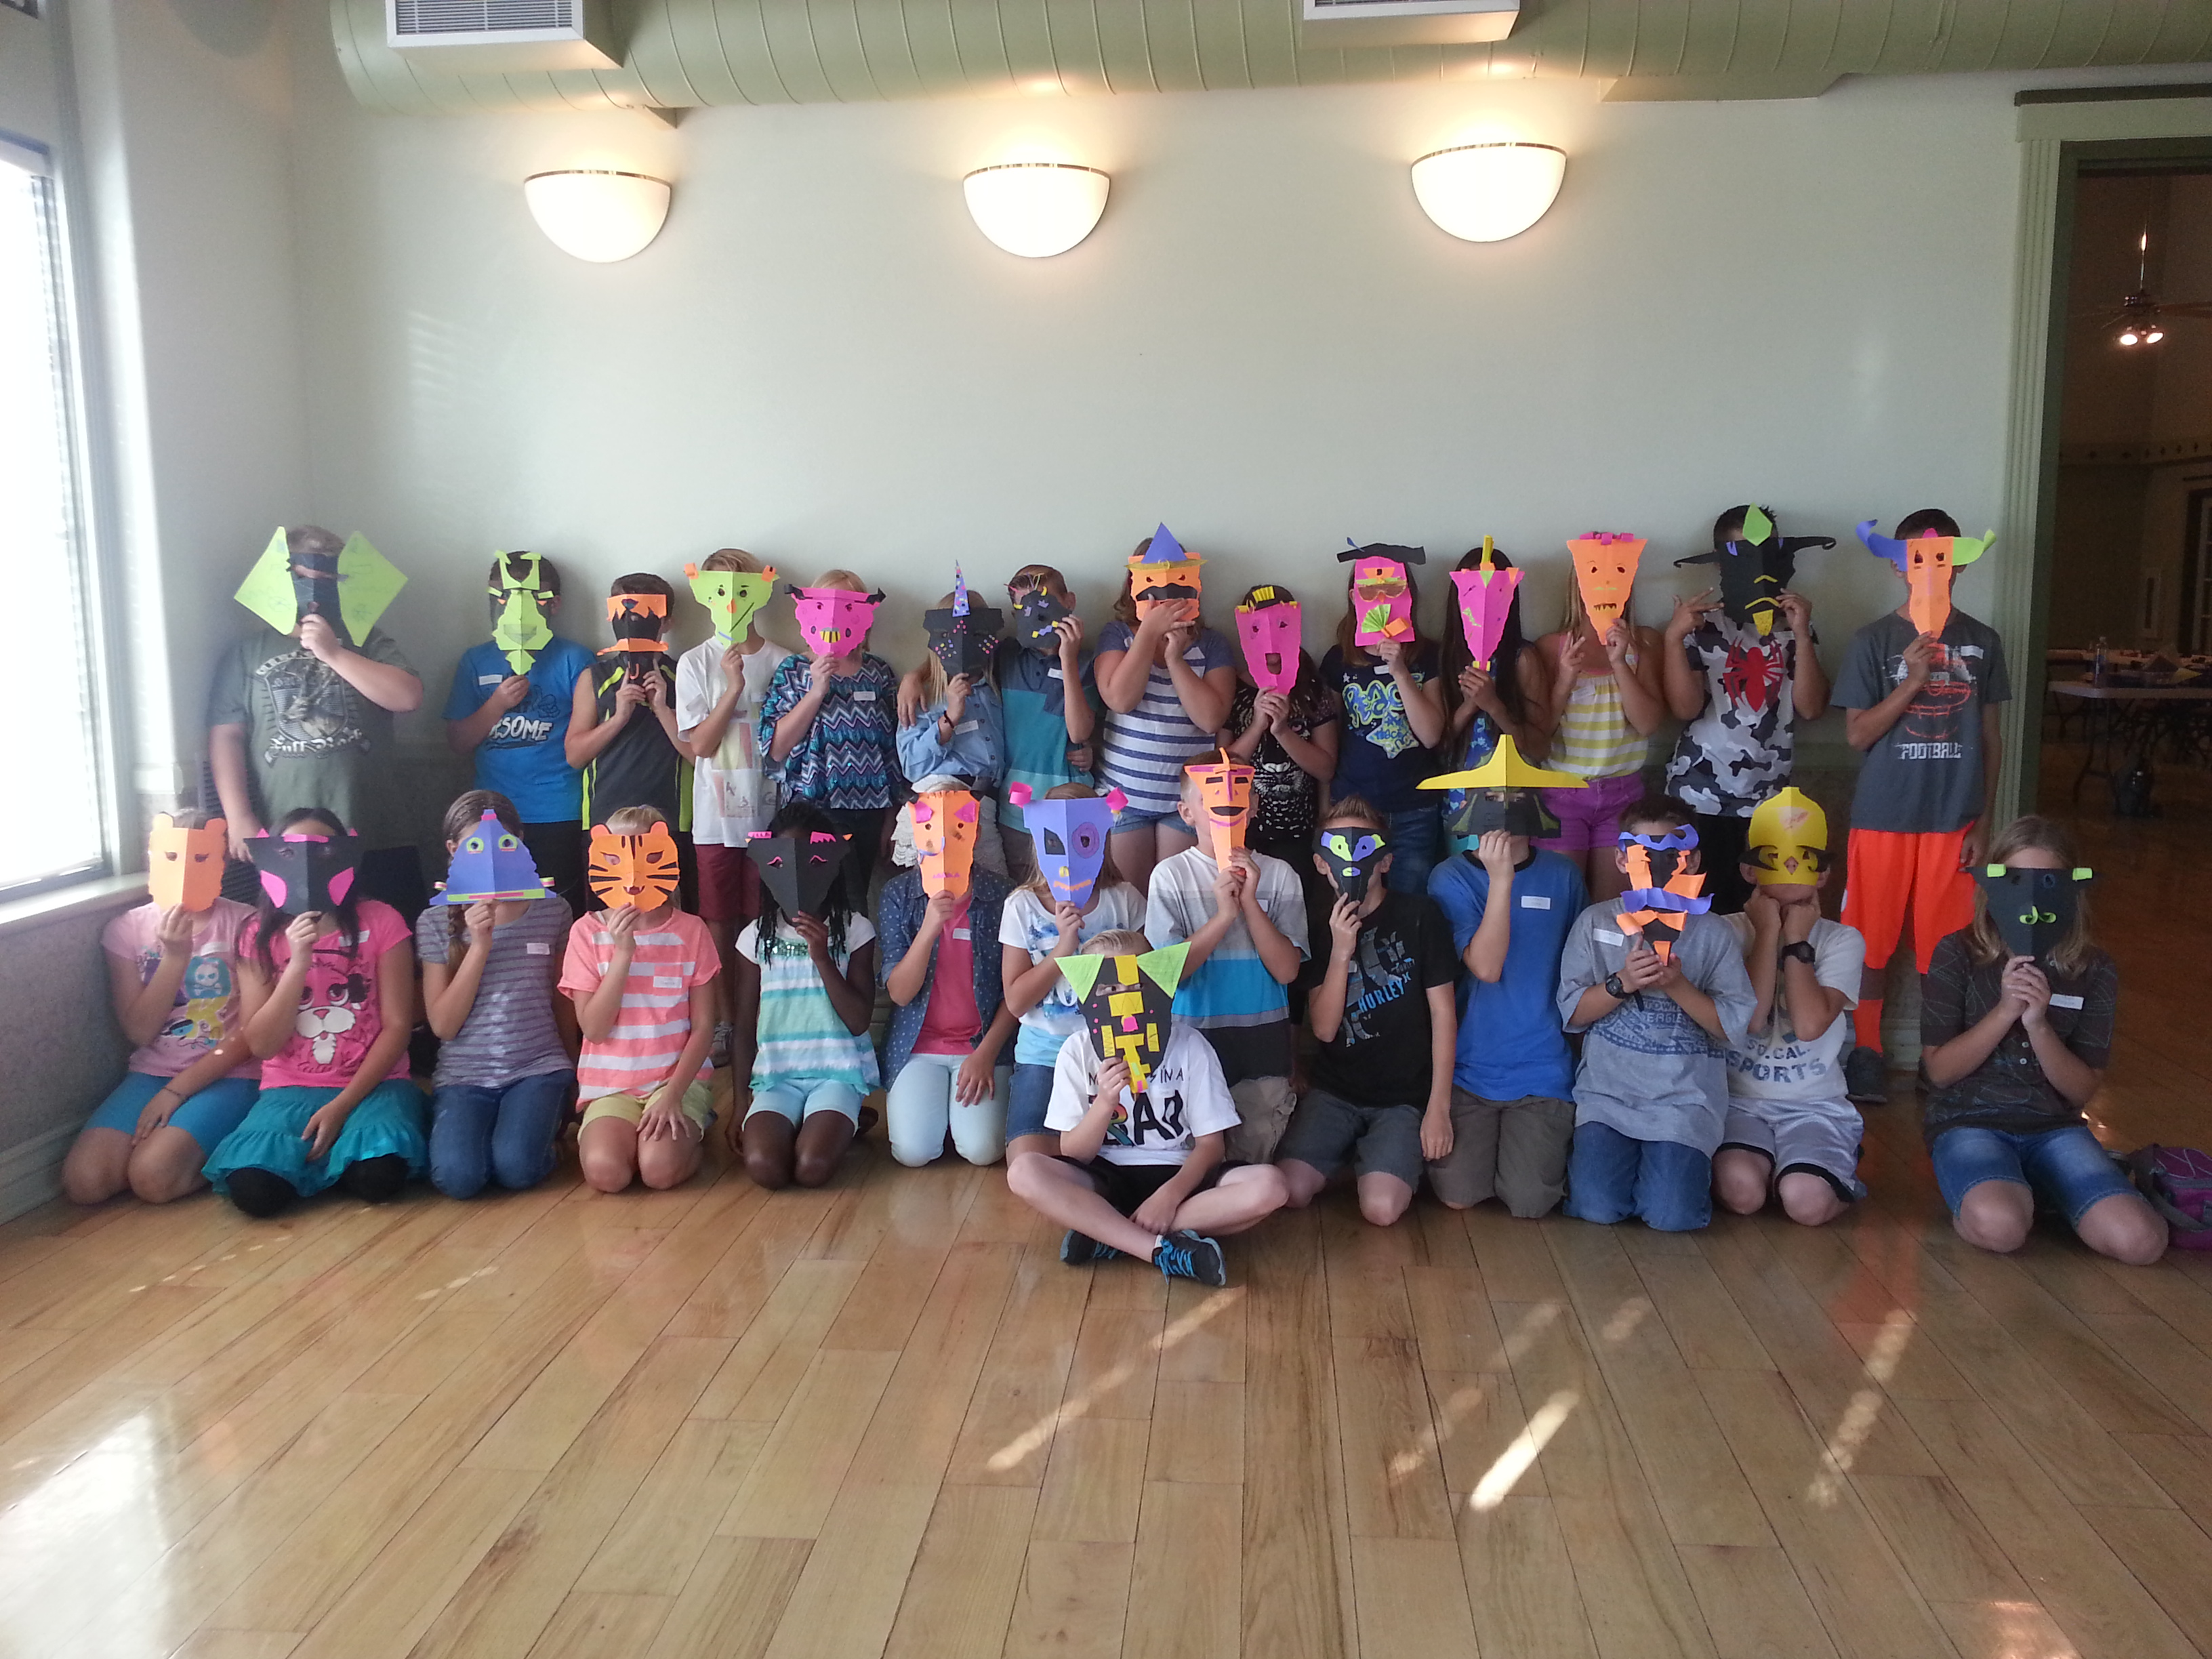
Materials used: 1. Brightly colored and black cardstock. 2. Glue sticks, scissors, staplers, and colored pencils. Instructions: 1. Choose a vertical (hot dog) or horizontal (hamburger) mask face. 2. Close your eyes. Put your hands on the sides of your face and slide forward to your nose. Notice that your face is not flat. 3. Fold your cardstock in half to begin adding a sculptural 3-D effect to your mask. 4. With your cardstock folded in half, tear or cut through the two layers from a corner near the fold, diagonally to its opposite corner. You have now created the jawline shape of your mask. 5. Where do you want your eyes? Mark with pencil. Poke a hole in the cardstock with the tip of a pair of scissors. (Beware of poking too hard and jabbing your fingers.) The hole you poked is for your scissors to have a place to start cutting from. Cut fabulous eye-shape holes!

Now the final touches! 6. Use your scraps of left over cardstock or trade with your fellow student to get a mix of colors and shapes. Bend, curl, fold, crumple, tear, or cut (paper is such marvelous stuff) these scraps and attach to your mask with the glue sticks (if the pieces are small) or stapler (if the pieces are bigger). Always try to get the paper scraps to stick out from the mask. This contributes to a 3-D, sculptural effect. Much more interesting than just flat. 7. Decorate with fancy colored pencil lines, squiggles, shading, cross-hatching, dots, and dashes.

Now go look at yourself in the mirror! When you take these home, don’t put them on the refrigerator door…push pin them on a bulletin board or wall space somewhere. The key to keeping them 3-D is to fold slightly so your mask sticks out from the wall and then push pin it in place. Do not pin it flat to the wall. When your art is 3-D it will cast interesting shadows. You can always put more decoration on your mask. Think of all the possibilities in your mom’s or grandma’s craft drawer!
“What Does A Line Inspire” Instructions
Supplies: 8 1/2 x 11 inch black cardstock, pastel, chalk, or prismacolor pencils, origami paper, tape, and glue.
1. Use the black cardstock as your base. Colors really “pop” on a black background. Cardstock is stiff enough to survive the art-making process and still be hangable on the refrigerator door.
2. Roll a piece of origami paper into a tube and tape it closed. If it is hard for some fingers to roll the paper, roll it around a pencil to help you get started. This tube of paper is the main “line” of your art.
3. Glue the tube of origami paper onto the black cardstock in the position you want it-straight, bent, or flattened. We just used simple Elmer’s glue. Glue sticks are not strong enough to hold the “line” to the cardstock.
4. Use pastel pencils, chalk, or prismacolor pencils to color in the rest of your design. (Markers will not show up on black very well.)
5. This project could be done on white paper with any art supplies you have on hand. The concept is to see how “line” is used in art and “What Does A Line Inspire?”
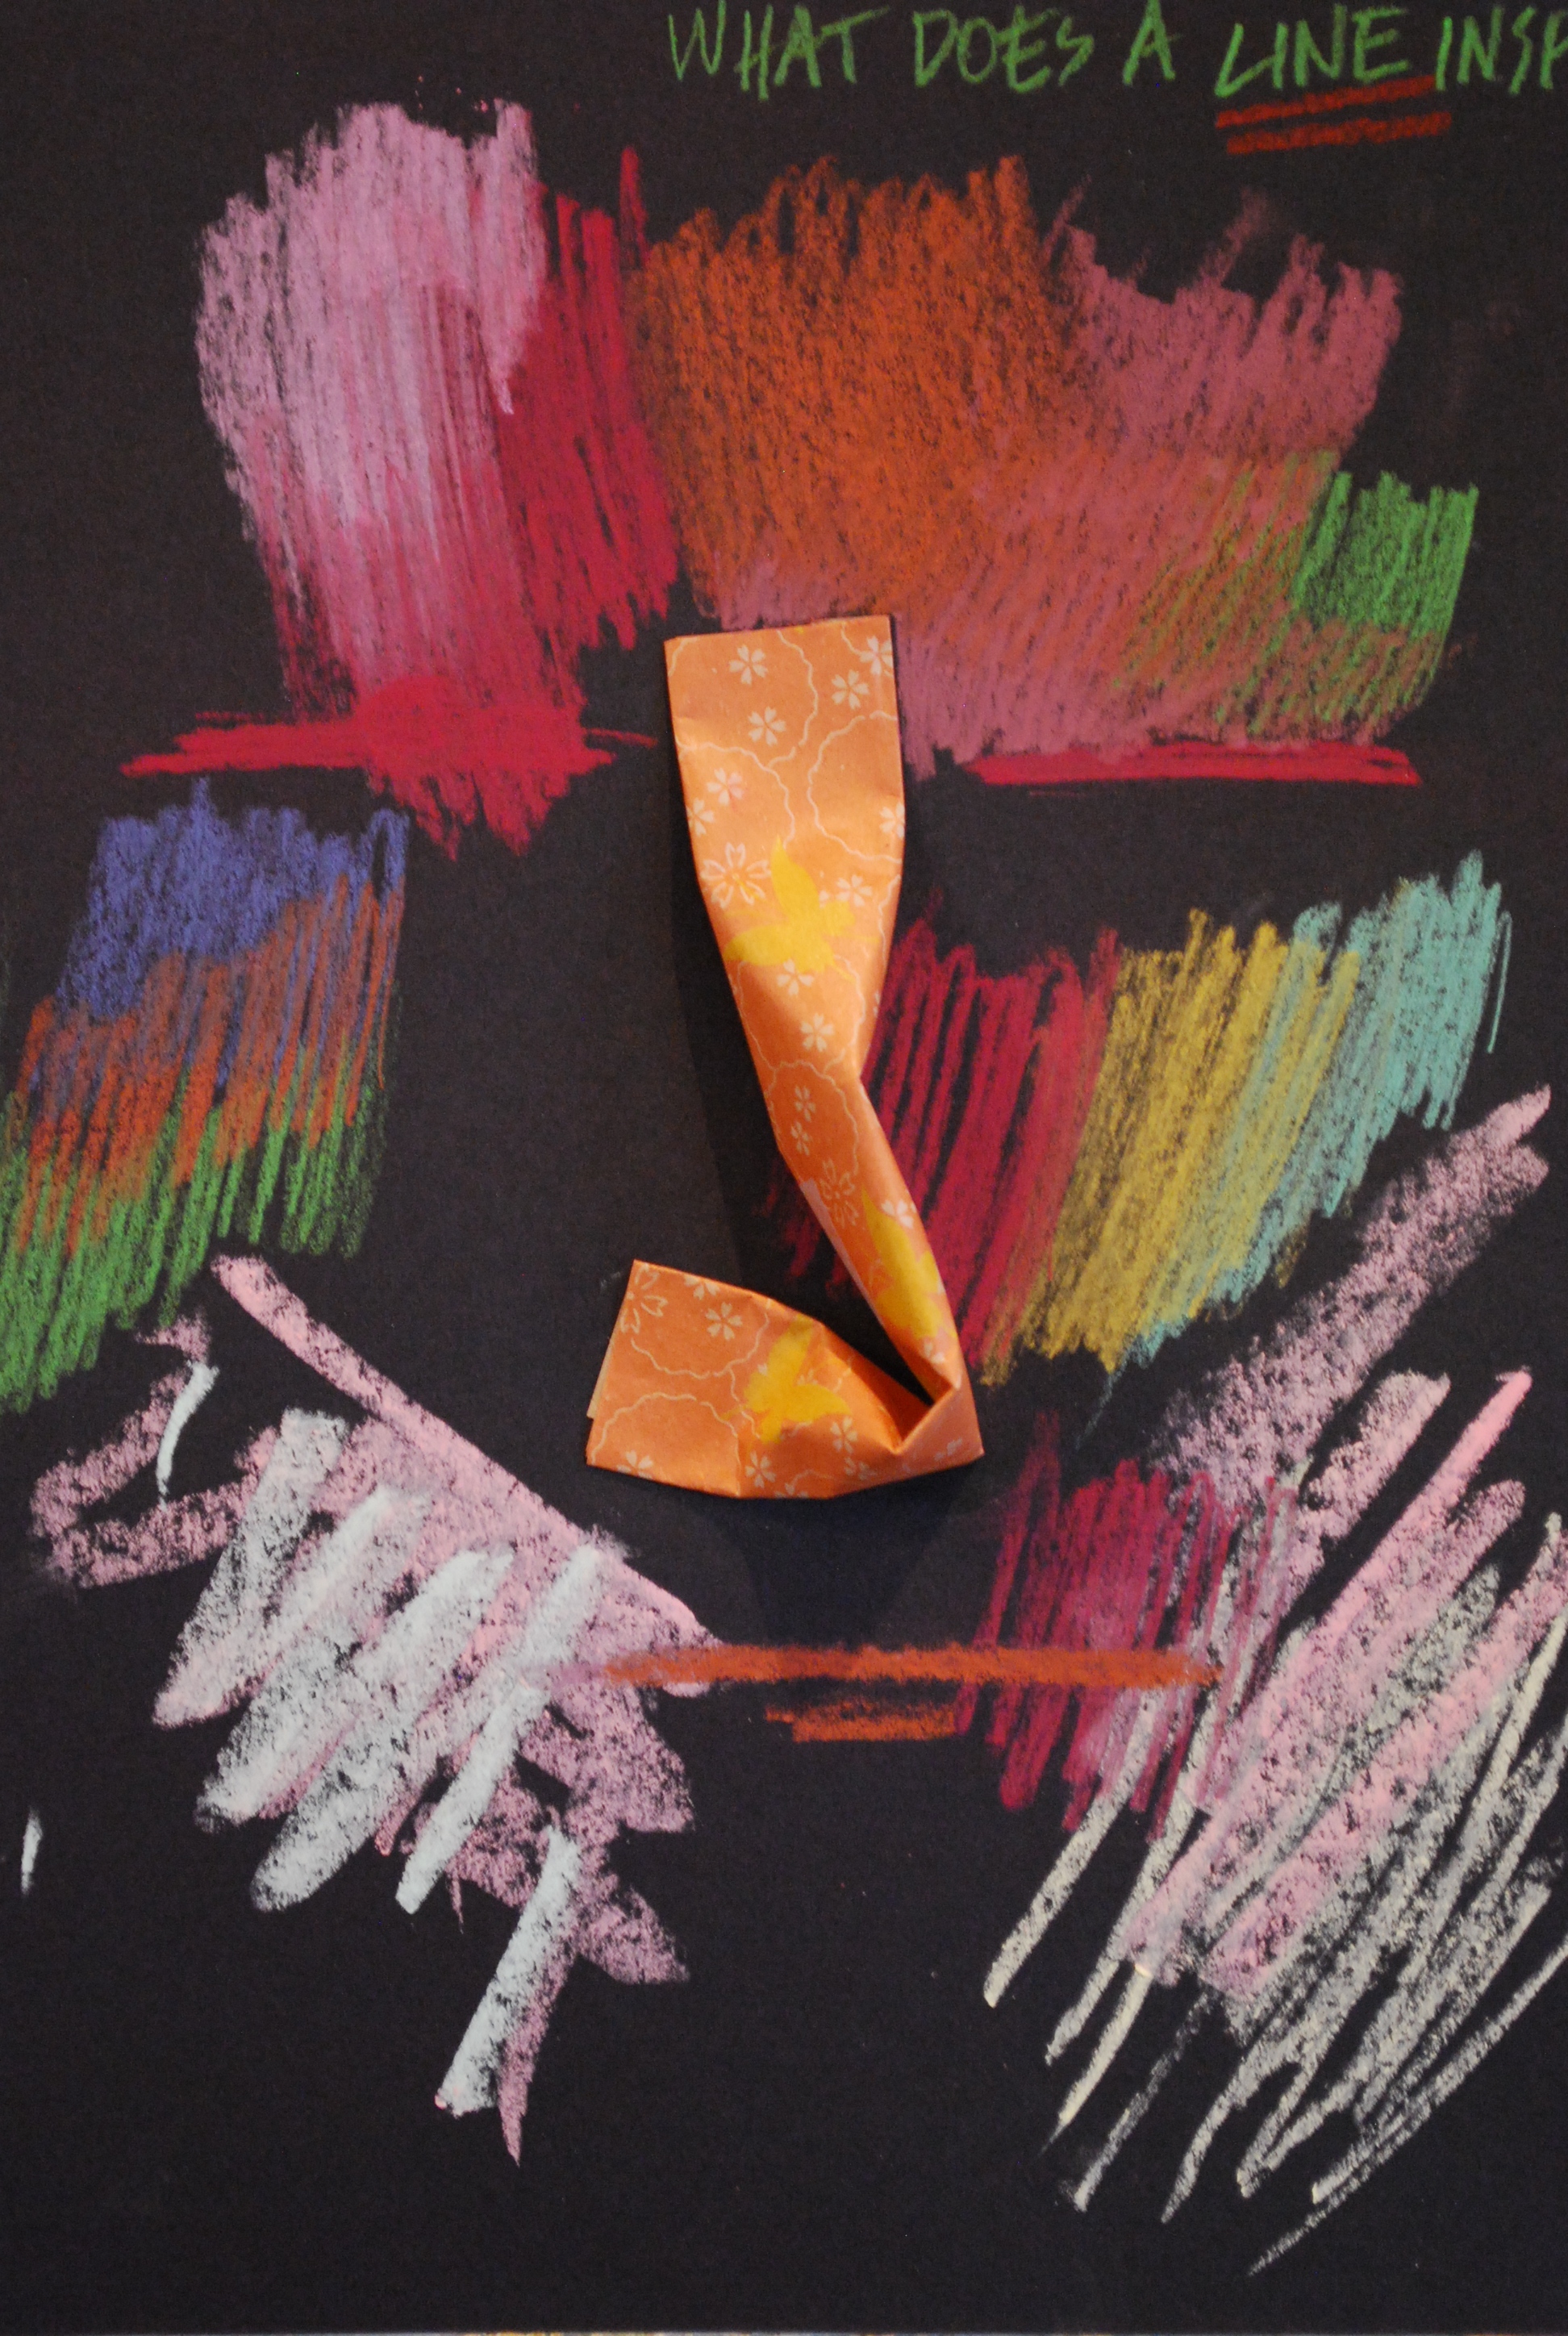
This was a demonstration I did of bending the “line”. Inspired me to use it as a nose in a face.
What Does A Line Inspire?!

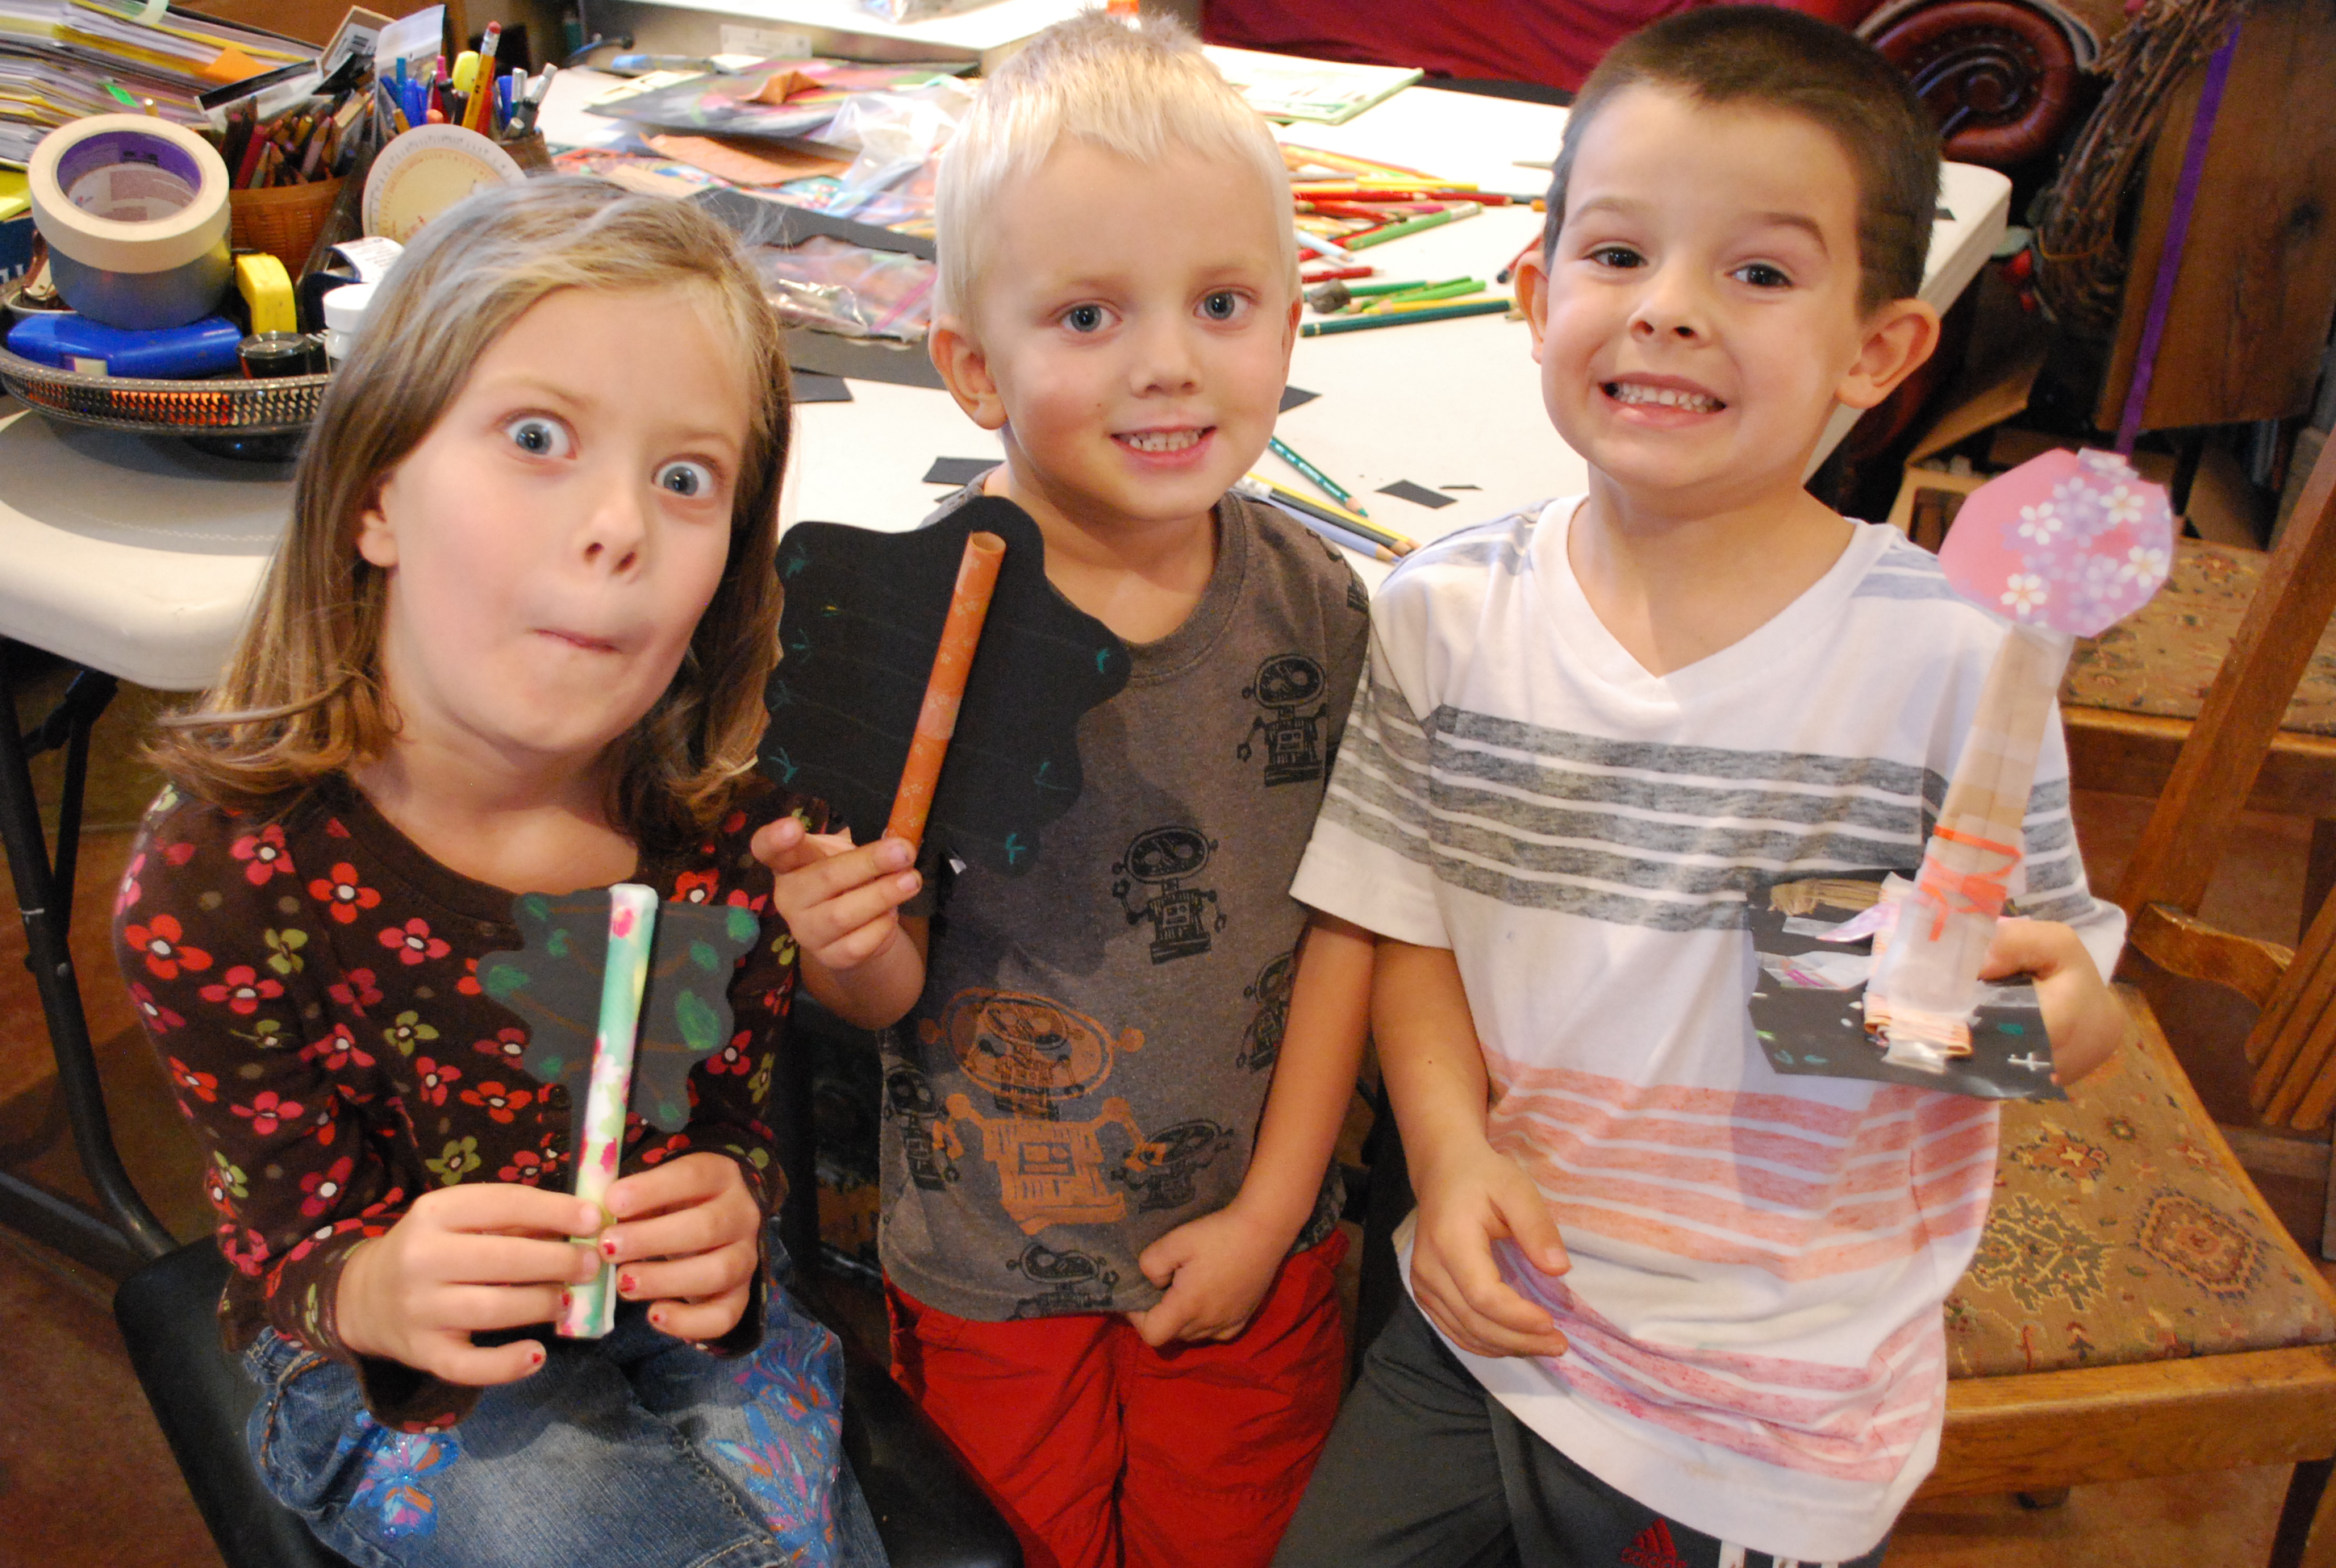
The textures of the butterflies’ wings are pastel pencil, prismacolor pencil, and chalk on black cardstock paper.
These children saw a tree trunk in their “line”.
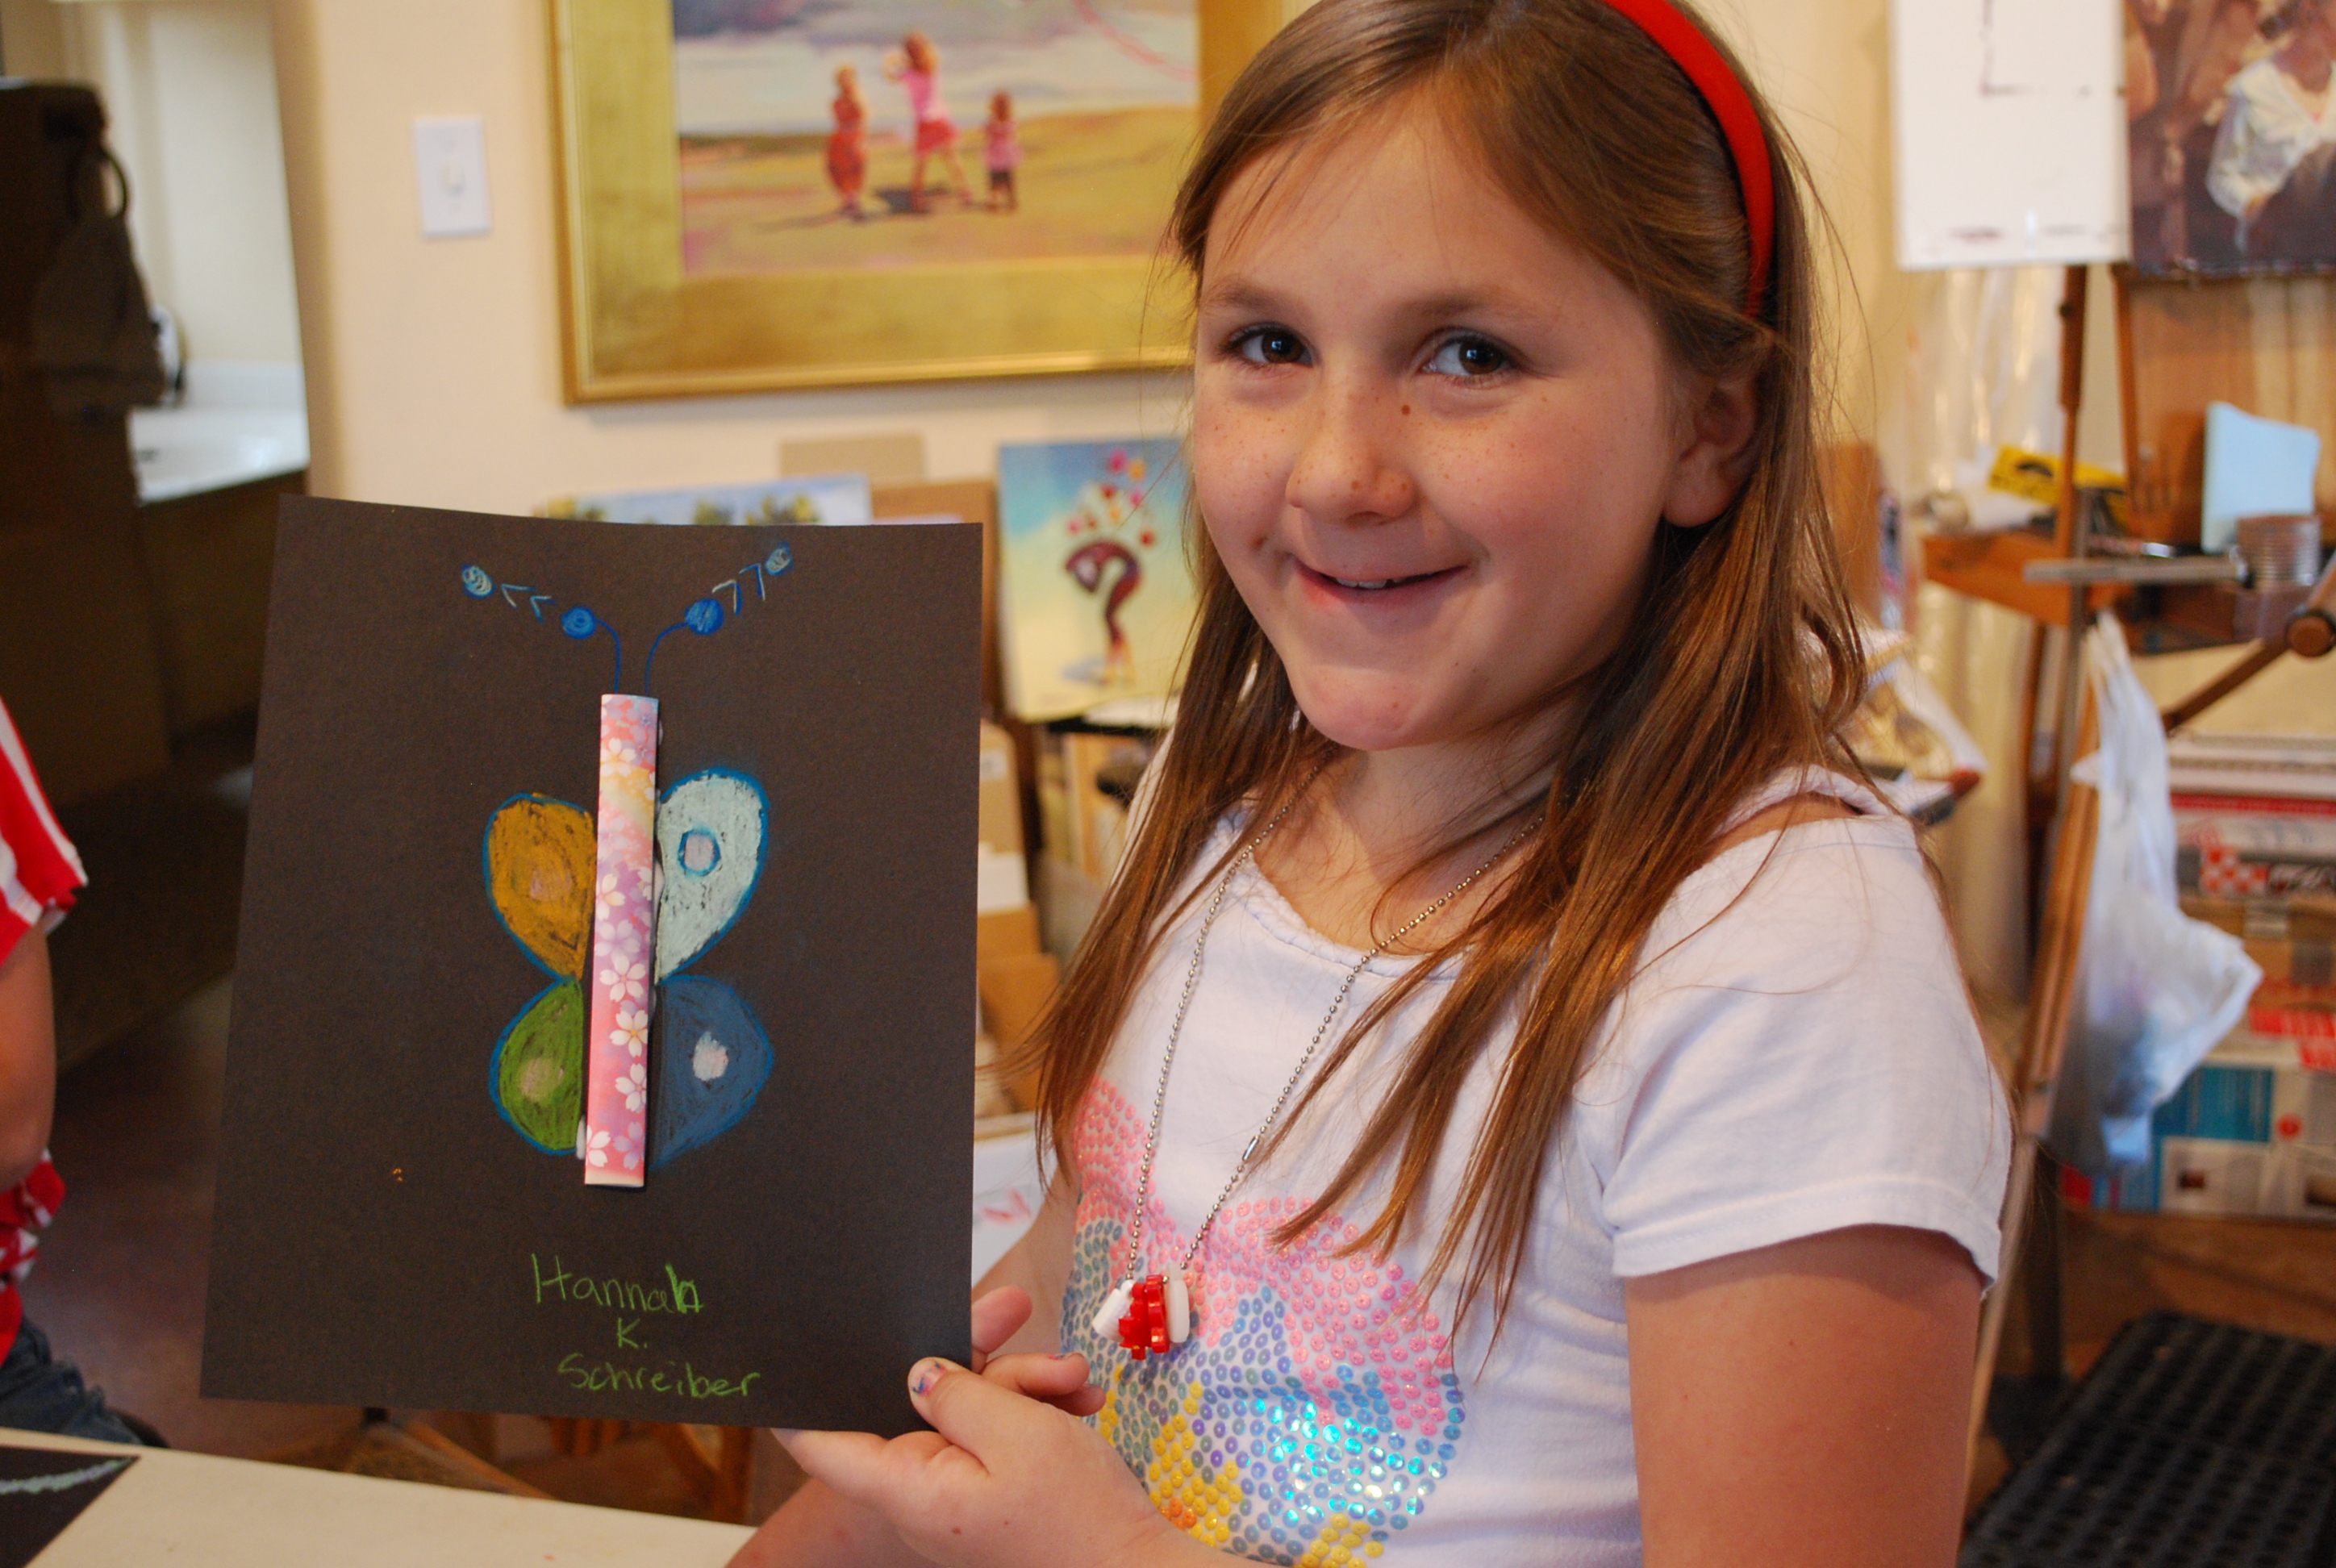
Another butterfly!
This was a demonstration I did of bending the “line”. Inspired me to use it as a nose in a face.

An inexpensive and creative children’s art project! Or for you moms and grandmas out there, an activity that is “Creative Simplicity Itself”.

On my way back from the 3 Woman Show in Logan I had the great privilege of spending a few hours with my grandson, Jayson, and his brother, William. I love these two little guys and am grateful to their mom and grandma, Melissa, for their generosity in arranging for this time. We played treasure hunt, hide and seek, Sorry (the board game), caught up on their latest karate moves and ate from a vending machine… Then William asked, “Are we going to do an art project?” I was in the middle of explaining that I hadn’t brought my “craft/art box” with me when this idea popped into my head (I am sure I got this from some other creative person somewhere). Following are the instructions for “Creative Simplicity Itself”.
1. A piece of 8 1/2 x 11 inch white printer paper for each person participating.
2. A color for each person. We chose a crayon each because they had crayons handy. Markers, pencils, paints or any other way to use color would also work.
3. Each person starts a drawing of anything with their color. We set a time limit of a few minutes to work on it and then said “Stop!”
4. Before passing your paper-with-started-drawing onto the person sitting next to you, you write a word (any word) at the top of the page.
5. The next person uses their color to add to the drawing you started. With a time limit. Also adding a word (any word) to the top of the page.
6. Keep rotating papers around the table until all have added to the drawings with their colors and words.
7. Then it is story time! Each person tells a story about the art work on the paper in front of them using all the words written at the top of the page.
I was really impressed by the creative stories that William, the 8 year old came up with. Even Jayson, 5, got into the swing of it, if mostly to use the drawing as a mask, lol.

William, Jayson, and Grandma Melissa at the Sorry board. How does that game live on and on?! I remember playing Sorry with my dad and sisters at Christmas. Lots of fun.
The work of “Creative Simplicity Itself” begins. Each has a piece of paper and a crayon color. The timer is set and off we go!

Yes, the final art could be used as a mask. Jayson is modelling the possibilities!

Jayson, 5, and William, 8. Adorable, precious, creative, genius, sweet, fun . . . do I sound like a grandma?!
Directions for Creating a Possibility Poster

Choosing a colorful background.

Doing the poster work.


Katie’s eyes and gold pencil charts.
Katie and I invited our next door neighbor, AJ Hurst, to join us in creating these posters for the new year. Therefore, these 2013 posters were produced by a 15, 22, and 60 year old. These can be an art project with any age. I think even younger children would enjoy creating a visual of their hopes, dreams, and possibilities for the new year.
1. Take some time to write down your 2013 possibilities. What projects, intentions, goals, etc. do you have for the new year? Really throw your hat over the wall and write down those things that are always nagging the back of your mind but never get handled. This could be the year!
2. Pick a poster size and color. Our posters were 13 1/2 x 21 inches on colorful art paper. You could use white poster board, but, a bright color background seems to get the art juices rolling.
3. We took a photo of each other with a digital camera. Could have been with our phones. Transferred the photos to the computer and printed out a black and white copy to paste onto our posters. Last year my poster had a color photo of me. This year a black and white allowed me to do some creative coloring. Putting your face into your 2013 possibilities is a great place to start the planning from. After all, this is a visual of your intentions. I put my face upside down, Katie used just her eyes, and AJ not only used her head but several little full figures in various poses of herself.
4. Materials: photo copies, magazines, color cardstock, markers, color pencils, scissors, glue. I’m sure that 3-D items would work too. Whatever you wanted to put into your collage. The collage items will represent your goals, thoughts, themes for the year. I picked an overriding thought from the musical, “Les Miserables”, to headline my year: To love another person is to see the face of God. There are also “charts” on my poster that I can mark off as I accomplish them. My column of “the unexpected” is my longest column. The poster will also become a history of 2013.
5. Hang the completed poster in a place that will keep it ever present!

Directions for making paper sculpture masks!
Basic directions for creating paper sculpture masks:
1. Use cardstock. Bright colors and black. Black cardstock is a great foundation for color pencil work and background for bright color attachments.
First decision: pick a sheet of 8 1/2 x 11 inch color cardstock. It is always fun to see what color different children pick. Cardstock can come in such intense colors.
2. Fold your piece of cardstock in half: will you be a long face (like a hotdog) or a wide face (like a hamburger)?
3. From one of the corners of your folded cardstock to the opposite, diagonal corner, tear or cut the paper. Tearing leaves an organic rough edge, cutting leaves a smooth sharp edge. When you open your folded paper you should now have a basic triangular shape. The beginning of a face!
4. Poke holes in your mask where you want the eyes to be. You can do this with a pair of pointed scissors by drilling carefully into the cardstock. With a little hole poked you now have room to insert your scissors or fingers and cut or tear an eye shape.
5. Paper and cardstock can CURL as well as bend, fold, twist, crinkle! Look at your left over pieces and also pick some other color pieces of cardstock to experiment with. They can be attached to your basic mask shape with a glue stick or hot-glue gun.
6. Get into your craft supply box and also decorate with feathers, glitter, rope, trim, etc. Colored pencils on cardstock create some great tapestry and texture.
7. When you are done you can display your mask on the wall or bulletin board with push pins. It is important to pin one side of your mask to the wall and then bend the mask a bit at the fold before you pin the other side. This gives a 3-D look to your paper sculpture mask. Don’t hang it FLAT against the wall. A 3-D mask is more interesting as light in the room casts shadows and accentuates shapes.

