A Simple and Inexpensive Art Project for Children: Mask Making
“Your face is a book, where men may read strange matters.” – Shakespeare. I think he was on to something! Much about the artist is always revealed through the art they make. So it was with the children and the masks they made. In September of this year I taught two classes of fifth graders how to make a simple mask. In 45 minutes it was easy to see a connection between their personalities and their created mask-faces…even though they were all strangers to me.
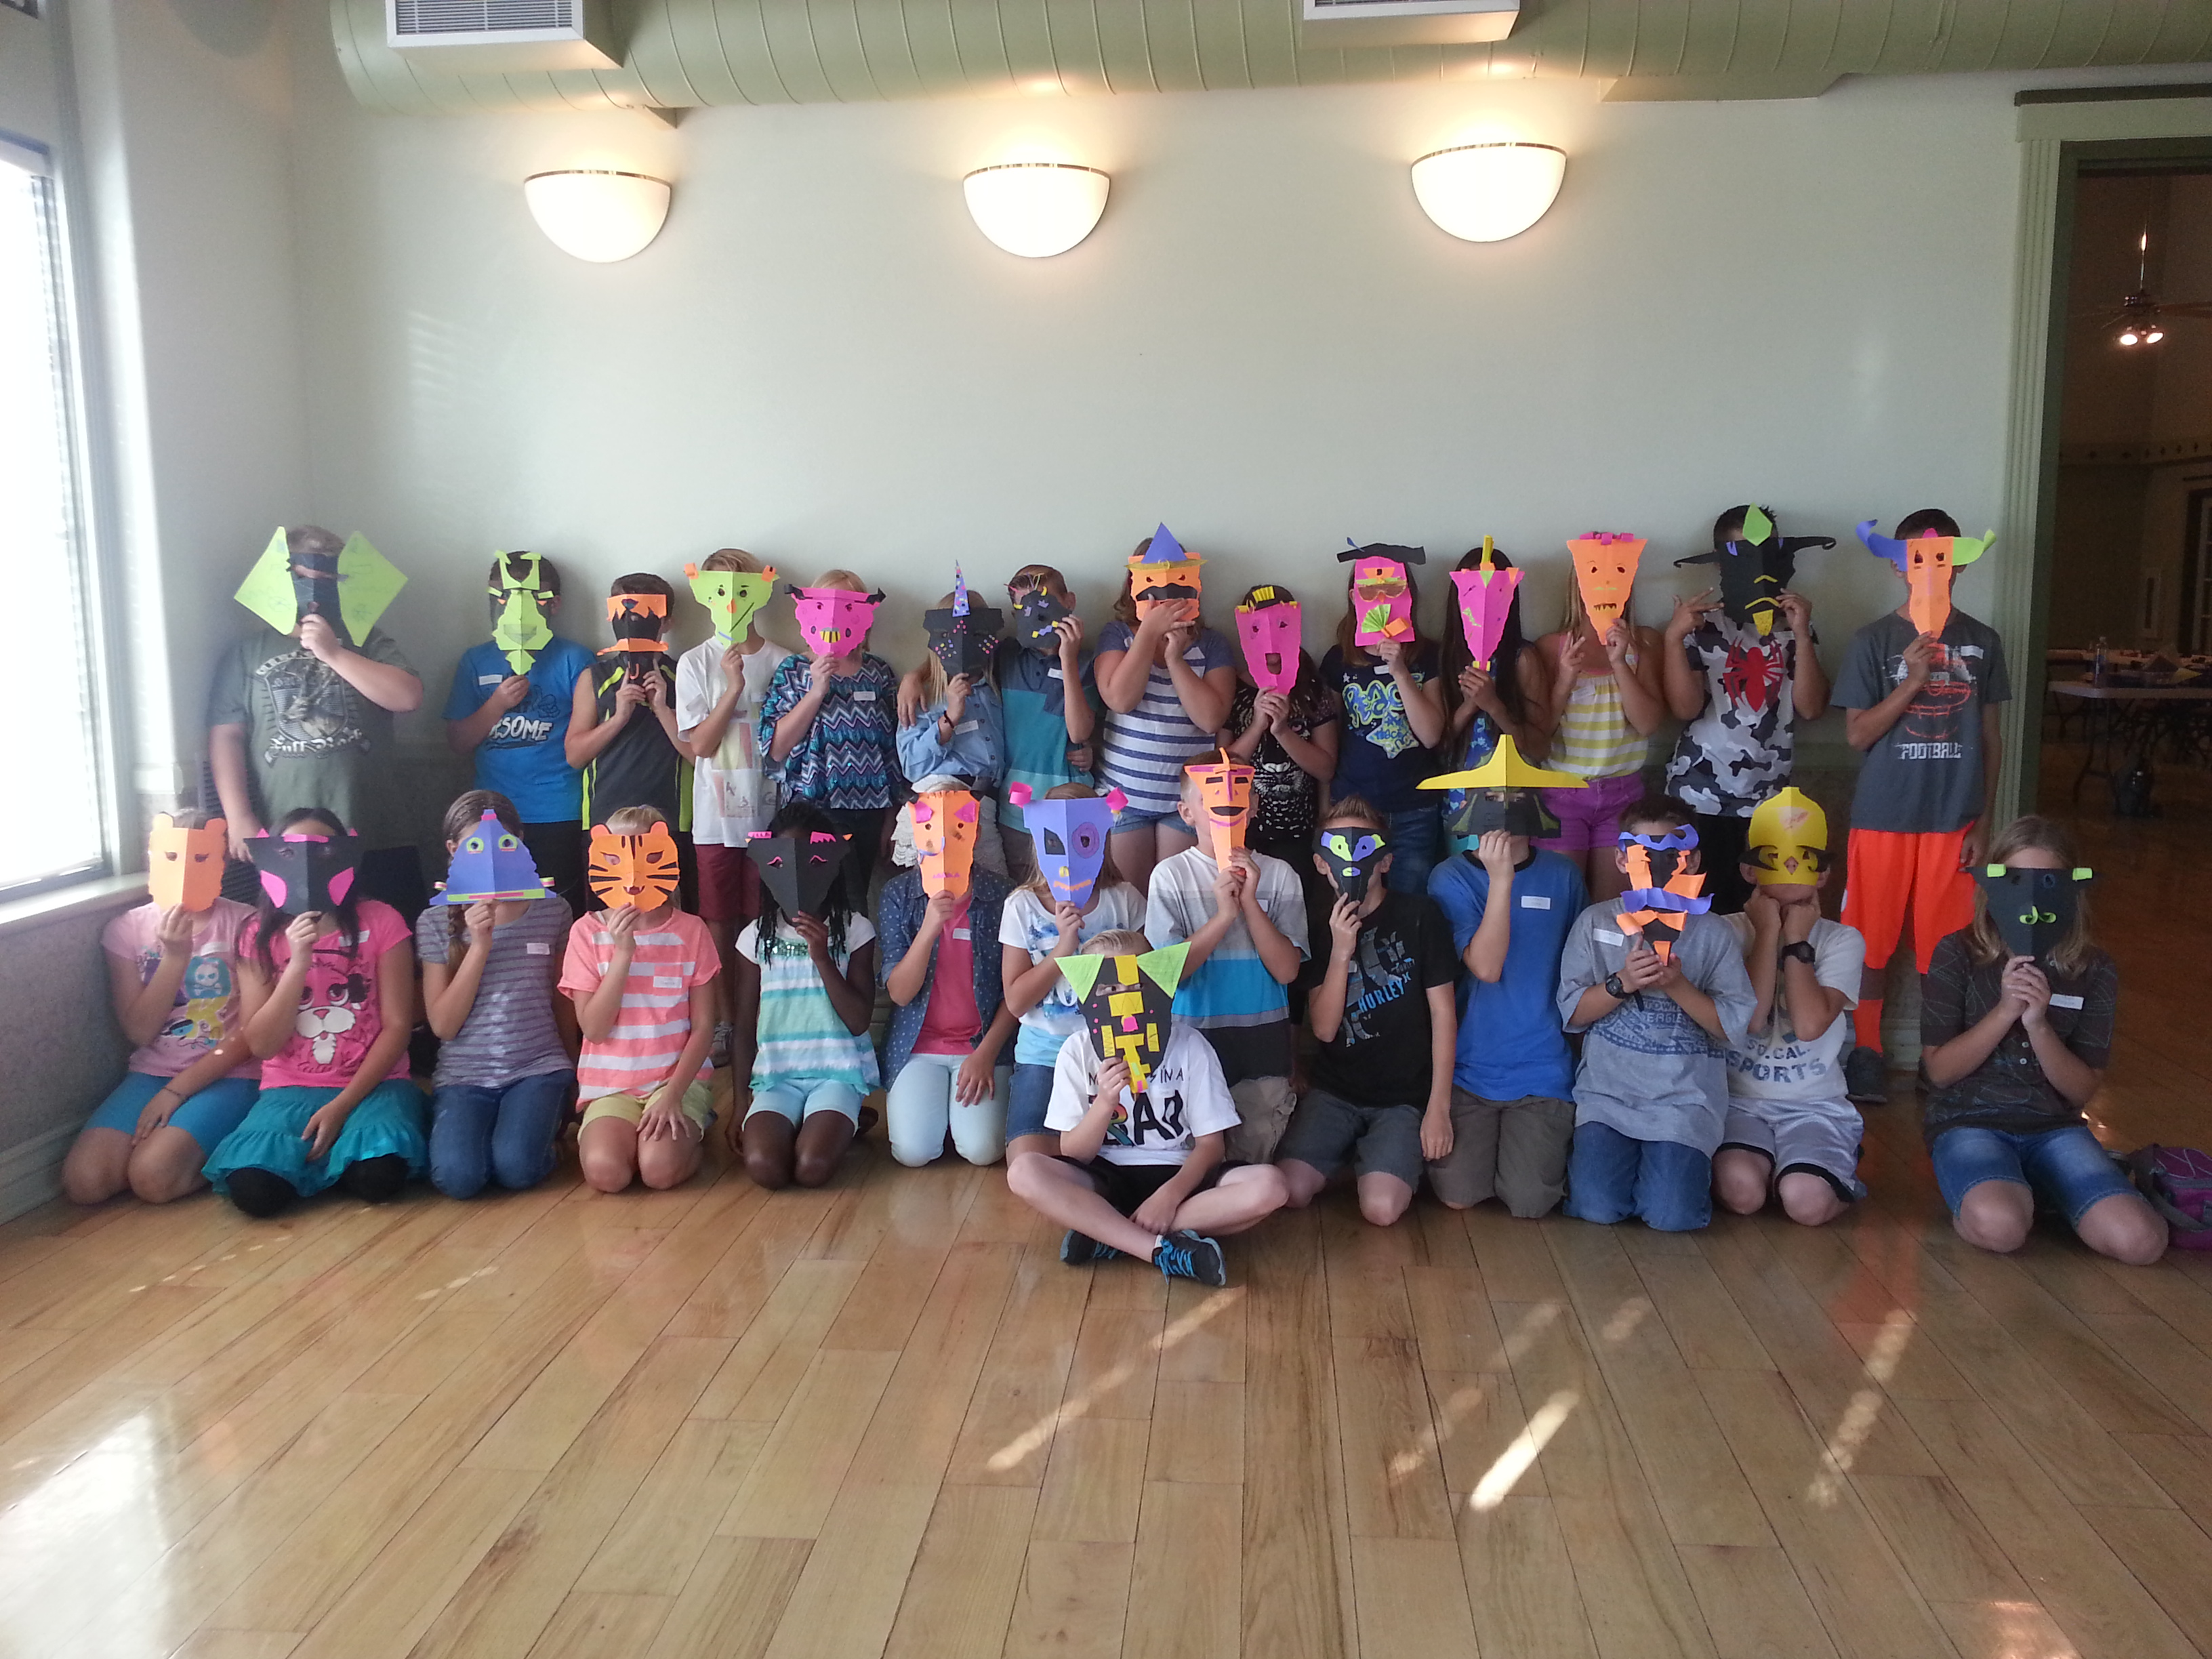
Materials used: 1. Brightly colored and black cardstock. 2. Glue sticks, scissors, staplers, and colored pencils. Instructions: 1. Choose a vertical (hot dog) or horizontal (hamburger) mask face. 2. Close your eyes. Put your hands on the sides of your face and slide forward to your nose. Notice that your face is not flat. 3. Fold your cardstock in half to begin adding a sculptural 3-D effect to your mask. 4. With your cardstock folded in half, tear or cut through the two layers from a corner near the fold, diagonally to its opposite corner. You have now created the jawline shape of your mask. 5. Where do you want your eyes? Mark with pencil. Poke a hole in the cardstock with the tip of a pair of scissors. (Beware of poking too hard and jabbing your fingers.) The hole you poked is for your scissors to have a place to start cutting from. Cut fabulous eye-shape holes!

Now the final touches! 6. Use your scraps of left over cardstock or trade with your fellow student to get a mix of colors and shapes. Bend, curl, fold, crumple, tear, or cut (paper is such marvelous stuff) these scraps and attach to your mask with the glue sticks (if the pieces are small) or stapler (if the pieces are bigger). Always try to get the paper scraps to stick out from the mask. This contributes to a 3-D, sculptural effect. Much more interesting than just flat. 7. Decorate with fancy colored pencil lines, squiggles, shading, cross-hatching, dots, and dashes.

Now go look at yourself in the mirror! When you take these home, don’t put them on the refrigerator door…push pin them on a bulletin board or wall space somewhere. The key to keeping them 3-D is to fold slightly so your mask sticks out from the wall and then push pin it in place. Do not pin it flat to the wall. When your art is 3-D it will cast interesting shadows. You can always put more decoration on your mask. Think of all the possibilities in your mom’s or grandma’s craft drawer!

